
Pendant lights add dimension and visual interest to spaces with beam ceilings, creating layered lighting that enhances the architectural character. But the hollow nature of most PU faux beams creates a challenge that structural timber never presents: standard hanging methods that penetrate solid wood create weak points in hollow composite material. Professional installers have developed techniques that address this reality while maintaining both secure attachment and clean appearance.
The integration of lighting with faux beam installations requires planning that begins during the beam layout phase rather than as an afterthought. Fixture locations must align with beam positions, support structure must be installed before beams cover it, and the visual relationship between fixtures and beams must be considered as part of the overall design. Retrofitting fixtures into completed beam installations is possible but never as clean as planned integration.
Understanding the Attachment Challenge
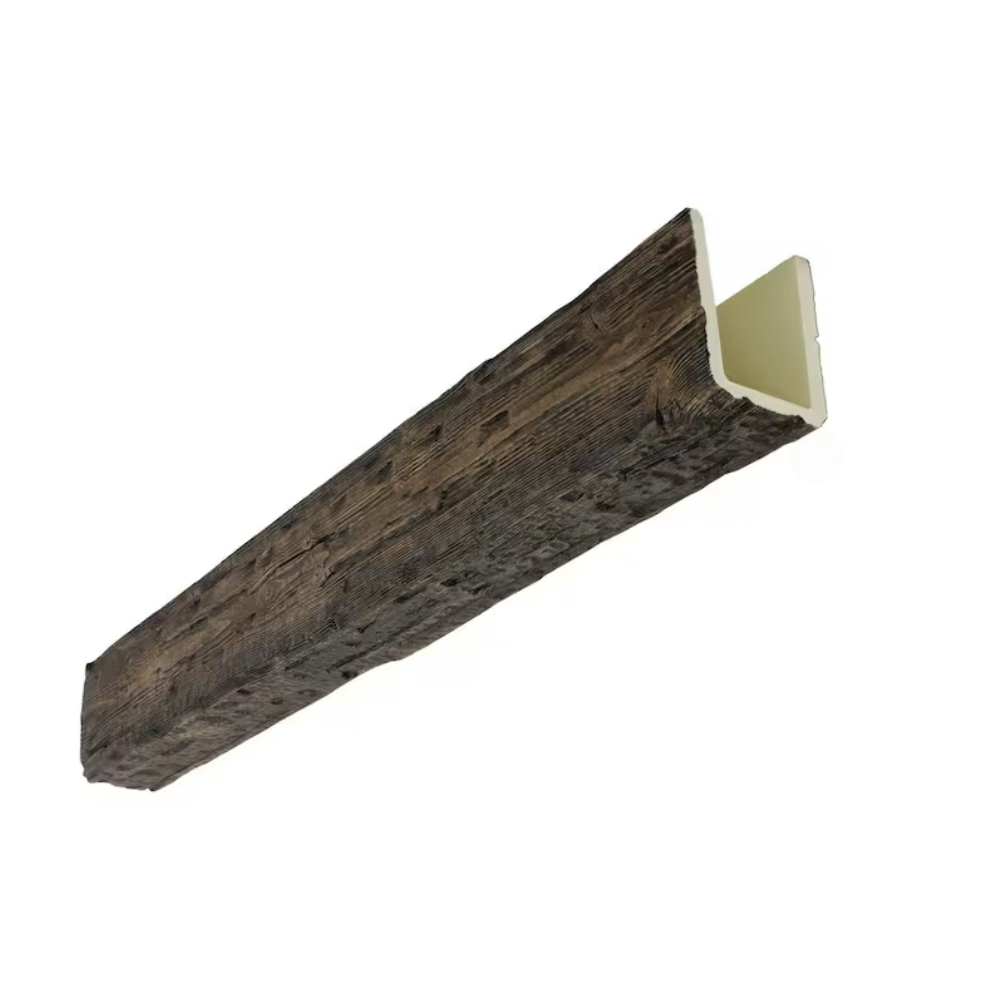
PU faux beams present two fundamental challenges for pendant light mounting. First, the hollow interior provides no solid material for fastener engagement. Second, the material compresses rather than threads when fasteners are driven, meaning standard wood-screw approaches produce weak connections that can pull free under load. These characteristics require modified approaches that transfer loads to the beam's structural elements rather than relying on material strength alone.
Most beam profiles include a top mounting surface that is structurally distinct from the visible hollow body. This mounting flange or web provides the primary bearing surface for attachment hardware. Understanding your specific beam profile's construction guides selection of appropriate mounting approaches and hardware.
Weight considerations dominate pendant light hanging decisions. Light fixtures range from a few pounds for small pendants to fifty pounds or more for large decorative fixtures. The attachment system must match the actual weight plus appropriate safety margins, with consideration for dynamic loads from air movement and incidental contact.
Planning Fixture Locations During Layout
Incorporate pendant light locations into the initial beam layout rather than adding them later. Identify which beams will carry fixtures and note the required positions before finalizing beam spacing. This early planning ensures that structural support aligns with beam positions and that mounting hardware has adequate clearance for installation.
Consider the visual relationship between fixtures and beams as part of the design. Center-mounted fixtures create formal symmetry, while offset positioning adds visual interest. The fixture height when hung and the beam height create proportions that either complement or conflict with each other. Preview this relationship using temporary positioning or design software before committing.
Coordinate fixture locations with electrical rough-in if new construction or renovation allows. Light fixture locations should align with junction boxes or fixture-rated canisters installed by the electrician. This coordination prevents the complications of adding electrical access after beams are installed.
Document fixture locations clearly on the installation plan, including exact positions relative to beam ends and other architectural features. This documentation guides blocking installation, helps during beam positioning, and provides reference for future modifications or repairs.

Support Systems Behind the Beams

The structural support for pendant fixtures must attach to the building structure, not the decorative beam. Install heavy-duty mounting plates or fixture outlet boxes directly to ceiling joists or blocking before beam installation. These supports should extend slightly above the planned beam height so that the beam can be notched or fitted around them.
Fixture-rated outlet boxes provide code-compliant electrical connections and structural support simultaneously. Select boxes rated for fixture support and attach them directly to structural members with appropriate hardware. The box should be positioned so that the finished beam surface is level with or slightly below the box top, allowing fixture canopy to seat properly.
For heavy fixtures, consider installing additional blocking between joists specifically to support the fixture weight. This blocking extends across several joist spaces and provides multiple attachment options if initial positioning needs adjustment. The extra structural material costs little but enables much more secure installations for substantial fixtures.
Verify that support structure is level and properly positioned before beam installation. Once beams cover the structure, access for adjustment becomes difficult or impossible. Take time to confirm alignment during the preparation phase rather than discovering problems after beams are mounted.
Mounting Hardware Selection
Pendant light canopy kits include hardware designed for different mounting scenarios. Standard kits assume solid mounting surfaces and may not provide adequate security for hollow beam applications. Supplement or replace included hardware with products designed for your specific conditions.
Concealed mounting plates spread fixture weight across the beam surface, preventing localized stress that could damage the material. These plates typically mount to the beam's structural web using screws that penetrate fully without protruding through the visible surface. Select plates sized appropriately for the fixture weight and beam profile dimensions.
Surface-mounted fixtures may attach directly to the beam using appropriate hardware if the beam profile accommodates the mounting plate. Ensure that the mounting surface provides adequate bearing area for the fixture base and that fastener penetration does not compromise the beam's structural integrity.
Threaded rods that extend from structural support through the beam to the fixture canopy provide secure mounting for heavy fixtures. This approach bypasses the beam material entirely for structural support while using the beam as a cosmetic cover. Install decorative canopy plates that conceal the rod and hardware for a finished appearance.
Integration and Finishing Details
When beams and fixtures meet, the details determine whether the integration looks professional or amateur. Canopy plates should seat flat against the beam surface without gaps or shadows. Adjust mounting height to achieve proper seating before finalizing attachment.
Conceal wiring within the beam's hollow interior when the profile allows. Thread electrical cord or chain through access holes positioned to remain hidden after installation. This integration keeps the appearance clean while maintaining full functionality.
Consider the visual relationship between the fixture cord or chain and the beam surface. Exposed cords running along the beam surface look casual and may not suit the design intent. Alternative approaches include concealed cord routing, decorative chain covers, or custom stem extensions that position the fixture at the desired height without visible cord.
Test fixture operation before considering the installation complete. Verify that the fixture is level, that the cord or chain hangs properly, and that electrical connections function correctly. Address any issues while access remains available rather than after the beam installation is finalized.
Technical References
ASTM standards cited in every specification
Test Data
Lab results from internal testing program
Updated 2026
Reviewed against current product specs


