Seam finishing determines whether faux beam installations look professionally executed or appear as obvious assemblies of separate pieces. The seam filler compound you select and how you apply it directly controls the invisibility of joints throughout the installation. Professional finishers understand that this detail work separates their results from amateur attempts, and they approach seam filling with the same precision they apply to structural installation.
Polyurethane beam seams require compounds specifically formulated for the material's characteristics. General-purpose wood fillers and spackling compounds often perform poorly on polyurethane, shrinking excessively, cracking during curing, or refusing to accept finishes uniformly. Selecting appropriate products and applying them correctly ensures that seams disappear completely into the surrounding surface.
Understanding Filler Compound Types
Multiple filler compound categories serve different seam-filling applications. Understanding these categories helps select appropriate products for specific situations. The right choice depends on seam width, depth, location visibility, and subsequent finishing requirements.
Two-part epoxy fillers provide the strongest, most durable seams for demanding applications. These products mix resin and hardener immediately before application, creating bonds that resist cracking and shrinkage exceptionally well. Professional finishers use epoxies for wide seams, deep gaps, and locations where mechanical stress might affect seams over time. The shorter working time requires practice to apply efficiently.
Acrylic latex fillers offer easier application and cleanup than epoxies, making them popular for general seam filling. These water-based products clean up with soap and water, spread smoothly, and accept paint well. They work best for seams of moderate width and depth, shrinking somewhat during curing that may require second applications for very wide gaps.
Polyurethane-specific seam compounds get formulated to match polyurethane beam characteristics. These products bond well to the beam material, accept similar finishes, and expand or contract with temperature changes without cracking. Professional installers often prefer these specialized products for polyurethane beam work, despite higher cost, because they deliver more predictable results.

Surface Preparation for Optimal Bonding
Proper surface preparation determines how well seam filler adheres throughout the life of the installation. Inadequate preparation leads to filler that separates from beam surfaces, creating visible gaps that defeat the purpose of seam filling. Taking time to prepare surfaces properly prevents callbacks and ensures lasting results.
Cleaning removes dust, oils, and manufacturing residues that might interfere with adhesion. A tack cloth or slightly damp rag removes loose particles effectively. For seams with visible contamination, denatured alcohol or specialized cleaner prepares surfaces without leaving residues that affect adhesion.
Roughening smooth polyurethane surfaces slightly improves filler bonding. Very smooth surfaces from manufacturing may not provide adequate mechanical key for filler compounds. Light sanding with fine grit paper—220 or finer—creates a slightly roughened surface that filler can grip without being visible after finishing.

Application Techniques for Invisible Seams
Successful seam filling requires application techniques that fill completely without leaving excess material that creates more work during sanding. Professional finishers develop these techniques through experience, learning how compound behaves and how much pressure to apply for different seam types.
Thin applications work better than thick ones for most seams. Thin layers fill from the bottom up, maintaining contact with both surfaces and minimizing air pockets that cause voids. Building up thin layers also reduces shrinkage that thicker applications experience. Professional finishers apply multiple thin layers rather than trying to fill deep gaps in a single application.
Feathered edges prevent visible buildup that would show after finishing. The filler should transition smoothly from seam to beam surface, with no distinct edge where application ends. Professional application techniques use the putty knife at a very low angle, spreading material thinner as you move away from the seam center.

Curing and Sanding Procedures
Filler compound requires proper curing before sanding or finishing proceeds. Attempting to work material before it's set leads to smearing, gouging, and uneven surfaces that require additional correction. Understanding cure times for different products enables appropriate scheduling.
Temperature and humidity affect cure times significantly. Cooler, drier conditions slow curing while warm, humid conditions accelerate it. Professional finishers account for these conditions when scheduling work, allowing extra time in unfavorable conditions and taking advantage of faster curing when conditions cooperate.
Sanding techniques determine final seam invisibility. Fine grit sandpaper—320 or finer—sands filler smooth without revealing its location through scratch patterns. Circular or random orbital sanding avoids linear scratches that might catch light and reveal seam locations. Light pressure prevents digging into softer filler material that would create low spots.
Matching Texture and Finish
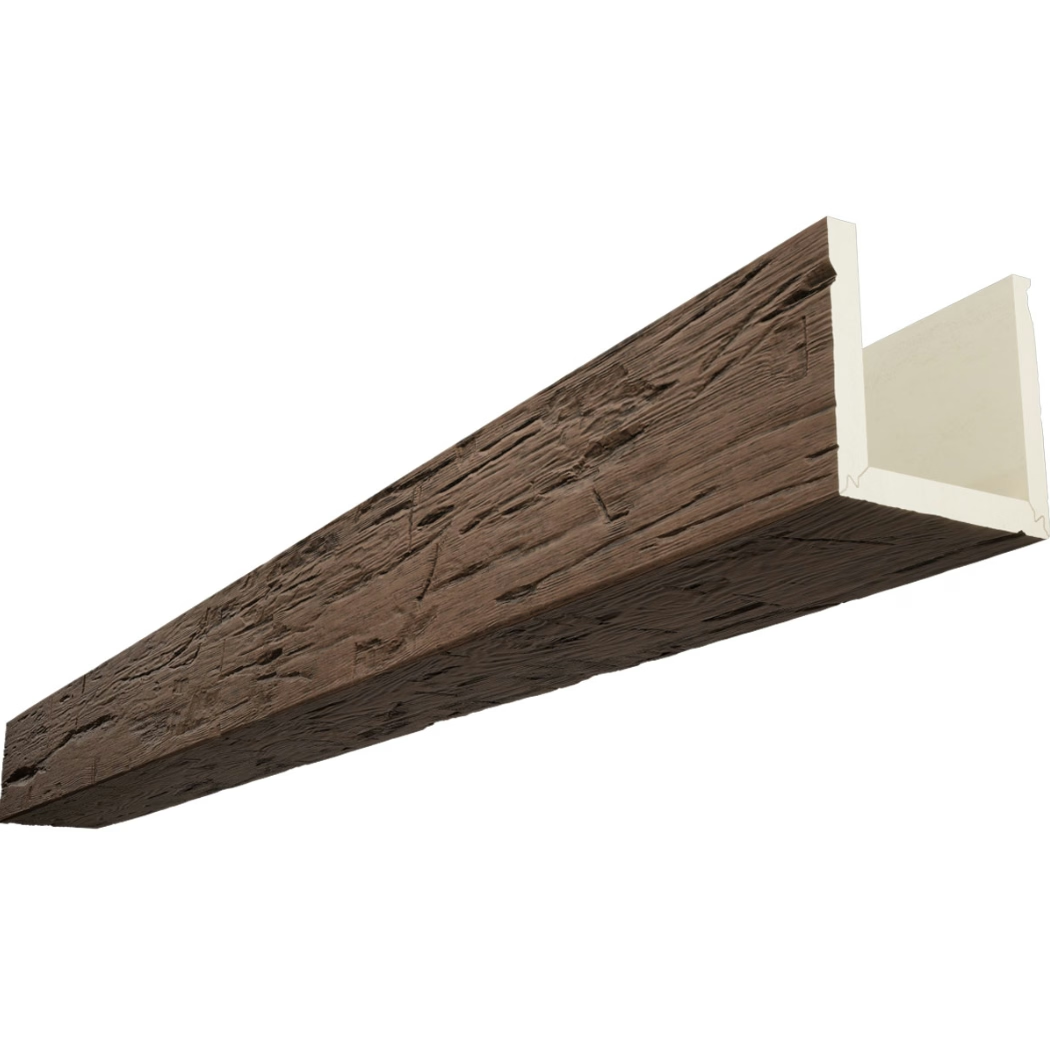
Seam invisibility requires matching not just color but also texture between filled areas and surrounding beam surfaces. Polyurethane beams often have texture from manufacturing or finishing that must be replicated at seam locations. Professional finishers address texture matching as carefully as color matching.
Textured beams require corresponding texture on filled seams. This texture might be applied through stippling, stamping, or texture spraying techniques that match the surrounding surface. Without texture matching, seams show as smooth patches on textured surfaces, particularly under raking light.
Finish compatibility ensures that sealers and paints adhere uniformly across seams and beam surfaces. Some fillers accept finishes differently than the surrounding polyurethane, creating visible differences in sheen or color absorption. Testing finishes on filler before full application reveals any compatibility issues before they affect completed work.
Troubleshooting Common Problems
Even careful application encounters problems that require correction. Understanding common issues and their remedies helps finishers address problems efficiently without excessive rework. Professional knowledge includes recognizing problems early, when correction requires less effort.
Shrinkage that reveals seams after initial application requires second applications that build up to final surface level. This layering process continues until shrinkage stops and the seam surface matches surrounding areas. Patience during this process prevents rushing that leads to visible imperfections.
Cracking indicates that filler couldn't accommodate movement between beam surfaces. This problem suggests inadequate bonding, excessive gap width, or incompatible movement between connected elements. Addressing the underlying cause before recoating prevents recurrence.
Technical References
ASTM standards cited in every specification
Test Data
Lab results from internal testing program
Updated 2026
Reviewed against current product specs


