
Decorative profiling transforms plain polyurethane beams into convincing architectural statements that rival natural timber's visual impact. The router serves as the primary shaping tool, enabling craftsmen to replicate the ornate details found in heritage buildings while maintaining the practical advantages of lightweight polyurethane. Understanding systematic approaches to profile creation separates professional results from amateur attempts that leave visible tool marks, inconsistent depths, or unflattering transitions between shaped and un shaped surfaces.
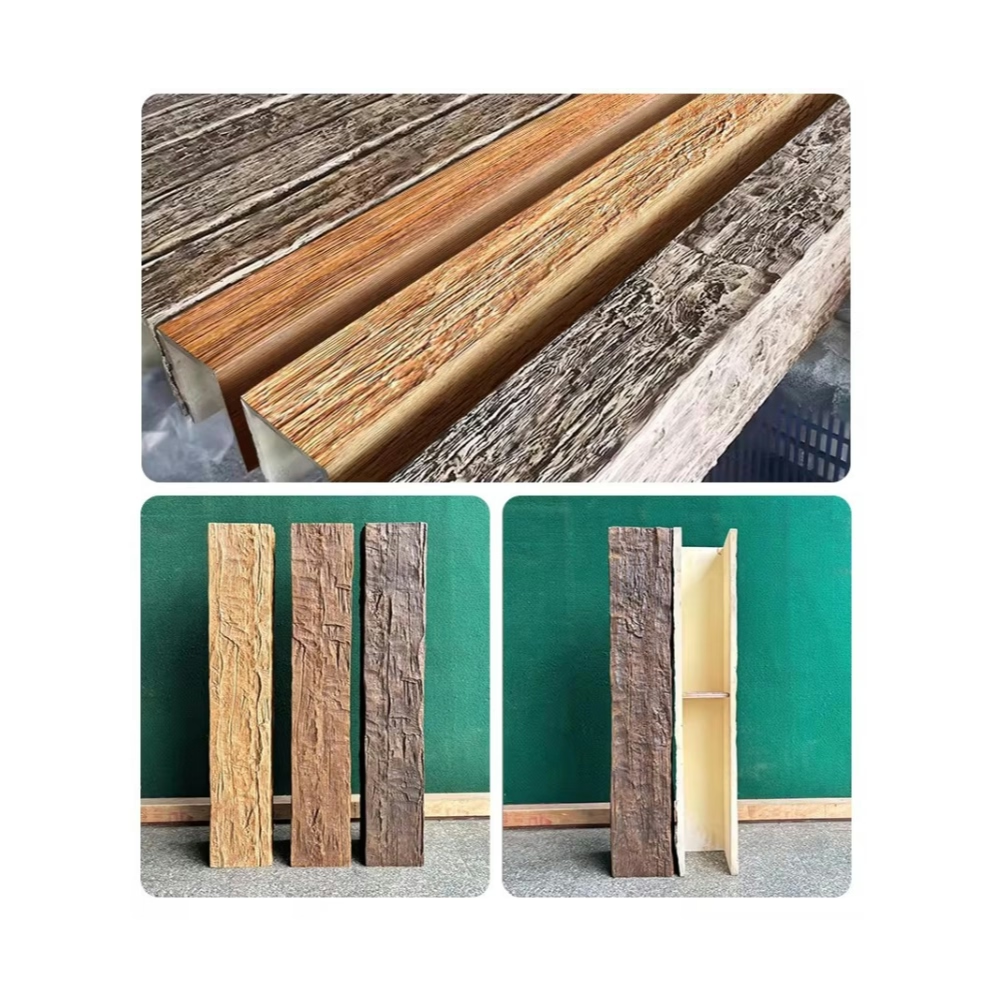
Before initiating any profiling work, installers must assess the beam's surface condition and any pre-molded texture patterns that influence where and how decorative details can be applied. Many manufactured faux beams incorporate texture imprints that mimic saw marks, weathering, or natural grain variations, and routing operations must respect these existing elements to preserve overall authenticity.
Planning Profile Placement and Depth
Successful decorative profiling begins with careful layout marking that positions details appropriately relative to beam ends, corners, and any existing structural features. Traditional timber beam conventions often place deeper profiles near beam ends where joinery occurs and lighter detailing along intermediate spans, creating visual rhythm that guides the eye without overwhelming the installation. Professional installers sketch profile arrangements on paper or digitally before transferring measurements to the workpiece.
Profile depth calculations account for both aesthetic considerations and practical constraints, recognizing that excessive material removal weakens beam structure and creates handling difficulties. Generally, decorative channels should not exceed one-third of the beam's minimum cross-sectional dimension, with shallower cuts preferred when structural margins prove tight. Test cuts on scrap material verify that selected bit combinations produce intended visual effects before committing to finished workpieces.
Sequential Profiling Methodology
Complex decorative profiles rarely emerge from single-pass routing operations, instead requiring progressive refinement through multiple tooling stages. The initial pass roughs out the general profile shape, removing the bulk of material while accepting some surface imperfection. Subsequent passes with the same or slightly different bit geometry refine the contour, with each pass taking progressively lighter cuts that minimize tear-out and produce smoother finished surfaces.

When combining multiple decorative elements on a single beam face, professionals establish a processing sequence that minimizes repositioning and maintains consistent reference surfaces throughout. Typically, they complete all straight-line profiling before addressing curved or irregular elements, working from the center outward when multiple parallel channels exist, and finishing with the most visible detail from typical viewing positions. This systematic approach ensures that accumulated positioning errors do not compound across adjacent profile elements.
Coping Profiles and Complex Transitions
Beams meeting at corners or transitioning around architectural features require profiled ends that interlock convincingly, mimicking traditional timber joinery techniques that carpenters developed over centuries. Router-based coping involves creating relief cuts that remove material from the back of one beam's end profile, allowing it to seat against the face of the adjacent beam while exposing only the decorative profile surface. This technique requires precise depth control and careful bit selection to produce clean internal corners.
Inside corners present particular challenges in polyurethane routing, as the material lacks the fibrous structure that natural wood offers for clean cross-grain cutting. Professionals typically employ smaller bits that can navigate tight radii without chatter, sometimes completing corner work in multiple shallow passes that gradually reach full depth. Filling any minor corner irregularities with wood filler becomes acceptable practice when final finishing conceals the repair.
Template-Based Production for Consistency
When installations require multiple beams featuring identical decorative profiles, template-guided routing ensures consistency across all workpieces while dramatically reducing setup time per piece. Acrylic templates or MDF jigs routed with the same bits that will shape the beams establish repeatable reference surfaces for bearing-guided cuts. Professional workshops maintain template libraries for common profile configurations, enabling rapid deployment for repeat installations.
Template construction requires attention to detail, as any template imperfection directly transfers to finished beam surfaces. Template material should resist tear-out during guided routing, and template attachment must remain absolutely stable throughout the operation. Using a fresh bearing on the routing bit prevents accumulated wear from gradually altering cut dimensions across extended production runs.
Surface Refinement and Finish Preparation
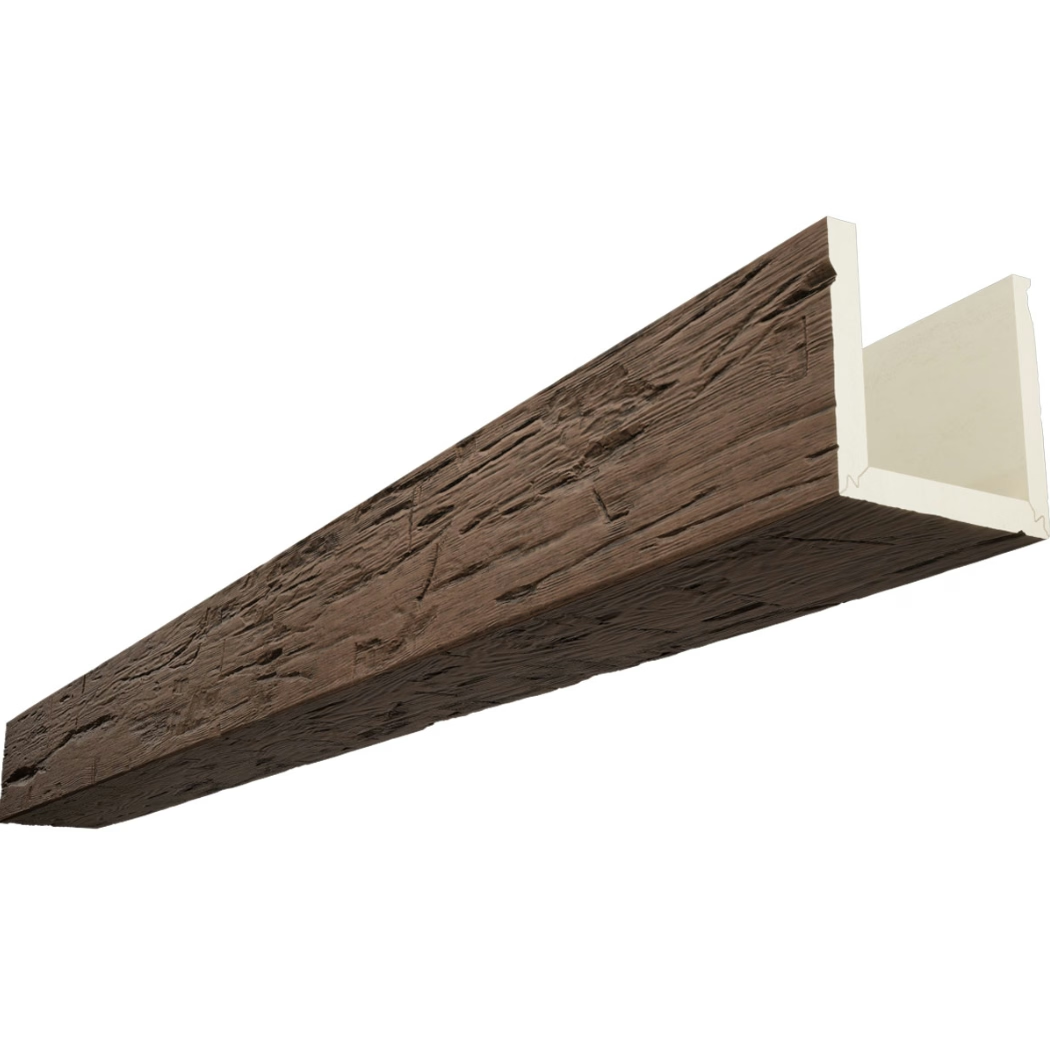
Routing operations, regardless of bit quality or technique refinement, inevitably leave minor surface imperfections requiring attention before final finishing. Sanding with progressive grits, typically starting at 120 and finishing at 180 or 220, removes machine marks while preserving the crispness of decorative details. Compressed air cleaning between sanding stages eliminates accumulated dust that could scratch surfaces during subsequent passes.
Professional finish preparation distinguishes exceptional beam work from merely acceptable results, involving systematic inspection under angled lighting that reveals any remaining irregularities. Spot repairs with fine-grain fillers address isolated imperfections, while entire surfaces may warrant light sealer application to unify profiles before staining or painting operations. This preparation investment pays dividends in finished appearance and long-term durability.
Technical References
ASTM standards cited in every specification
Test Data
Lab results from internal testing program
Updated 2026
Reviewed against current product specs


