
Surface preparation determines the final appearance of any faux beam installation more than any other single factor, yet this critical phase frequently receives inadequate attention as installers rush toward completion. Polyurethane accepts paint and stain products effectively when properly prepared, but its manufacturing-derived smoothness resists coating adhesion without deliberate abrasion treatment. Professional finishers understand that the extra investment in meticulous surface preparation returns dividends through enhanced durability, improved aesthetics, and reduced callbacks.
The unique properties of polyurethane require adapted approaches that differ from natural wood finishing practices, particularly regarding sanding techniques, dust management, and priming requirements. What works on oak or pine may produce disappointing results on polyurethane, while specialized techniques leverage the material's consistent density and absence of grain to achieve remarkably uniform finishes.
Understanding Polyurethane Surface Characteristics
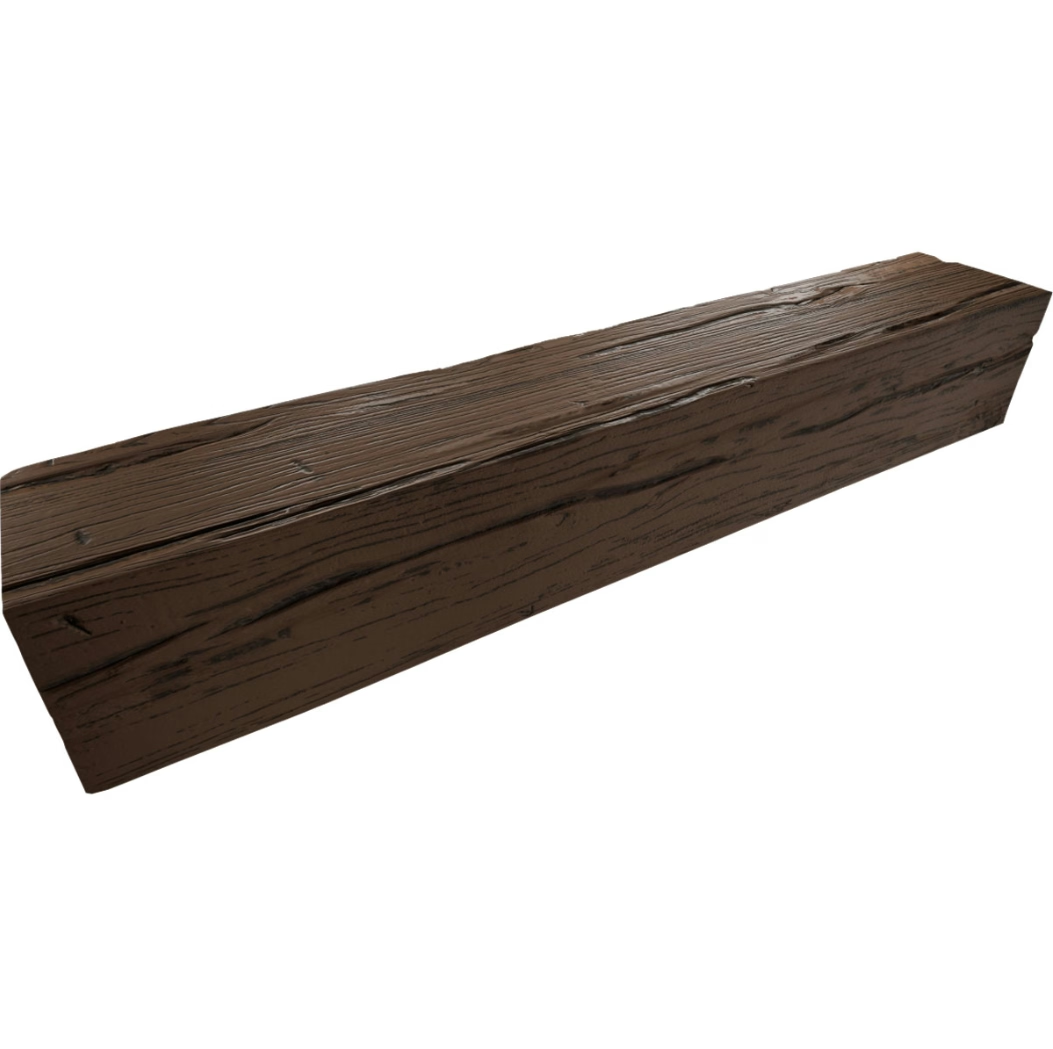
Manufactured polyurethane beams emerge from molds with surfaces that exhibit varying degrees of smoothness depending on mold quality, release agent effectiveness, and any post-molding treatments applied during production. Premium products feature textures intentionally designed to accept coatings while maintaining realistic wood-mimicking appearances, while budget options may present nearly glass-smooth surfaces that require more aggressive preparation to achieve coating adhesion.
Surface contamination from mold release agents, handling residue, or factory dust must be addressed before any sanding begins, as these materials can interfere with both abrasion effectiveness and subsequent coating bonding. Wiping with denatured alcohol or a dedicated surface degreaser removes most contaminants without attacking the underlying polyurethane, creating receptive surfaces for mechanical bonding mechanisms that sanding will establish.
Sanding Technique Progression
Professional surface preparation follows graduated abrasion sequences that remove progressively finer scratch patterns, ultimately producing surfaces smooth enough for quality finish application while maintaining adequate texture for coating grip. Initial sanding typically employs 120-grit abrasive applied by hand or with random orbital sanders, working systematically across all beam faces that will receive visible finish. This stage eliminates mold marks, minor surface defects, and any protective factory coatings that might interfere with field-applied materials.

Subsequent passes with 150-grit and then 180-grit abrasives refine the surface progressively, with each stage removing scratches from the previous grit while establishing its own finer scratch pattern. Professional finishers frequently employ 220-grit for final preparation before paint applications, while stain applications may stop at 180-grit to maintain sufficient texture for color penetration. The key principle involves complete scratch pattern removal at each stage rather than arbitrary timing or pressure adjustments.
Targeting Specific Surface Areas
Different beam surfaces warrant different preparation intensities based on visibility and expected performance requirements. Faces oriented toward room occupants require the most meticulous attention, with preparation extending to higher grits and including detailed inspection under angled lighting that reveals remaining imperfections. Undersides visible from below, such as in vaulted ceiling applications, demand similarly thorough treatment despite their elevated position.
End grains and cut surfaces absorb finishes more aggressively than molded faces, potentially creating color variations that telegraph raw material appearance through applied coatings. These areas benefit from sealing primer application before topcoat materials, evening absorption rates across the beam profile. Router-smoothed cuts may require additional sanding to remove any heat-affected or compressed material that differs from adjacent surfaces.
Dust Management Best Practices
Polyurethane dust presents respiratory concerns that require appropriate protection throughout preparation activities, with N95 respirators providing minimum acceptable filtration for most sanding operations. Ventilation systems should capture dust at the source when possible, using sanders with integrated collection ports connected to HEPA-filtered vacuums that prevent atmospheric contamination. Open-air sanding in adequately ventilated spaces allows dust dispersal but requires similar respiratory protection.
Compressed air blow-off for dust removal creates its own hazards by suspending fine particles in breathable form, making vacuum attachment preferable for cleanup between preparation stages. When blow-off becomes necessary, operators should wear appropriate respiratory protection and clear other personnel from the affected area. Final wipe-down with tack cloths captures remaining particles that vacuum systems might miss, leaving surfaces optimally receptive for coating application.
Priming for Coating Success
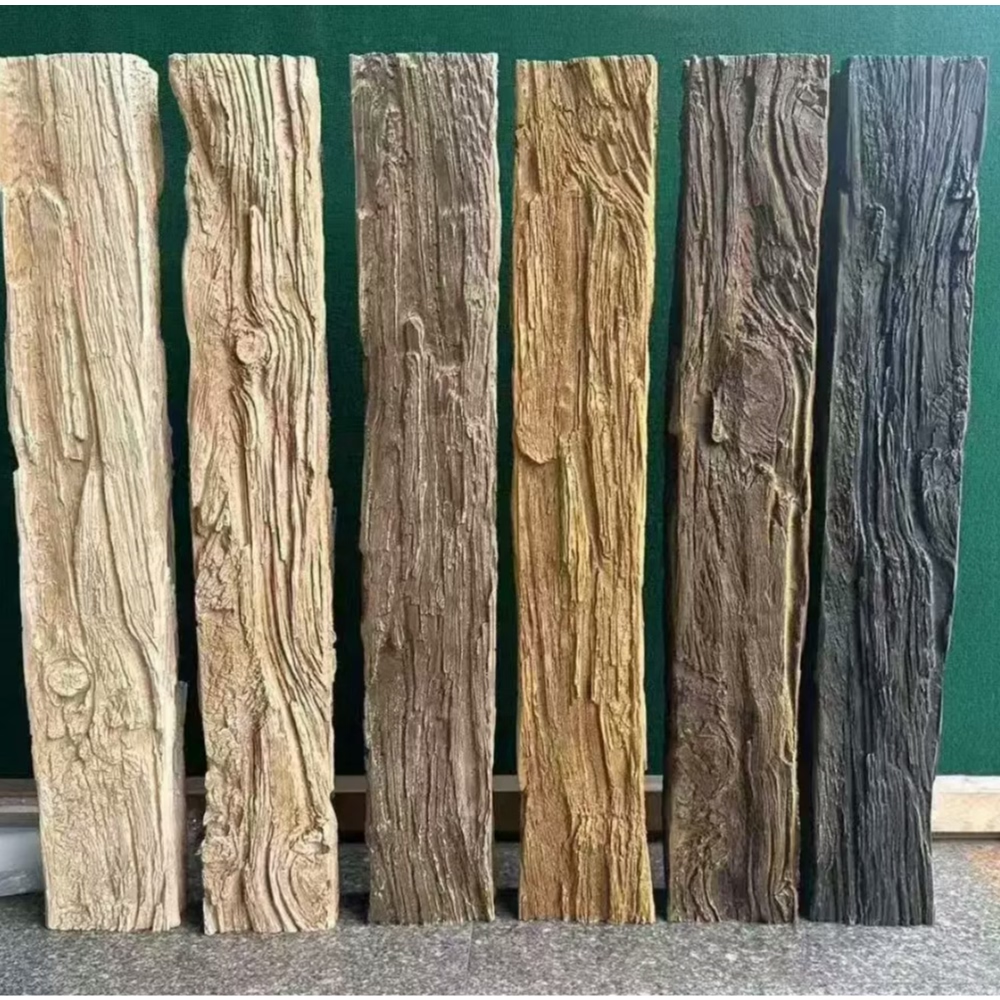
Primer application following sanding creates bonding layers that enhance topcoat adhesion while providing additional defect-concealing capacity beyond what surface preparation alone achieves. Acrylic latex primers perform well on polyurethane surfaces, with some manufacturers offering products specifically formulated for polyurethane substrates that maximize adhesion through compatible chemistry. Application should follow manufacturer recommendations regarding thickness, drying time, and recoat windows.
Sanding between primer and topcoat, using fine 320-grit or higher abrasives, removes any primer raised grain or surface irregularities while maintaining adequate primer thickness for proper bonding. This light scuff-sanding step, often overlooked by hurried finishers, distinguishes professional results from amateur attempts that may look adequate initially but fail prematurely under normal use conditions. Subsequent topcoat application should follow similar attention to recommended application procedures, drying times, and environmental conditions.
Technical References
ASTM standards cited in every specification
Test Data
Lab results from internal testing program
Updated 2026
Reviewed against current product specs


