
The satisfying transformation that sanding provides appeals to DIY enthusiasts tackling beam finishing projects, offering visible progress and professional results without expensive equipment or specialized training. Understanding proper sanding technique elevates amateur efforts toward professional quality while protecting both workers and materials from common mistakes.
Robert Kim approached his basement renovation with enthusiasm but limited finishing experience, determined to achieve results matching his sister's professionally-installed beams. Through careful research and methodical technique development, he discovered that professional-quality sanding requires neither expensive equipment nor years of apprenticeship—just proper understanding of materials, tools, and progressive methods.
Understanding Polyurethane Surface Characteristics
Polyurethane behaves differently than wood during sanding, requiring adapted techniques that account for material properties. Understanding these characteristics prevents mistakes that damage surfaces or create unnecessary work.
Polyurethane melts slightly under friction heat, unlike wood which burns. This property means aggressive sanding generates gummy residue rather than clean dust, clogging sandpaper and creating uneven surfaces. Maintain lower sanding speeds and lighter pressure than wood finishing requires, allowing material to respond appropriately without thermal damage.
Surface hardness varies between formulations, with some polyurethane products sanding relatively easily while others resist abrasion stubbornly. Test sandability on inconspicicious areas before committing to full-surface treatment, adjusting technique and grit selection based on observed material response.
Texture patterns require preservation during finishing, meaning sanding goals differ from wood preparation. Unlike wood where smoothing represents progress, beam sanding often aims to maintain texture while addressing specific surface issues. Identify texture patterns that should remain and protect them during sanding operations.
Tool Selection and Preparation
Appropriate tool selection simplifies sanding operations while improving results, and preparation ensures tools perform as intended throughout finishing work. Evaluate available equipment against project requirements before beginning.
Random orbital sanders provide the best combination of efficiency and safety for beam surfaces, generating smooth results without directional patterns that linear sanders sometimes produce. Choose sander sizes appropriate to beam dimensions—larger sanders for flat surfaces and beam undersides, smaller units for corners and detailed areas.
Detail sanders or sanding sponges address areas inaccessible to regular sanders, including inside corners, detailed moldings, and narrow spaces between beams. Keep multiple sizes available to address varying access requirements throughout beam configurations.
Sandpaper selection determines cutting rate and finish quality, with grit choices affecting both efficiency and outcome. For most beam finishing, progress through 120-grit, 180-grit, and 220-grit stages, though specific requirements vary based on starting surface condition and target finish quality.

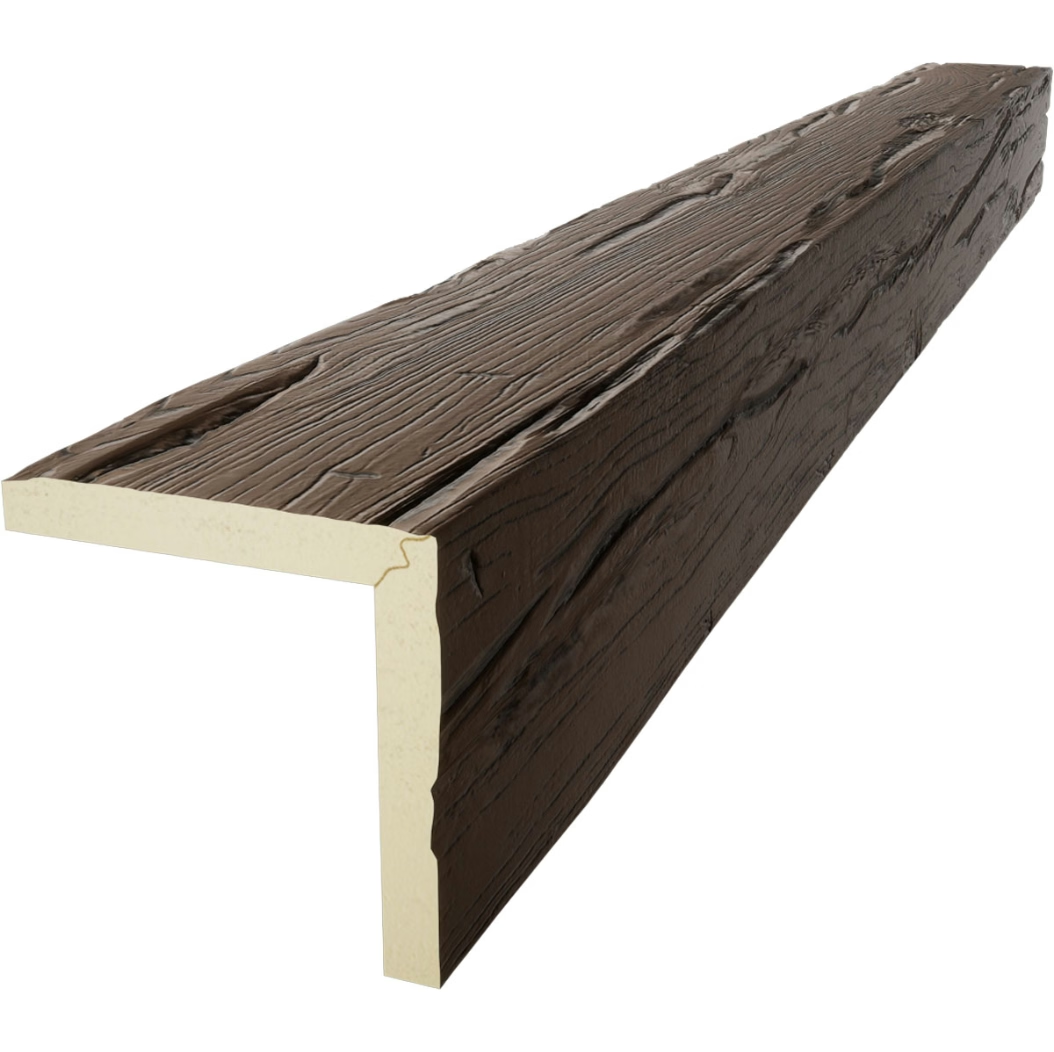
Progressive Sanding Methodology
Professional results emerge from systematic progression through sanding stages, each preparing surfaces for subsequent refinement. Resist shortcuts that skip stages, as progressive refinement builds quality that rushed work cannot achieve.
Initial coarse sanding addresses major surface irregularities, including mold lines, blemishes, and significant texture inconsistencies. Use 80-grit or 120-grit papers depending on severity of issues being addressed. Focus on creating uniform surfaces rather than achieving smooth texture, working systematically across all beam surfaces.
Medium refinement sanding removes scratch patterns from coarse stages while beginning texture refinement. Progress to 180-grit papers, maintaining consistent direction while eliminating deeper scratches. This stage should remove all evidence of coarse sanding while preparing surfaces for fine finishing.
Fine sanding completes surface preparation, achieving smoothness appropriate for chosen finish types. 220-grit or finer papers create surfaces ready for staining, painting, or clear coating. At this stage, sand with final finish application in mind—directional sanding creates patterns that show through transparent finishes.
Safety Practices and Dust Management
Sanding generates dust that requires appropriate management for both health protection and cleanup efficiency. Establish safety practices before beginning work to maintain protection throughout finishing operations.
Respiratory protection prevents inhalation of fine particles that accumulate during sanding. N95 respirators provide adequate protection for occasional sanding, while half-face respirators with appropriate filters prove more comfortable for extended projects. Ensure proper fit and seal when using respirators for maximum protection.
Eye protection guards against flying particles that orbital sanding generates, particularly during aggressive material removal stages. Safety glasses provide basic protection, while goggles offer enhanced coverage for overhead sanding where particles fall toward faces. Choose protection appropriate to work positions and conditions.
Dust collection attachments connect to sanders for direct capture of generated particles, reducing airborne dust and cleanup requirements. Vacuums with HEPA filtration prevent fine particle release while capturing material effectively. Empty collection containers regularly to maintain suction efficiency throughout sanding operations.
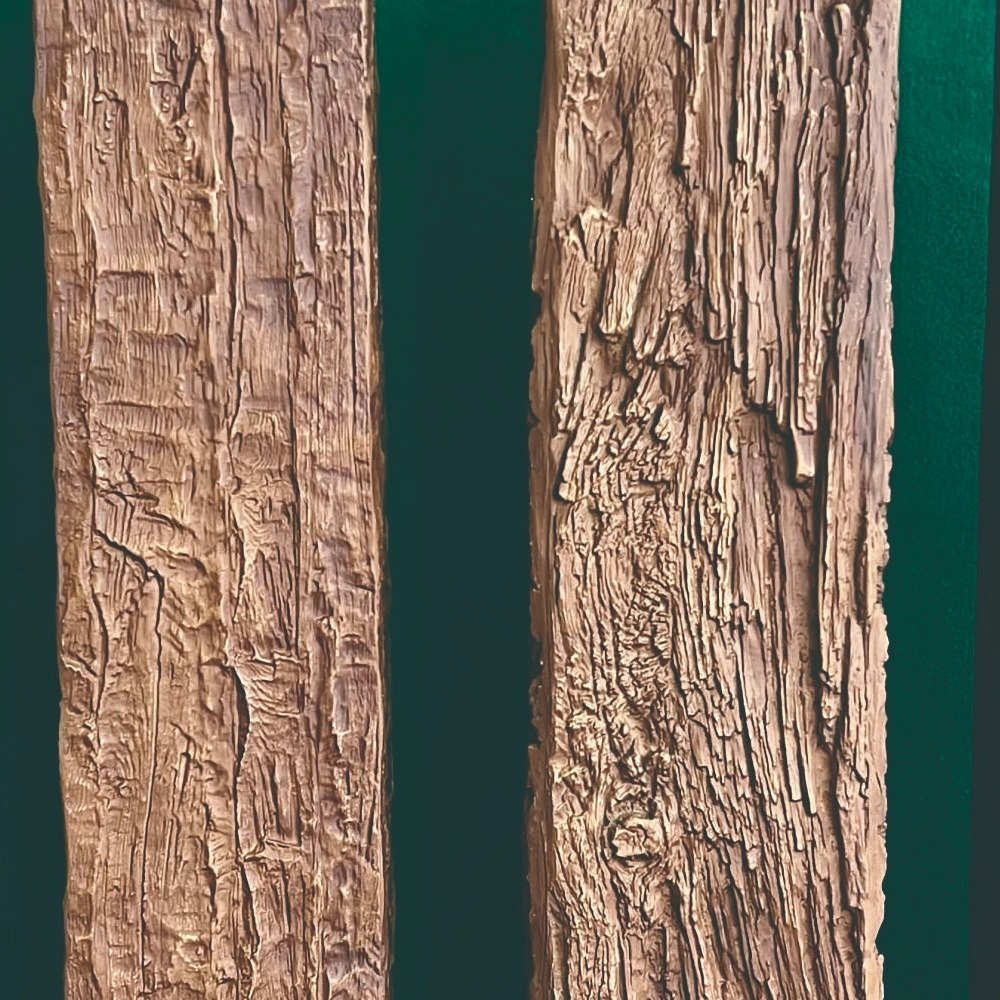
Texture Preservation Techniques
Maintaining authentic wood texture while achieving surface smoothness requires techniques that address texture patterns selectively. Over-sanding eliminates texture that distinguishes authentic appearances, while under-sanding leaves problematic irregularities unaddressed.
Identify texture patterns before beginning sanding, noting areas requiring attention and those needing preservation. Grain patterns, weathering effects, and natural variations contribute to realistic appearance and should influence sanding approach throughout finishing work.
Light hand sanding often suffices for texture preservation, using sandpaper backed by rubber sanding blocks or similar conformable supports. This technique applies even pressure across surface variations, smoothing high spots without digging into texture depths. Reserve power sanding for flat surfaces where texture importance is minimal.
Test texture preservation on sample areas before committing to full-beam treatment. Examine results carefully under good lighting, noting whether texture patterns remain authentic or have been compromised toward generic smoothness. Adjust technique based on observed outcomes.
Finish Preparation and Final Preparation
Properly sanded surfaces receive finishes that enhance rather than mask underlying preparation quality. Final preparation steps ensure surfaces accept finishes evenly while achieving intended appearance.
Remove all sanding residue before applying finishes, using tack cloths or compressed air to eliminate particles that would create surface blemishes. Wipe surfaces with appropriate solvents if recommended by finish manufacturers, ensuring compatibility between cleaning agents and subsequent coatings.
Allow sanded surfaces to rest before finishing, permitting any residual dust or heat to dissipate fully. This rest period also allows materials to temperature-equilibrate when work occurs in variable-temperature environments. Overnight rest often proves beneficial for critical finishing work.
Apply thin finish coats that build gradually rather than heavy coats that hide surface issues. Multiple thin applications achieve better adhesion and appearance than single heavy coats, allowing each layer to cure properly while building finish depth progressively.
Technical References
ASTM standards cited in every specification
Test Data
Lab results from internal testing program
Updated 2026
Reviewed against current product specs


