
Minor damage to polyurethane faux beams during transport, handling, or installation occurs despite careful precautions, and professional repair skills enable installers to address these issues without replacing entire beam sections. The repair materials and techniques differ somewhat from natural wood repair approaches, requiring understanding of polyurethane surface characteristics and appropriate filler properties. Skilled repair work becomes invisible under final finishing, protecting installation aesthetics and avoiding unnecessary material waste.
The scope of repairable damage ranges from small holes and dents to minor cracks and gouges, with each requiring appropriate material selection and application technique. Understanding which damage types respond well to field repair versus those requiring factory intervention or component replacement prevents wasted effort on situations unlikely to achieve satisfactory results.
Damage Assessment and Repair Planning
Before beginning any repair work, thorough damage assessment determines appropriate repair approaches and realistic outcome expectations. Small holes up to approximately 6mm diameter typically respond well to direct filler application, while larger voids may require build-up techniques with mesh reinforcement or backing materials. Crack assessment distinguishes surface cracks that may self-seal from through-cracks indicating more serious structural concerns.
Damage location relative to beam texture affects repair visibility after completion, with repairs in heavily textured areas more easily concealed than those on smooth surfaces. End grain areas that accept finish differently than molded faces may require special attention to color matching and absorption control. Planning repair sequence for areas that will receive final finishing before proceeding to exposed surfaces enables aesthetic refinement without concern for later damage.
Filler Material Selection
Polyurethane-compatible spackling compounds provide excellent performance for small repairs, with water-based products offering easy cleanup and acceptable working properties. Premium spackling compounds designed for paint-grade surfaces resist shrinking and cracking better than budget options, making them worthwhile investments for visible repairs. Vinyl spackling products offer good durability but may require longer drying times in humid conditions.

Wood-tone putties enable colored fills that blend with stained beam surfaces, though achieving precise color match requires careful product selection and potentially custom tinting. Two-part epoxy fillers provide superior strength and moisture resistance for repairs in demanding locations, though the additional complexity limits their use to situations where benefits justify the added process time. Professional installers maintain selection variety to address varying repair requirements efficiently.
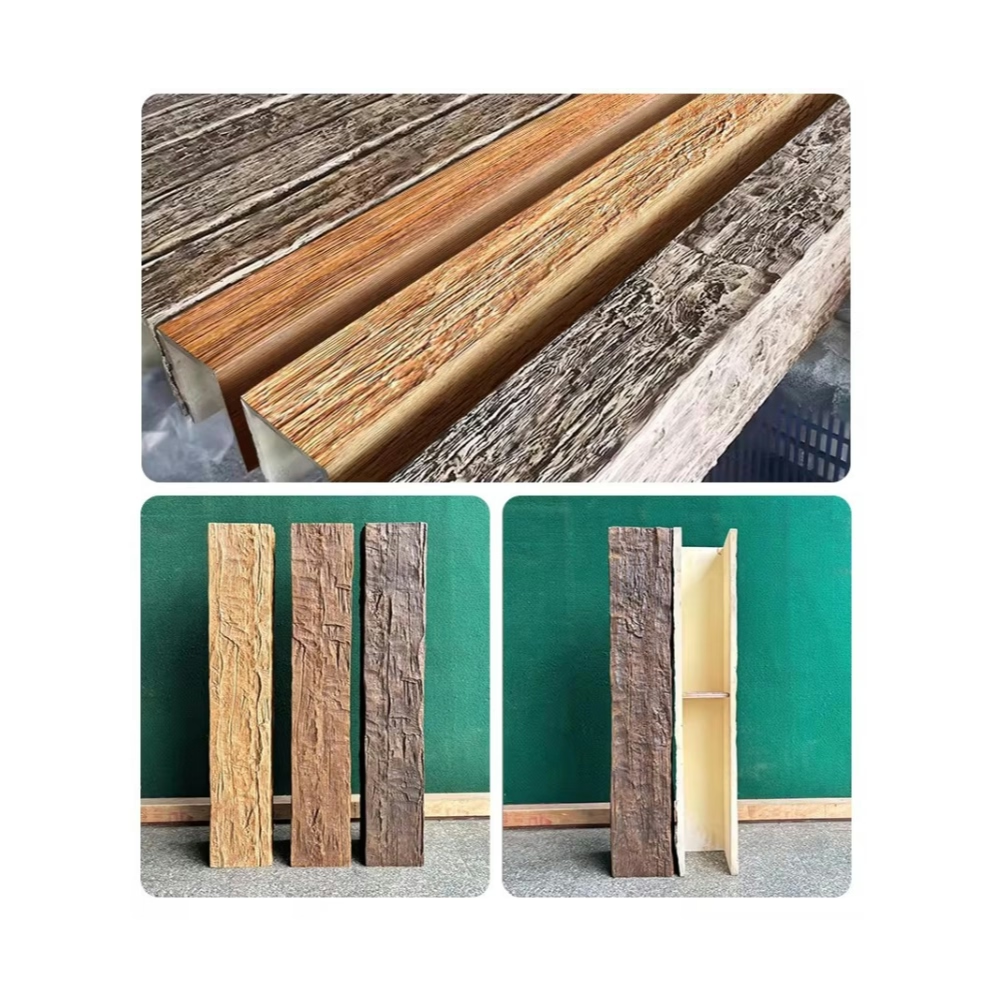
Surface Preparation for Repair
Clean, sound surfaces ensure that filler materials bond effectively and perform as intended throughout their service life. Damaged areas should be cleared of loose material, dust, and any contamination that might impair adhesion. Compressed air or vacuum removal eliminates debris from voids before filler application, while wiping with denatured alcohol removes residual contamination without introducing moisture.
Edge preparation for crack repairs involves widening the crack slightly to create geometric rather than stress-concentrating geometry, with approximately 3mm width providing adequate fill material without excessive removal of surrounding sound surface. Backer material insertion for deep cracks prevents three-sided adhesion that would compromise filler flexibility, allowing movement accommodation without cracking.
Application Technique for Seamless Results
Proper application technique distinguishes professional repairs from amateur attempts, beginning with filler loading that avoids air entrapment and ensuring complete void filling. Pressing filler into damaged areas with appropriate force eliminates voids while avoiding excessive material that creates raised areas requiring extensive sanding. Working filler slightly proud of the surrounding surface enables flush sanding without creating depressions.
Layer application for deep repairs prevents shrinkage cracking that occurs when thick fills dry too quickly, with each layer allowed to cure fully before subsequent application. Alternatively, slow-drying products or misting during cure enables thicker applications without cracking risk. Professional repairers match application approach to specific product characteristics rather than applying generic technique regardless of material properties.
Sanding progression follows the same principles as new surface preparation, with initial sanding at 120-grit to flatten proud filler and subsequent progression through 150, 180, and potentially 220 grits to achieve surface smoothness matching the surrounding beam. Sanding blocks provide flat reference surfaces that prevent rounding at repair edges, while contoured shapes address repairs in profiled areas. Final surface should blend seamlessly with surrounding areas under both casual observation and angled lighting inspection.

Color Matching and Finish Integration
Successful repairs disappear under final finishing, which requires color integration between repair material and surrounding surface. Priming repairs before topcoat application unifies absorption rates that would otherwise create visible patches despite careful surface preparation. Tinted primers enable approximate color matching for repairs in colored beams, with final topcoat completing the integration process.
Texturing repairs to match surrounding surface characteristics completes the concealment process, with techniques ranging from simple stippling to complex grain replication depending on surface treatment. Pre-molded textures may require careful carving or pressing to restore, while simple textures often accept over-spray treatments that blend effectively with minimal treatment. Professional repairers develop texture matching skills through practice and observation of authentic surface characteristics.
Technical References
ASTM standards cited in every specification
Test Data
Lab results from internal testing program
Updated 2026
Reviewed against current product specs


