
When beams must span distances exceeding available stock lengths, splicing creates continuous appearances from multiple pieces without compromising structural integrity or visual quality. Professional splicing kits provide everything needed for strong, invisible joints that perform like solid pieces while maintaining wood-like character throughout spliced locations.
Interior contractor Diana Martinez credits splicing kits with enabling installations that would otherwise require expensive custom fabrication or design modifications. Her crews now handle long-span requirements routinely, achieving splice quality that clients cannot distinguish from unspliced beams despite close inspection. This capability expands design possibilities while controlling costs that custom long-length production would increase significantly.
Understanding Splice Joint Mechanics
Splice joints must perform structural and aesthetic functions that sometimes conflict, requiring design approaches balancing competing requirements. Understanding these mechanics guides kit selection and application technique.
Structural load transfer through spliced joints requires adequate cross-sectional connection between beam pieces. Splices using hidden plates or keys transfer loads through mechanical interlocking, while adhesive-only splices rely on bonding strength to carry imposed loads. Joint design must match expected load levels with appropriate load-transfer mechanisms.
Visual continuity demands splices invisible within normal viewing distances, requiring grain and color matching plus seamless surface transitions. Even structurally perfect splices fail aesthetically if visible seams reveal junction locations. Kit selection should prioritize approaches that enable invisible appearance when properly executed.
Access considerations affect which splice approaches prove practical, with some methods requiring assembly before installation while others accommodate in-situ joining. Evaluate installation sequences and access conditions when selecting splice methods, choosing approaches feasible for specific project conditions.
Kit Component Overview
Professional splicing kits provide coordinated components designed to work together, eliminating compatibility concerns that complicate component-by-component assembly. Understanding component functions guides appropriate application and troubleshooting.
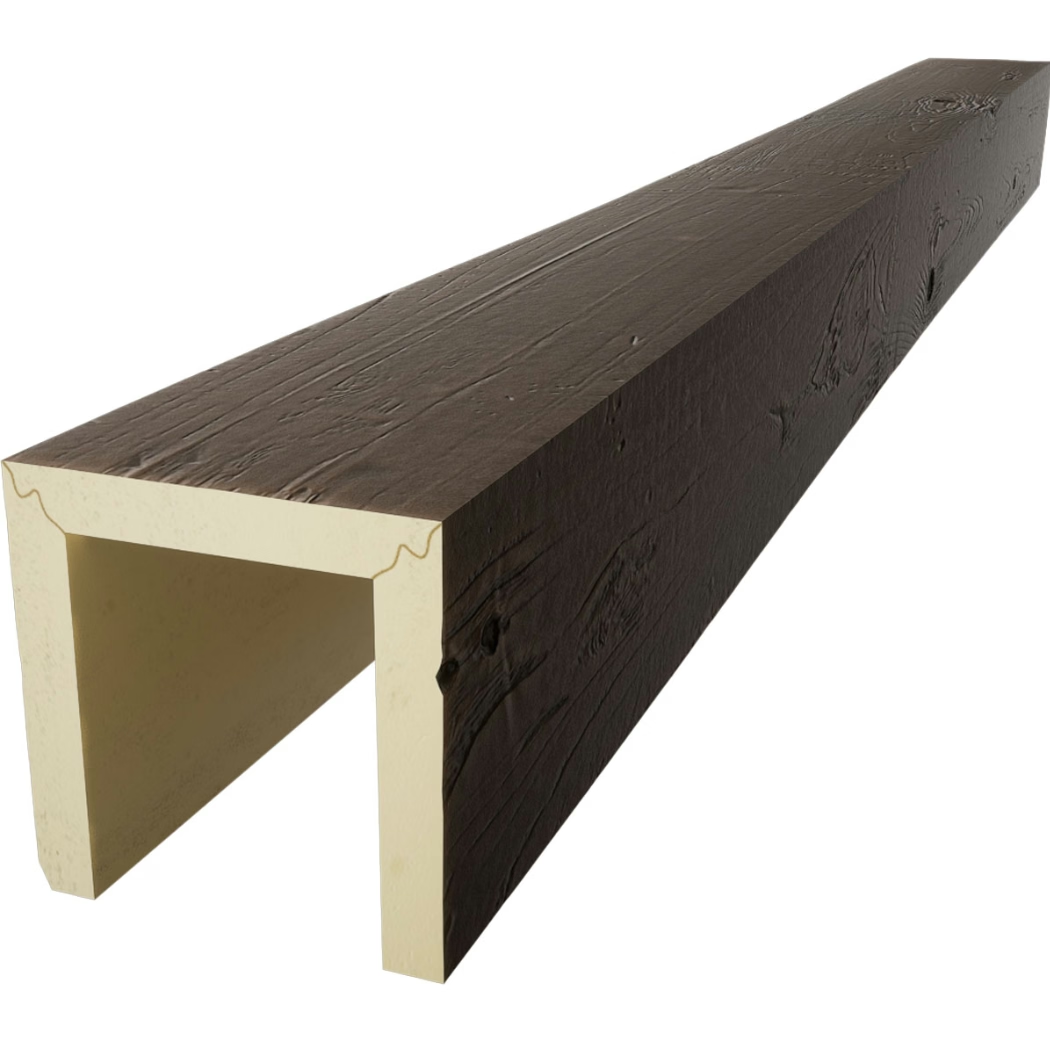
Splice plates or keys provide mechanical reinforcement that carries load across joint locations. Metal plates offer high strength in compact profiles, while polymer or composite alternatives provide adequate strength with simpler finishing requirements. Plate design affects both structural capacity and finishing difficulty.
Adhesive products included in comprehensive kits provide bonding between beam surfaces and splice components. These formulations are selected for compatibility with polyurethane substrates and typical installation conditions, eliminating guesswork in adhesive selection. Know cure times and application requirements before beginning assembly.
Fastening hardware secures splice components during adhesive cure and provides additional load transfer capacity beyond adhesive bonding. Self-drilling screws, staple fasteners, or specialized clips included in kits are designed for specific splice configurations, ensuring appropriate strength without damaging beam surfaces.


Assembly Technique Steps
Proper assembly technique ensures splices achieve intended structural and aesthetic performance. Following systematic procedures prevents shortcuts that compromise results.
Surface preparation for splicing requires thorough cleaning that removes any contamination preventing proper adhesive bonding. Light sanding creates mechanical key for improved adhesion, while solvent wiping ensures surfaces are completely clean. Allow surfaces to dry fully before adhesive application.
Component positioning requires careful alignment that ensures spliced beams align perfectly along their lengths. Misalignment even fractions of an inch creates visible discontinuity that undermines seam-invisible goals. Use alignment aids and temporary fastening to hold components in perfect position during assembly.
Adhesive application follows manufacturer specifications for coverage, open time, and clamping requirements. Apply adhesive uniformly across bonding surfaces without voids or excess that creates mess or prevents complete contact. Work quickly enough to assemble while adhesive remains workable, but without rushing in ways that compromise alignment.
Clamping maintains position and pressure throughout adhesive cure, ensuring bonds develop fully before stress application. Use clamps appropriate to joint geometry, distributing pressure evenly across bonding surfaces. Maintain clamping until adhesive cures sufficiently to support loads, typically several hours depending on adhesive formulation and environmental conditions.
Finishing Spliced Joints
Splice locations require finishing that integrates them with surrounding beam surfaces, rendering joints invisible within normal viewing conditions. These finishing steps complete splicing operations and determine final appearance quality.
Filler application addresses any minor gaps or irregularities remaining after assembly. Use flexible fillers compatible with polyurethane substrates, applying sparingly and tooling to blend with surrounding surfaces. Multiple thin applications build toward seamless transitions better than single heavy fills.
Color matching ensures splice areas blend with surrounding beam finishes through careful tinting and blending. Test color formulas on scrap material before applying to visible installations, adjusting until matches achieve acceptable consistency. Feather color transitions gradually rather than creating sharp boundaries.
Texture integration recreates surface characteristics that distinguish authentic wood from plastic appearance. Use appropriate tools to stamp, brush, or otherwise apply texture matching surrounding patterns. Texture should fade gradually into surrounding areas rather than creating obvious texture boundaries.
Quality Verification
Before declaring splicing complete, verify that joints meet structural and aesthetic requirements that justify the installation effort invested. Systematic verification identifies issues while correction remains practical.
Structural testing applies gentle pressure to spliced areas, verifying that joints support expected loads without movement or sound. Joints should feel as solid as unspliced beam sections, with no flexing or creaking that suggests inadequate bonding. Address any movement detected before proceeding with installation.
Visual inspection under good lighting reveals any finishing issues that might become visible after installation. Position beams as they will appear when installed and examine from typical viewing distances. Mark any visible issues for correction before permanent installation.
Documentation records splice locations for future reference, particularly important in commercial installations where maintenance or renovation might encounter spliced beams. Note splice positions relative to room features, creating records that guide future work without damaging hidden joints.
Technical References
ASTM standards cited in every specification
Test Data
Lab results from internal testing program
Updated 2026
Reviewed against current product specs


