
Color grading transforms raw polyurethane beams into sophisticated architectural elements through layered staining techniques that create depth, character, and authentic wood appearance. Unlike simple single-coat coloring, professional color grading builds complex appearances through systematic application sequences that achieve results impossible through simpler approaches.
Master finisher James Whitfield developed his color grading methodology over twenty years of museum restoration work, where the ability to match historic finishes precisely determined project success. His techniques translate directly to contemporary faux beam finishing, producing appearances that capture the subtle complexity of naturally-aged wood without requiring decades of actual weathering.
Color Grading Fundamentals
Color grading creates visual complexity through layered color application that mimics natural wood's character-rich appearance. Understanding fundamental principles guides technique development and troubleshooting.
Layered color construction builds appearance through multiple applications, with each layer contributing to overall effect. Base coats establish fundamental color, mid layers add character variation, and highlight layers create dimension that distinguishes professional finishes from simple coloring. Plan layer sequences that achieve intended effects efficiently.
Color contrast between layers creates depth that single-coat application cannot achieve. Dark base tones under lighter mid and highlight layers produce dimension through value contrast, while hue variations create complexity that enriches overall appearance. Strategic contrast application guides visual attention and creates focal interest within larger installations.
Grain enhancement through color grading amplifies texture presence by emphasizing raised grain, ray figures, and other wood characteristics. Apply color more heavily into texture depressions while wiping highlights from raised areas, creating contrast that reinforces wood-like authenticity. This technique distinguishes genuine wood appearance from plastic imitation.
Preparation and Priming
Proper preparation determines how effectively subsequent staining layers adhere and perform, making preparation investment essential for professional results. Cutting preparation corners guarantees disappointing outcomes that no subsequent technique can remedy.
Surface cleaning removes contamination that interferes with stain adhesion, including dust, oils, release agents, and handling marks. Clean surfaces systematically using appropriate cleaners that leave no residue, working from top to bottom to prevent recontamination of cleaned areas. Allow complete drying before proceeding.
Sanding progression for color grading differs from standard finishing, with coarser grits sometimes preferred to create texture that stain layers will enhance. Evaluate surface texture under good lighting, determining whether additional tooth or smoother surfaces serve grading goals better. Document decisions for consistency across multiple beams.
Primer application creates consistent base that ensures even color development across variable polyurethane surfaces. Tinted primers that approach final color reduce the number of stain layers needed while providing color insurance that prevents show-through of problematic substrate variations. Select primers appropriate to stain systems being used.

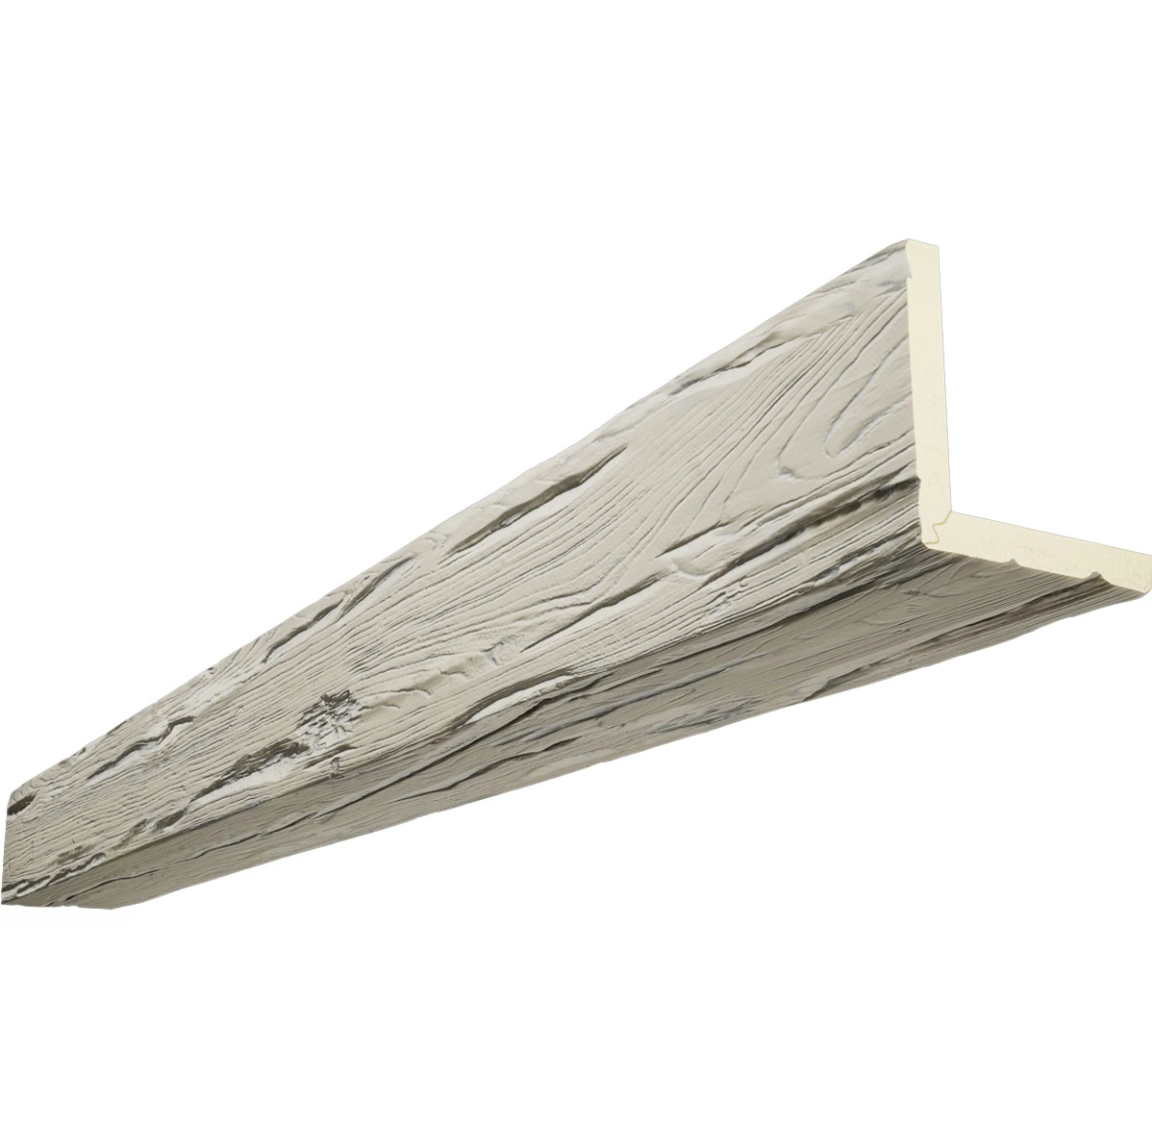
Base Color Application
Base color establishes the foundation upon which subsequent layers build, requiring careful application that ensures even coverage and proper adhesion for overlying layers. Base color mistakes compound through subsequent applications, making accuracy essential.
Application method selection should match stain viscosity and substrate characteristics, with spray application typically providing most even coverage for base coats. Brush or wipe application works well for thicker stains or when texture enhancement is desired, with technique determining final character. Match application method to intended results.
Coverage uniformity ensures base color provides consistent foundation without light or dark areas that would show through subsequent layers. Apply sufficient material to achieve complete coverage, avoiding light areas that create uneven appearance when glazed or highlighted. Multiple thin coats often provide more uniform coverage than single heavy applications.
Drying and curing before subsequent application prevents layer blending that muddies colors and loses the separation that creates dimension. Allow base coats to cure fully according to manufacturer recommendations, extending times when environmental conditions slow drying. Premature over-coating compromises the clarity that professional color grading achieves.
Character Layer Development
Character layers add visual interest through color variations that mimic natural wood's organic complexity, creating the character that distinguishes authentic appearance from manufactured uniformity. These layers require artistic judgment that technical application cannot provide.
Glaze application creates mid-tone color variations that add complexity without overwhelming base colors. Apply glazes selectively using techniques that create natural-looking patterns, avoiding mechanical uniformity that appears artificial. Vary glaze density across surfaces, building interest through controlled irregularity.
Pigment placement adds concentrated color to specific areas that replicate natural wood characteristics like darkening near knots, mineral streaks, or weathering patterns. Place these accents deliberately, studying natural wood references to understand where such variations occur and how they appear. Subtle placement often proves more effective than obvious additions.
Layer sequencing builds complexity through strategic ordering that creates depth and dimension. Apply darker tones first, building toward lighter highlights that create surface pop. This sequencing ensures highlights remain visible while mid and base tones provide underlying support. Document layer sequences for reproduction across project beams.
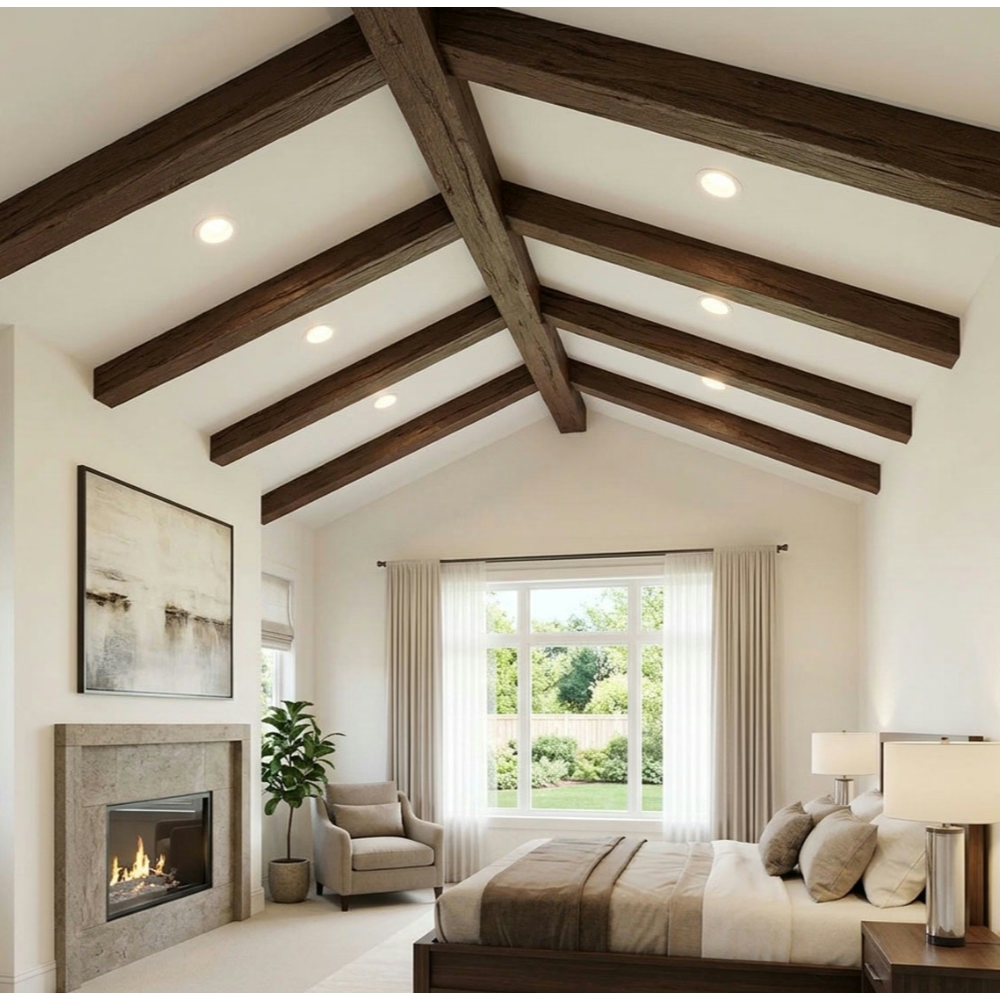
Finishing and Protection
Final finishing completes color grading work while providing protection that preserves appearance through service exposure. These final steps determine whether beautiful color work survives to fulfill its design potential.
Sheen control through topcoat selection establishes final appearance character, ranging from matte surfaces that recede visually to high-gloss surfaces that command attention. Match sheen to design intent, with rustic aesthetics typically favoring lower sheen levels while formal spaces often accommodate higher gloss. Test sheen on sample pieces before committing to full application.
Application technique affects final appearance significantly, with spray application generally providing smoothest results while brush application can add subtle texture. Evaluate technique options against intended appearance, selecting approaches that serve rather than compromise grading work.
Maintenance consideration during finish specification ensures ongoing care aligns with initial appearance goals. Higher-gloss finishes show maintenance wear more readily than matte alternatives, potentially requiring more frequent maintenance to preserve intended appearance. Balance initial beauty against maintenance commitment when selecting finishes.
Technical References
ASTM standards cited in every specification
Test Data
Lab results from internal testing program
Updated 2026
Reviewed against current product specs


