The mark of a quality beam installation lies not in the beams themselves but in the joints between them. Even the most beautifully textured and colored beams appear amateurish when joints telegraph through the finished work. Professional finishers develop techniques that render joints invisible from normal viewing distances under typical lighting conditions, creating the illusion that beams emerged from the ceiling as single continuous pieces.
Joint concealment begins with planning during the specification and ordering phase. Thoughtful beam layout can minimize joints in visible locations, positioning connections behind furniture, in darker areas, or where ceiling geometry naturally breaks the sightline. When joints cannot be avoided, selecting connection methods suited to the specific location ensures the best possible appearance.

Understanding Joint Types and Their Applications
Mitered joints work best at outside corners where two beams meet at a 90-degree angle. The miter cut presents matching cross-sections at the joint, allowing wood grain patterns to continue across the connection. For authentic wood replication, matching grain orientation at mitered joints requires careful attention during cutting and assembly. The angled cut also reduces the visible gap between pieces by presenting a thinner profile to the viewer.
Inside corners present different challenges because one beam typically terminates against another rather than meeting at an angle. These joints can use mitered returns, where the terminating beam wraps around the corner on the adjacent surface, or butt joints finished with caulking and paint. Each approach has aesthetic and practical trade-offs that depend on beam profile, corner geometry, and finish requirements.
Butt joints along continuous beam runs become necessary when covering spans longer than available beam lengths or when navigating around penetrations. These joints require the most careful attention because any imperfection becomes immediately visible. The key to successful butt joints lies in creating perfectly square cuts and providing hidden structural support beneath the connection point.
Precision Cutting for Seamless Results

The foundation of invisible joints is precision cutting. Professional installers use compound miter saws or track saws that produce square, clean cuts without tear-out or blade marks. The cutting surface of polyurethane should be examined under good lighting before installation, checking for any marring that would telegraph through the finish.
Cutting jigs and templates ensure repeatability when multiple similar cuts are required. For projects with multiple identical corners, a simple wood template can ensure that each cut matches perfectly. The slight compression that occurs when polyurethane is clamped during jig construction helps stabilize the material during cutting, reducing vibration that can affect cut quality.
For mitered joints, cutting both pieces at the same time, clamped together, ensures that any blade deflection affects both pieces identically, producing matching angles. This technique works particularly well for 45-degree miter cuts but can be adapted for other angles when proper fixtures are constructed.
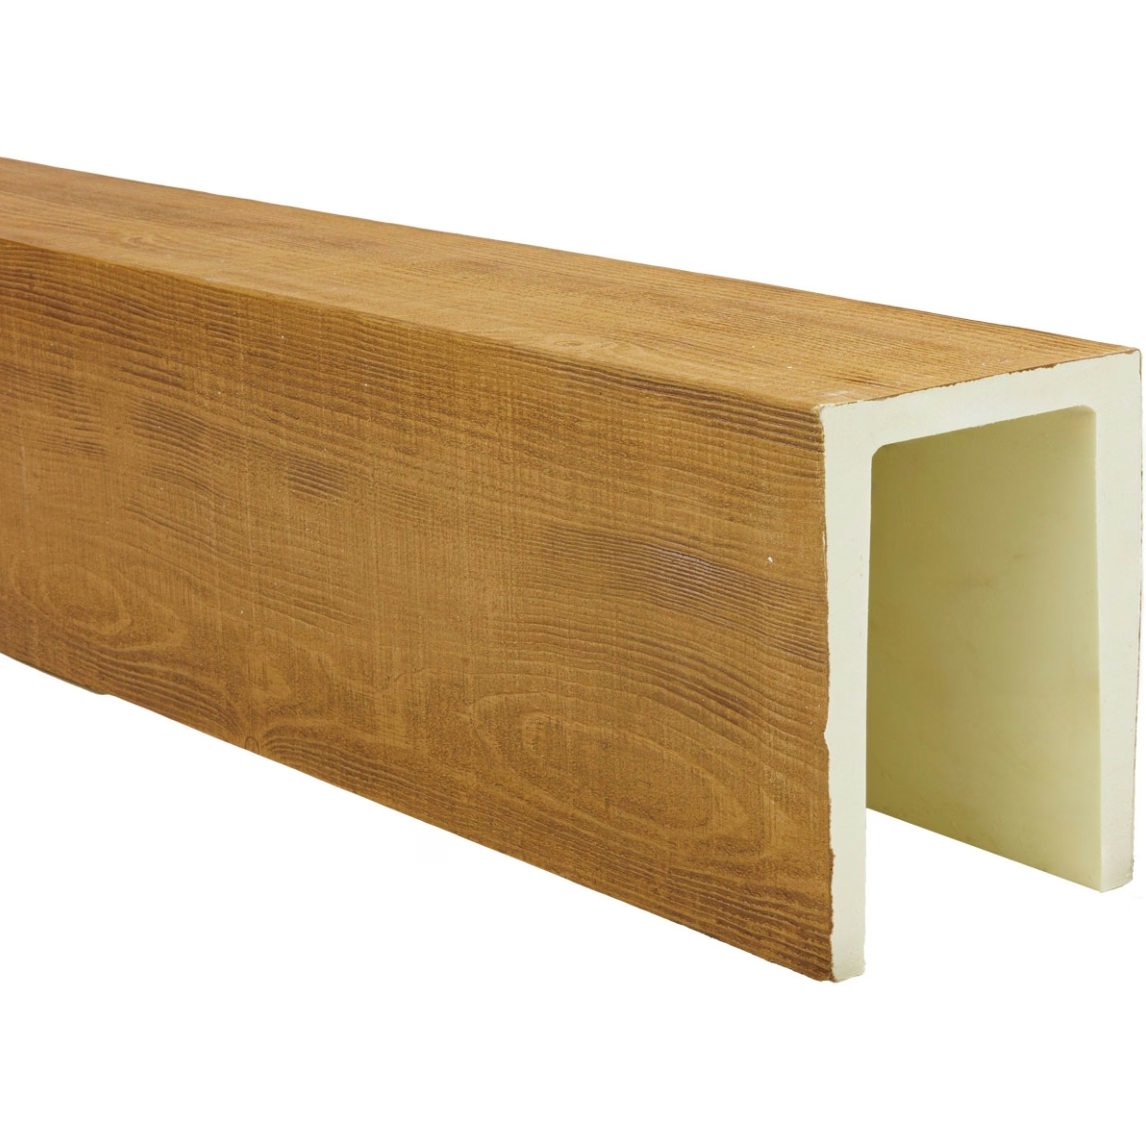
Structural Support Beneath Joints
Joints require hidden structural support to prevent movement that would eventually crack finishes or create visible gaps. The mounting system must provide continuous backing at joint locations, either through continuous blocking or through metal mounting plates designed for this purpose. Steel plates spanning joint locations transfer loads across the connection while remaining invisible after installation.
Installation sequence matters for joint strength. When installing beams with multiple joints, work from the center outward, establishing a solid reference point before connecting pieces that must align with it. This approach prevents cumulative error that can pull joints out of alignment, requiring removal and reinstallation.
Mechanical fastening at joints should be supplemented with adhesive bonding. Construction adhesive applied to mating surfaces before fastening creates a rigid bond that prevents the subtle movement that causes joint failure. The adhesive also fills minor gaps between pieces, reducing the amount of caulking required for final finishing.
Finishing Techniques for Invisible Joints
The finishing process transforms properly cut and fastened joints into invisible connections. After installation, inspect each joint under raking light to identify any remaining imperfections. Raking light, directed parallel to the surface, reveals irregularities invisible under perpendicular lighting and should be standard practice for finish inspection.
Flexible caulking designed for trim and moldings fills hairline gaps that remain after adhesive curing. Apply caulking in smooth, continuous beads, tooling the surface to match the surrounding texture. Water-based acrylic latex caulks accept paint well and clean up easily, while silicone options offer superior flexibility for joints that may experience seasonal movement.
When texture matching is required, thin layers of drywall compound or spackling applied with a flexible putty knife can build up low areas. Multiple thin layers, allowed to dry completely between applications, build the surface without cracking. Once level with the surrounding area, texture is reapplied to match the beam surface, followed by priming and painting.

Quality Verification and Touch-Up
After finishing, examine joints from typical viewing distances and angles. Standing at normal eye level and looking up, as a room occupant would, reveals how the work will be perceived in daily use. Photographing joints under various lighting conditions documents the finished appearance and helps identify areas needing additional attention.
Touch-up procedures should be documented and materials kept available for post-occupancy maintenance. Finish batches should be documented so future touch-ups can match the original color precisely. Small repairs can be accomplished without disturbing the surrounding installation if proper materials and techniques are maintained.
Technical References
ASTM standards cited in every specification
Test Data
Lab results from internal testing program
Updated 2026
Reviewed against current product specs


