Field cutting of polyurethane beams differs substantially from cutting natural wood or structural materials. The material properties that make polyurethane desirable for beam applications—lightweight, consistent density, and smooth surfaces—also create unique challenges during fabrication. Understanding these characteristics helps installers select appropriate tools and techniques that produce clean, accurate cuts without chip-out or surface damage.
The most common cutting scenario involves trimming beam length to fit between walls, columns, or other termination points. These cuts range from simple square cuts to complex compound angles for vaulted ceilings or decorative layouts. Whatever the cut configuration, the principles remain consistent: use appropriate tools, support the work properly, and work methodically to maintain accuracy throughout the installation.

Tool Selection for Different Cutting Scenarios
Standard circular saws handle most beam cutting tasks effectively when equipped with appropriate blades. The key is selecting a blade designed for composite materials rather than wood or metal. Carbide-tipped blades with fine teeth, typically 60 to 80 teeth for a 7-1/4 inch blade, produce the smoothest cuts in polyurethane. Blades designed for laminates or plastics work particularly well, as they feature tooth geometries that slice rather than tear through the material.
Miter saws provide superior accuracy for angle cuts and are the preferred tool for mitered corners. Compound miter saws handle both miter and bevel angles simultaneously, essential for beams meeting at vaulted or irregular ceiling angles. The fixed position of miter saws relative to the workpiece produces consistent results across multiple cuts, valuable when cutting matching pieces for symmetrical installations.
For cuts requiring exceptional accuracy or for very large beams, track saws offer advantages. The guided cutting action eliminates blade deflection that can occur with circular saws, particularly when cutting near the end of longer beams. Track saws also produce less airborne dust, as the dust collection system operates more efficiently with the contained cutting geometry.
Blade Selection and Maintenance

The blade fundamentally determines cut quality. Polyurethane's consistent density means that dull blades affect cut quality immediately rather than gradually. A sharp blade produces a glass-smooth cut surface, while a dull blade creates a frosted or shredded appearance that requires additional finishing. Inspect blades before each significant cutting session, looking for damaged or missing teeth that would create inconsistent results.
Blade tooth count affects cut quality and speed differently. Higher tooth counts produce smoother surfaces but cut more slowly. For finish-critical cuts at visible beam ends, use 80-tooth blades and accept the slower cutting speed. For cuts that will be hidden inside corners or behind joinery, 40 to 60 tooth blades provide acceptable results with faster cutting.
Kerf width, the material removed by the blade, should be considered when planning cuts. A standard blade removes approximately 3mm per cut, while finishing blades with thin kerf remove less. For expensive beams where length is at a premium, thin-kerf blades preserve material. The trade-off is reduced blade durability, so keep extra blades available when using thin-kerf options.
Cutting Techniques and Workholding
Proper workholding prevents movement during cutting that creates inaccurate or dangerous results. Secure beams to a stable work surface using clamps with padded jaws to prevent surface damage. For long beams, support the free end to prevent sagging that binds the blade during the cut. When cutting beams longer than a saw table can accommodate, use a steady support at the cut line and an assistant to manage the waste piece.
Mark cut lines clearly using a sharp pencil or marker. Avoid using tape as a cutting guide, as the blade can grab and tear the tape, affecting cut accuracy. For precision cuts, measure twice and mark at multiple points along the cut line, checking that marks align before cutting. This verification catches measurement errors before they consume expensive material.
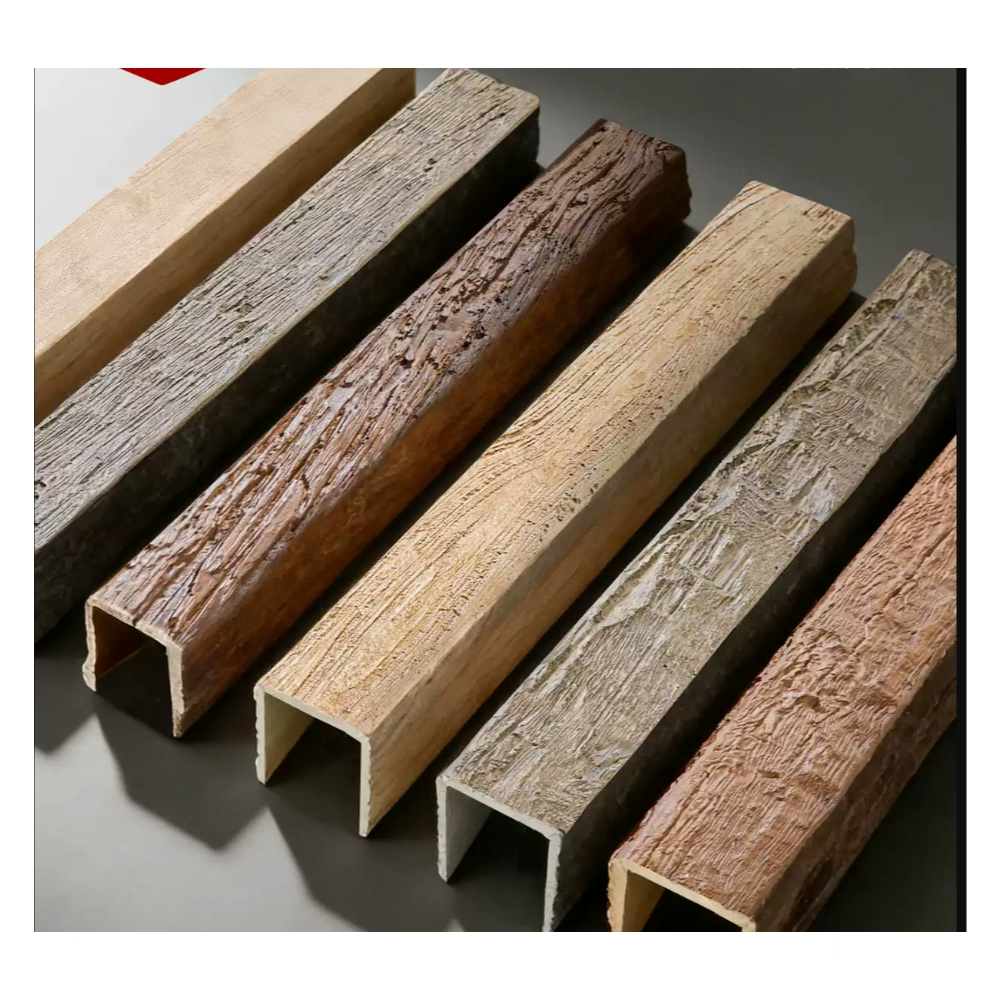
When cutting beams with decorative textures or wood grain patterns, orient the beam so the visible face is positioned for optimal cutting. The slight compression that occurs when holding the beam for cutting can affect texture, so position clamps in areas that will be hidden or can be repaired. Consider whether the cut direction matters for pattern continuation, particularly when cutting mitered corners.
Managing Cut Quality and Edge Finishing
Despite best practices, cut edges sometimes require refinement. Light sanding with fine-grit sandpaper, typically 120 to 150 grit, smooths minor imperfections without creating visible flat spots on textured surfaces. For heavy texture patterns, sanding may not be appropriate if it would flatten the texture. In these cases, the cut edge can be treated with a surface sealer that consolidates the polyurethane fibers and provides a smooth base for painting.
Cut ends that will be visible require the most careful attention. The end grain of polyurethane, like wood, accepts paint differently than the face surfaces. Applying a primer or sealer to cut ends before installation ensures uniform finish appearance. For beams with wood grain finishes, matching the end grain color requires feathering the finish from the face onto the end using a small brush and careful blending technique.
When cutting beams with hollow cores or light-density cores, the interior surface may be visible at cut ends. These interiors typically require finishing or may need to be covered using end caps or return pieces. Plan for interior finishing during the cutting phase by considering what will be visible after installation and how it will be addressed.

Safety Considerations
Polyurethane cutting generates dust that requires appropriate respiratory protection. While polyurethane is not hazardous like some composite materials, the fine dust can irritate respiratory passages and eyes. Dust collection attached to saws significantly reduces airborne particles. When dust collection is not available, wearing a N95 respirator and safety glasses provides adequate protection for occasional cuts.
Allow blades to cool between extended cutting sessions. Continuous use heats blades, causing tooth geometry to shift slightly and affecting cut quality. A brief rest between cuts or having multiple blades available for rotation maintains consistent cut quality throughout the installation.
Secure all workpieces completely before cutting. The lightweight nature of polyurethane beams means they can shift if not firmly held, creating binding hazards and inaccurate cuts. Take time to set up secure workholding before each cut; this investment prevents accidents and ensures quality results.
Technical References
ASTM standards cited in every specification
Test Data
Lab results from internal testing program
Updated 2026
Reviewed against current product specs


