Interior design trends shift constantly, and beams that complemented one aesthetic may feel dated when rooms are renovated around them. Rather than replacing structurally sound beams, refreshing the finish extends their useful life while updating the space's appearance. This approach saves material costs and reduces construction waste, aligning with sustainable building practices increasingly valued by owners and designers.
Polyurethane beams accept new finishes readily, though the existing surface condition determines the preparation required. Beams that have been maintained properly may need only cleaning and light sanding before repainting. Those showing wear, discoloration, or accumulated grime require more intensive preparation. Assessing current conditions honestly ensures the new finish achieves the intended appearance.

Assessing Existing Beam Conditions
Before beginning any repainting project, examine beams thoroughly under good lighting. Note areas of chipped or peeling finish, discoloration from light exposure or smoke, scratches that penetrate the finish layer, and any surface contamination from cooking grease, dust, or environmental pollutants. This assessment determines whether cleaning and repainting will suffice or if more extensive repair is needed.
Sunlight exposure creates uneven aging in beams near windows or skylights. The exposed surfaces lighten while protected areas retain their original color, creating a two-tone effect that complicates uniform repainting. The degree of fading determines whether the entire beam needs repainting or if touch-up of only the faded areas makes sense before a complete refinish.
Structural integrity of the existing finish matters for adhesion of new coatings. Loose, flaking, or chalky surfaces must be addressed before applying new paint. The test is simple: press a piece of masking tape firmly onto the surface and pull it away. If the tape removes significant finish, the existing coating lacks sufficient integrity and must be removed or consolidated before repainting.
Surface Preparation Methods

Cleaning provides the foundation for successful repainting. A solution of mild detergent in warm water removes most surface contaminants without damaging the existing finish. Apply with a soft cloth or sponge, working from top to bottom to prevent drips onto cleaned areas. For stubborn grime, add a small amount of trisodium phosphate to the cleaning solution, rinsing thoroughly afterward to remove any residue.
Deglossing scuffs the existing finish to create mechanical adhesion for new paint. Fine-grit sandpaper, typically 320 to 400 grit, removes the glossy surface without creating visible scratches in most textured beams. For smooth-surfaced beams, slightly coarser sandpaper, 220 grit, provides better adhesion. The goal is dulling the surface uniformly rather than removing the existing finish entirely.
For beams with extensive finish failure, complete coating removal may be necessary. Chemical strippers designed for polyurethane surfaces can soften old finishes for removal, though the process requires careful application and adequate ventilation. Test strippers on hidden areas first to ensure they do not damage the underlying polyurethane substrate.

Color Selection and Coordination
Color selection for repainted beams should consider the room's overall design direction while acknowledging practical factors. Dark colors absorb heat when beams are exposed to sunlight, potentially causing surface issues over time. For beams in sunny locations, lighter colors or those with high light-reflecting values perform better long-term.
Existing room elements influence beam color selection. Flooring, wall colors, furniture, and fixed architectural elements all provide reference points for coordinating beam finishes. When possible, obtain actual samples of these elements and compare them against potential beam colors under the room's lighting conditions. Colors that appear similar in store lighting may look quite different under incandescent, fluorescent, or natural daylight.
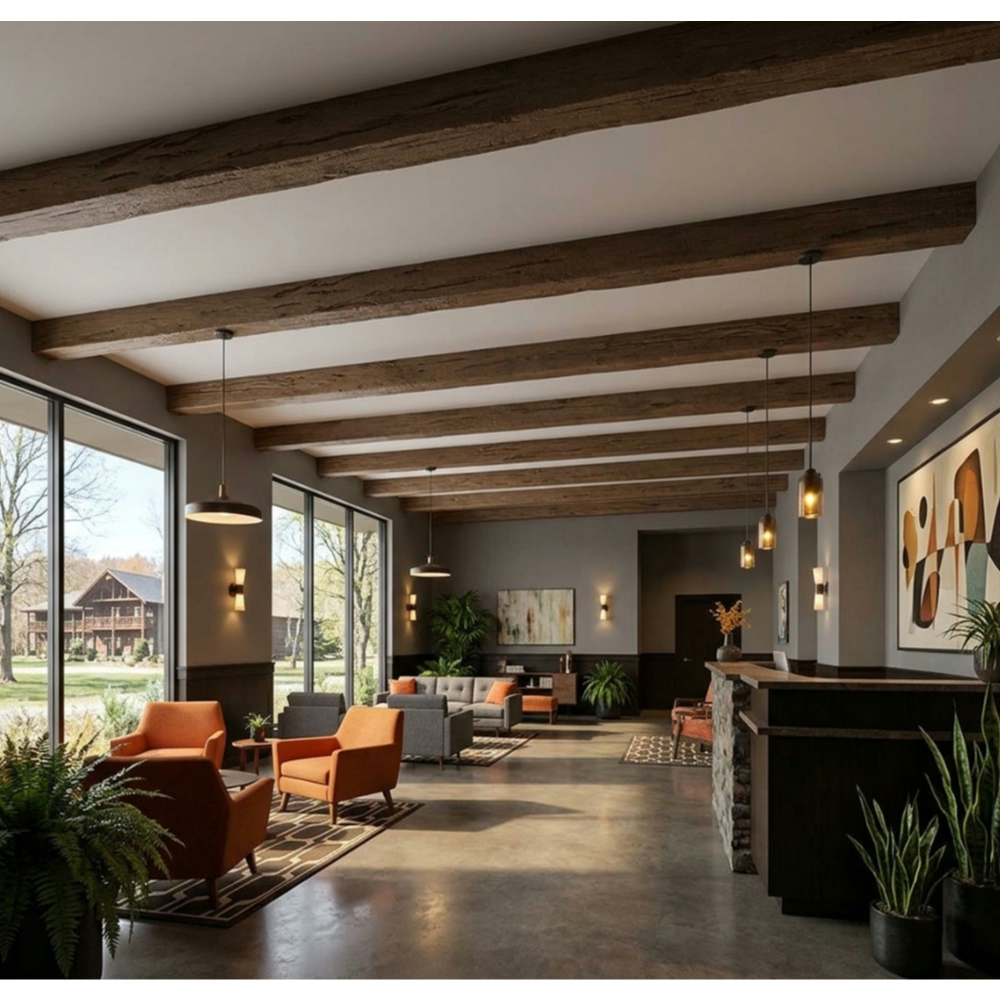
Consider whether the beams should blend with surrounding surfaces or contrast intentionally. Matching beams to ceiling colors creates a unified ceiling plane that makes rooms feel larger. Contrasting beam colors, particularly darker tones against lighter ceilings, define beams as distinct architectural features. The choice depends on the desired visual effect and the room's ceiling height and proportion.
Paint Selection and Application
High-quality acrylic latex paints provide durability and ease of application for interior beam repainting. The paint should be specifically formulated for trim and woodwork, offering better adhesion and scuff resistance than standard wall paints. Semi-gloss or satin finishes clean easily and resist the accumulation of dust and cobwebs that affect flat finishes.
Priming is generally necessary when repainting over existing finishes, particularly if the new color differs significantly from the old or if the existing finish shows any deterioration. A high-adhesion bonding primer ensures the new coating bonds properly to the old finish. For beams in good condition with uniform color changes, a single coat of quality paint over a primer typically provides adequate coverage.
Application techniques affect the final appearance significantly. Spray application, whether from canned products or airless equipment, provides the smoothest finish on polyurethane surfaces, particularly those with pronounced textures where brush application might leave marks. When spraying is not practical, high-quality brushes with angled bristles work well, applying paint in thin, even coats and maintaining a wet edge to prevent lap marks.
Achieving Professional Results
The number of coats depends on the color change magnitude and the existing beam color. Dramatic color changes require two or three coats to achieve uniform coverage without the old color showing through. Allow each coat to dry completely according to manufacturer recommendations, typically two to four hours for acrylic paints, before applying subsequent coats.
Touch-up capability should be built into the finishing plan. Keep leftover paint properly sealed for future maintenance needs. Document the exact color name and product information, as paint formulations change and exact color matching may not be possible years later. Storing paint in a climate-controlled environment extends its useful life for touch-up applications.
Regular maintenance after repainting extends the interval before the next refinishing cycle. Light dusting with a soft cloth or electrostatic duster removes surface contaminants without damaging the finish. Prompt attention to any chips or scratches prevents damage from progressing and makes touch-up simpler when needed.
Technical References
ASTM standards cited in every specification
Test Data
Lab results from internal testing program
Updated 2026
Reviewed against current product specs


