Factory-applied finishes on quality polyurethane beams are engineered for durability and long-term appearance retention. These finishes undergo controlled application and curing processes that create harder, more uniform surfaces than field-applied coatings. Protecting this original finish requires understanding what threatens it and implementing straightforward maintenance practices that prevent deterioration.
Most finish damage occurs through preventable means: impact from objects during ceiling work, abrasive cleaning that wears through coatings, or chemical exposure from cleaning products not suited for finished surfaces. A few simple habits and precautions dramatically extend the time between necessary restoration work.

Understanding Factory Finish Characteristics
Factory finishes on polyurethane beams typically consist of multiple layers applied under controlled conditions. The base coat provides adhesion and color foundation, while top coats add protection and desired sheen levels. UV inhibitors integrated into these finishes slow the yellowing and chalking that affects many polymer surfaces when exposed to sunlight, though no finish is completely immune to environmental exposure over extended periods.
The hardness of cured factory finishes provides scratch and scuff resistance but does not make beams impervious to damage. Sharp objects, pointed tools, or heavy impacts can still damage or penetrate the coating. Understanding these limitations helps users take appropriate precautions during routine maintenance and any ceiling work that might involve the beams.
Moisture resistance represents a significant advantage of factory finishes over field-applied alternatives. Properly cured finishes repel water and resist the absorption that causes wood swelling and finish failure. This moisture resistance allows beams to be cleaned with damp methods that would damage natural wood or improperly sealed surfaces.
Safe Cleaning Practices
Regular dusting removes the airborne particles that accumulate on ceiling surfaces and can scratch finishes when disturbed. A clean, soft microfiber duster applied with gentle, sweeping motions handles most routine cleaning needs. Work along the beam length rather than across it to avoid catching edges that might cause the duster to dislodge or push debris into texture recesses.
Damp cleaning becomes necessary when dusting proves insufficient, particularly in kitchens where grease vapor settles on surfaces or in high-traffic areas where airborne contaminants are heavier. Use a soft cloth dampened with clean water, wrung out thoroughly to prevent dripping. For more aggressive cleaning, a small amount of mild dish soap in the water helps dissolve oils and stubborn deposits without damaging most factory finishes.
Avoid cleaning products containing harsh chemicals, abrasives, or petroleum solvents. Acetone, paint thinner, and similar solvents dissolve many paint finishes and should never contact beam surfaces. Even some "safe" cleaning products contain ingredients that affect specific finish formulations. When uncertain about product compatibility, test on a hidden beam section first and wait 24 hours to observe results.

Damage Prevention During Maintenance Work

Ceiling work presents the greatest risk to beam finishes. Painting, changing light fixtures, cleaning HVAC registers, or any work requiring access to beam areas can cause accidental impact damage. Covering beams with padded drop cloths during this work prevents most damage from dropped tools, brush splatter, or climbing equipment contact.
When painting ceilings adjacent to beams, careful masking protects the beam finish from paint overspray and drips. High-quality painter's tape applied to beam edges, pressed firmly to prevent seepage, provides adequate protection for most painting scenarios. For spray painting or when paint may run, plastic sheeting over taped beams adds an extra protection layer.
Any work requiring ladder or scaffold contact with beams deserves particular attention. The compressive force from ladder feet against beam surfaces can create dents or finish damage even through typical padding. Using ladder pads or stabilizers that distribute the load over larger areas prevents these compression marks.
Environmental Factors and Their Effects
Sunlight exposure creates gradual but measurable changes in beam finishes over years. UV radiation breaks down pigment molecules, causing colors to fade, while the binder system gradually oxidizes, leading to chalking and reduced gloss. South and west-facing installations experience the most significant exposure and show aging fastest.
Humidity levels in typical indoor environments do not affect polyurethane or its factory finishes negatively. The material's moisture resistance prevents the absorption that causes dimensional changes in natural wood. However, sustained high humidity, particularly in unconditioned spaces, may promote surface contamination from mold or mildew that should be addressed with appropriate cleaning.
Temperature fluctuations affect finishes indirectly through substrate movement. While polyurethane itself tolerates wide temperature ranges, the building structure moves with temperature changes, creating stress at finish interfaces. This stress rarely causes visible problems but contributes to gradual finish fatigue over very long periods.
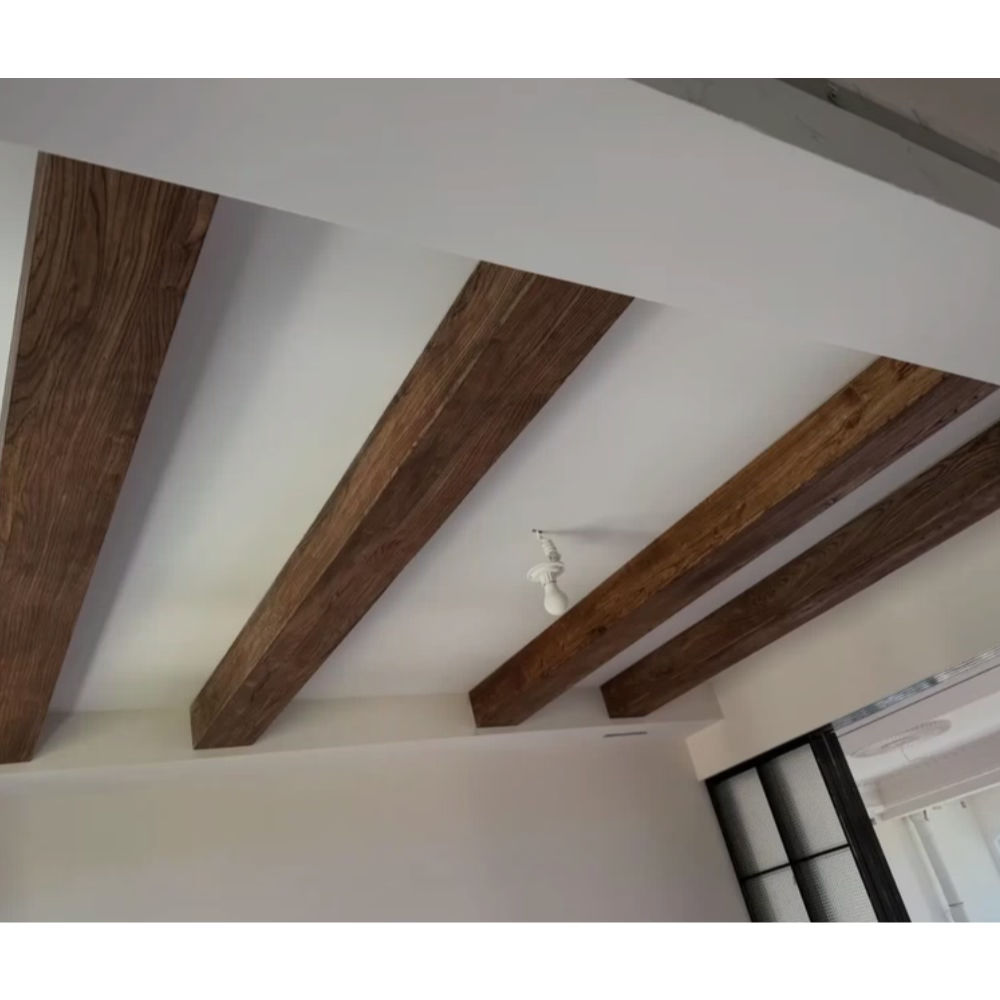
When Restoration Becomes Necessary
Despite best maintenance practices, some finish restoration eventually becomes necessary. The interval varies dramatically based on installation location, exposure conditions, and use patterns. Some beams maintain acceptable appearance for decades with minimal care, while others in challenging environments may need attention sooner.
Localized damage from impacts or chemical exposure can often be addressed through spot repair without complete refinishing. Touch-up paints matched to the original finish can repair small areas if applied carefully. The key is addressing damage promptly before it spreads or becomes contaminated with debris that prevents proper adhesion.
Complete refinishing becomes necessary when overall appearance deteriorates beyond acceptable levels or when a design change requires different colors. The original factory finish can be stripped or covered with new coatings, though this represents a more significant undertaking than routine maintenance.
Technical References
ASTM standards cited in every specification
Test Data
Lab results from internal testing program
Updated 2026
Reviewed against current product specs


