Even with careful handling, minor damage to beam finishes occurs through normal use, maintenance activities, or construction processes in adjacent areas. Having appropriate repair materials readily available enables prompt attention to damage before it becomes more extensive or noticeable. A well-assembled touch-up kit addresses the most common damage scenarios efficiently, maintaining the finished appearance of installations over their service life.
The key to effective touch-up repairs lies in matching materials to the specific finish type and damage characteristics. Not all damage requires the same approach; understanding when simple touch-up suffices versus when professional refinishing is warranted prevents both under-repair that fails to solve problems and over-repair that wastes resources on unnecessary work.

Essential Kit Components
Quality latex or acrylic paint in the exact beam color forms the foundation of any touch-up kit. This paint should come from the original installation, as matching colors precisely years later may prove impossible if formulations change. Store paint in sealed containers at moderate temperatures, and note the exact product name, color code, and purchase date for future reference.
Fine-tip artist's brushes in various sizes handle small scratches and chips with precision. Sizes ranging from 000 to size 4 provide options for different damage scales. Natural bristle brushes hold paint smoothly and create fine lines, while synthetic brushes clean more easily and maintain their shape better over extended storage periods.
Sandpaper in fine grits, typically 400 to 600 grit, smooths damaged areas and prepares surfaces for paint adhesion. Tearing small sheets and storing them flat prevents creasing that would affect their usability. Sanding sticks or flexible sanding pads accommodate curved or contoured surfaces that flat sandpaper cannot reach effectively.
Common Damage Types and Repair Approaches
Scratches that penetrate only the top coat but do not expose the substrate can often be repaired by simply applying a thin coat of matching paint directly over the scratch. The key is building the paint up gradually rather than attempting to fill the scratch in one application. Multiple thin coats, allowed to dry between applications, fill the scratch while maintaining the surrounding surface level.
Chips that expose the underlying polyurethane require filling before painting. Small chips can be filled with wood filler, spackling compound, or specialized plastic repair compounds. Choose fillers that accept paint well and can be sanded smooth once cured. For best results, slightly overfill the chip and sand flush after curing, then prime and paint the repair.
Dents that do not penetrate the finish may simply need painting, as polyurethane rarely compresses enough to show as a depression. However, if the dented area shows different color due to light reflection changes, painting may still provide acceptable results. Test by painting the area and viewing from typical viewing distances under normal lighting conditions.
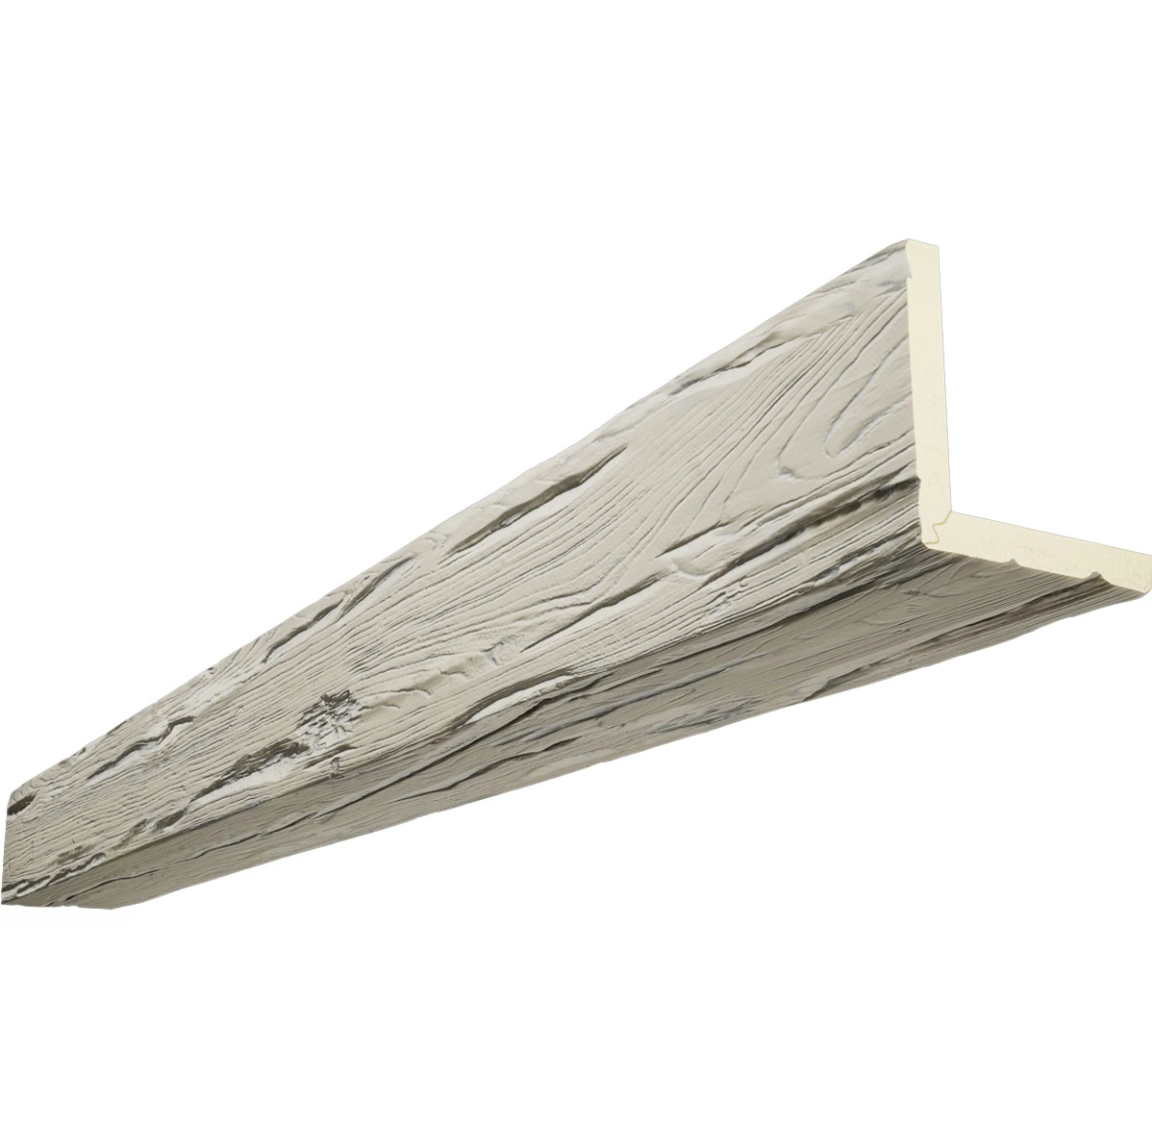
Repair Technique Step-by-Step

Begin each repair by cleaning the damaged area thoroughly. Remove any loose material, dust, or debris that would interfere with adhesion. A soft brush or compressed air clears particles from cracks and crevices. Allow the area to dry completely before proceeding, particularly if cleaning required moisture.
For scratches, apply paint using a fine brush held perpendicular to the scratch direction. Draw the brush along the scratch length in smooth, single strokes. Allow the paint to dry according to manufacturer recommendations, typically two to four hours, before evaluating whether additional coats are needed. Building up thin layers prevents the obvious raised appearance that single heavy applications create.
For chips, apply filler material using a putty knife or pallet knife, pressing firmly to ensure the filler enters the void completely. Remove excess material immediately to minimize sanding later. Once the filler cures fully, sand gently to create a level surface that transitions smoothly into the surrounding finish. Prime the repair area before painting to ensure uniform color and adhesion.
Blend repairs into the surrounding finish by feathering paint outward from the repair center. Rather than painting only the repaired area, apply paint over a slightly larger zone that includes undamaged surface. This feathering makes the repair less visible by preventing a hard edge between repaired and original finish.
Professional Tips for Better Results
Color matching benefits from understanding that paint appears different when dry than when wet. Apply test patches in hidden areas and evaluate them only after complete drying. The lighting in which paint is applied and evaluated significantly affects apparent color; evaluate repairs under the same lighting conditions the beams will experience in service.
For deep scratches or chips that recur after repair, the underlying cause may be substrate movement or stress. Addressing the cause before repeated repairs prevents the frustration of watching repairs fail repeatedly. Sometimes a small flexible gap filler at the damage site accommodates movement that prevents rigid repairs from holding.
Document all repairs in a maintenance log that stays with the building. Note the date, damage type, repair materials used, and outcome. This documentation helps future maintenance personnel understand what has been done and may reveal patterns that indicate underlying problems requiring attention.

Kit Maintenance and Storage
Replenish kit supplies after each significant repair. Partially used materials degrade over time; paint that has thickened or changed consistency will not apply smoothly. Check expiration dates on all materials and replace items that have exceeded their useful life.
Store touch-up kits in a controlled environment away from extreme temperatures and direct sunlight. A dedicated storage container keeps components organized and ready for use. Include a small flashlight, magnifying glass, and cleaning supplies as standard kit components that often get overlooked but prove essential when repairs are needed.
Technical References
ASTM standards cited in every specification
Test Data
Lab results from internal testing program
Updated 2026
Reviewed against current product specs


