The difference between an ordinary beam installation and an exceptional one often lies in the details. Decorative caps represent one of those crucial finishing elements that transform exposed beam ends from rough termination points into polished design features. These components serve both protective and aesthetic purposes, preventing moisture infiltration at vulnerable end-grain areas while providing visual interest that complements the overall beam design.
Interior designers frequently specify decorative caps as essential elements rather than optional additions. The reasoning extends beyond aesthetics—properly finished beams simply last longer. End grain absorbs moisture more readily than longitudinal surfaces, making beam ends particularly susceptible to environmental damage. Caps eliminate this vulnerability while creating clean transitions at walls, columns, and other termination points.
Design Varieties and Aesthetic Options
The range of available decorative cap styles accommodates diverse architectural preferences and design requirements. Traditional crown-style caps feature stepped profiles reminiscent of classical column capitals, appropriate for colonial, Georgian, or transitional interiors. These ornate options work well in formal spaces such as dining rooms, libraries, and executive offices where established design conventions prevail.
Modern and contemporary settings benefit from streamlined cap designs featuring clean lines and minimal detailing. Geometric profiles with chamfered or rounded edges create visual interest without historical references. These versatile options integrate seamlessly with modern furniture, finishes, and architectural elements that prioritize simplicity and functionality.
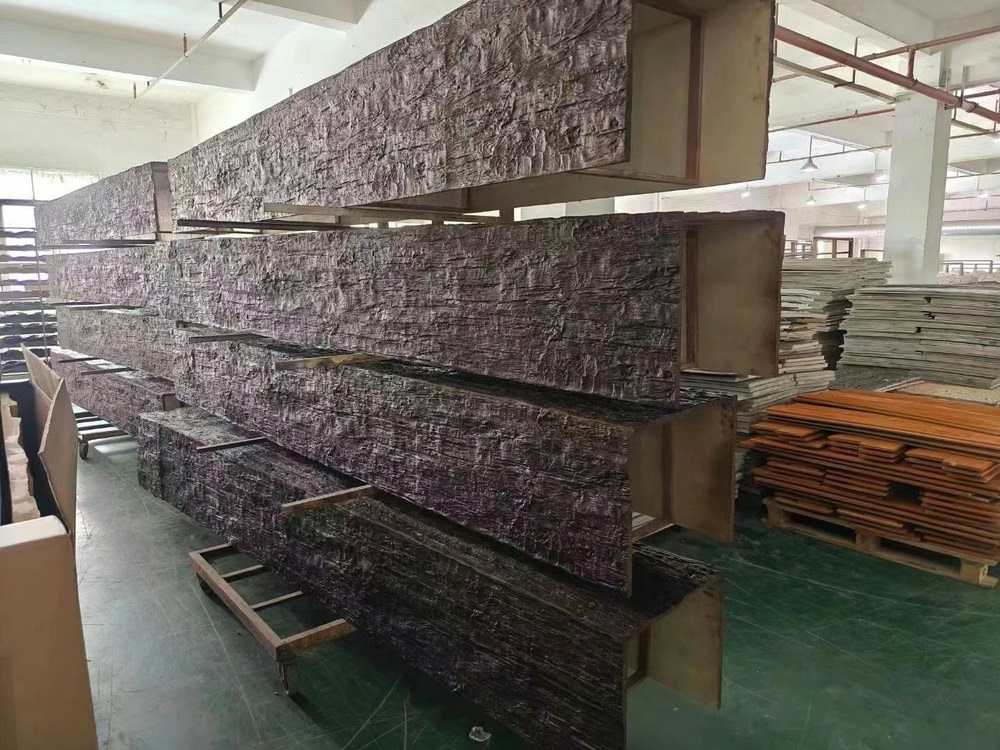
Rustic and farmhouse aesthetics call for more textured cap treatments featuring hand-hewn details, knot patterns, and weathered finishes. These options enhance the authenticity of beams intended to evoke traditional craftsmanship and rural building traditions. Matching caps to the beam texture and color ensures cohesive appearance throughout the installation.

Material Considerations for Caps
Polyurethane caps offer logical pairing with PU faux wood beams, ensuring consistent material properties throughout the installation. Matching thermal expansion coefficients prevents stress development at joints during temperature changes. The same finishing products applied to beams work equally well on caps, simplifying color matching and maintenance procedures.
Some projects pair polyurethane caps with other materials for textural contrast or cost optimization. Metal caps featuring brass, bronze, or iron finishes create dramatic visual accents in eclectic or industrial spaces. Stone caps provide substantial presence appropriate for Mediterranean or Tuscan-inspired designs. These mixed-material approaches require careful attention to fastening methods and potential galvanic reactions.
Color matching between caps and beams demands consideration during product selection. Pre-finished products from the same manufacturer offer the best color consistency. When custom finishing is required, sample matching on actual materials before full application prevents costly color mismatches that become apparent only after installation.

Installation Techniques for Professional Results
Successful cap installation begins with accurate measurement and fitting. Beam ends should be cut cleanly and squarely, with any damaged areas repaired before cap attachment. Dry fitting confirms proper alignment and reveals any adjustment needs before adhesive application. This preparation step prevents alignment problems that prove difficult to correct once adhesive sets.
Adhesive selection depends on installation conditions and substrate materials. Construction adhesive provides strong bonds for most applications, while specialized polyurethane adhesives ensure excellent grip on both the cap and beam surfaces. Applying adhesive to both mating surfaces and allowing brief open time before joining promotes optimal bond development.
Mechanical fastening supplements adhesive attachment in critical applications. Small finishing nails or screws driven through predrilled pilot holes secure caps during adhesive curing and provide long-term security against impact or vibration. Fill holes with color-matched wood filler or spackle, sand smooth, and touch up finish as needed.
Addressing Difficult Termination Points
Corners present particular challenges for beam cap installation. Mitered cuts create clean transitions between beams meeting at angles, but require precise measurement and cutting. Practice cuts on scrap material help verify angles before committing to finished pieces. Pre-fabricated corner caps offer alternative solutions for common corner configurations.
Beam intersections where multiple beams meet require custom cap solutions or careful field fabrication. The complexity depends on whether beams terminate at common points or run continuously through intersections. Planning the beam layout to minimize complex intersections simplifies finishing requirements and improves overall appearance.
Window and door openings where beams frame architectural elements demand attention to trim integration. Caps should align with adjacent window casings or door frames to create cohesive trim detailing. This coordination requires consultation with architectural drawings and potentially field measurement to ensure proper alignment.
Maintenance and Repair Considerations
Quality cap installations require minimal ongoing maintenance. Periodic dusting and occasional cleaning with mild soap solutions keep caps looking fresh without special treatment. Inspections during routine building maintenance check for any signs of loosening, damage, or finish deterioration.
Repairing damaged caps varies based on damage severity. Minor chips and scratches respond to filling, sanding, and refinishing using products compatible with the original finish. Severely damaged caps may require replacement, which underscores the value of ordering spare units during initial installation for future needs.
Finish maintenance preserves cap appearance over time. Pigmented finishes may require touch-up or complete refinishing as environmental exposure causes gradual color changes. Clear finishes benefit from periodic cleaning and occasional application of appropriate protectants that restore shine and resistance to scuffing.
Cost-Benefit Analysis for Project Planning
Budget considerations influence cap selection and installation approaches across project types. Premium decorative caps with intricate detailing command higher prices but contribute significantly to perceived quality. Value-oriented options provide adequate protection and appearance for budget-conscious applications.
Installation costs vary based on complexity and accessibility. Straightforward cap installations on accessible beams add minimal labor to overall project budgets. Complex intersections, high ceilings requiring scaffolding, or custom fabrication requirements increase labor costs proportionally. These factors should be incorporated during project planning to prevent budget overruns.
Long-term value supports investment in quality caps and professional installation. The protective function prevents beam end deterioration that would require costly repairs or replacement. The aesthetic contribution enhances property value and customer satisfaction in commercial applications. These benefits typically outweigh additional upfront costs.
Technical References
ASTM standards cited in every specification
Test Data
Lab results from internal testing program
Updated 2026
Reviewed against current product specs


