The moment of truth arrives when the last faux beam is lifted into position and you step back to admire the ceiling. In most cases, the effect is exactly what was envisioned: warm, dimensional, and characterful. But then the eye catches it, and no matter how minor it seems, a visible seam at a beam junction or a thin gap where two pieces meet can feel like an unfinished detail that undermines an otherwise polished installation.
This is not a failure of craftsmanship. It is simply the nature of working with manufactured components. Even the most precisely cut and aligned joints can develop hairline cracks during transport, thermal cycling, or settling. The solution is not to eliminate joints entirely, which is rarely practical, but to treat them as design opportunities. PU resin trim pieces specifically engineered to hide and cover faux beam seams transform potential blemishes into clean, intentional finishing details.
Understanding the Types of Seams in Faux Beam Installations
Before selecting trim pieces, it helps to recognize the different kinds of seams that appear in typical faux beam installations. Longitudinal seams occur where two beam lengths are joined end-to-end to create a longer continuous run. These are the seams addressed by invisible joint connectors, but even a well-executed longitudinal joint may benefit from a decorative trim piece in high-visibility locations.
Transverse seams occur where a beam crosses another beam, typically in cross-beam or coffered ceiling configurations. These intersections create complex geometries where two or more pieces meet at different planes. Left exposed, the raw edges of the cut pieces and any slight misalignment between them becomes visually apparent. A trim piece designed for transverse joints covers this complexity cleanly.
Perimeter seams occur where beams meet walls, columns, or other fixed surfaces. These gaps are a normal consequence of ceiling installations and are typically concealed with crown molding, bed moldings, or wall trim. Specialized beam-edge trim pieces bridge the gap between the beam face and the adjacent surface, creating a clean transition without the need for precise gap-filling at the installation stage.
The Advantage of PU Resin Trim Over Site-Fabricated Solutions
Site-fabricated trim solutions typically involve wood filler, joint compound, or custom-cut wood strips. Each of these approaches has its own set of challenges. Wood filler shrinks as it dries and may crack along the joint line over time. Joint compound requires skill to apply invisibly and is prone to telegraphing through paint finishes as humidity changes. Custom-cut wood trim introduces the maintenance concerns associated with real wood, including the need for painting or staining and ongoing susceptibility to moisture damage.
PU resin trim pieces avoid these issues because they are manufactured to consistent dimensions and finished at the factory to match the texture and color of the beam products they are designed to complement. Because the trim and the beam are made from the same material family, they expand and contract at identical rates in response to temperature changes, eliminating the differential movement that causes conventional fillers to crack and separate.
The installation process for PU resin trim is also considerably faster. Rather than applying multiple layers of filler, allowing each to dry, sanding between coats, and then priming and painting, the trim piece is simply cut to length, test-fitted, and adhered in place. The result is achieved in minutes rather than hours, and the finished appearance is more consistent because it relies on manufactured precision rather than on-site technique.

Selecting the Right Trim Profile for Each Application
Trim profiles are available in a range of shapes and sizes to address different seam locations and aesthetic preferences. For covering longitudinal beam joints, flat cover strips that span the joint and extend onto the beam surface on both sides are the most common solution. These strips are available in widths ranging from 50mm to 150mm, with wider strips providing more visual presence and better coverage for wider seams.

For transverse joints at beam intersections, L-shaped corner trim pieces wrap around the intersection, covering both the end grain of one beam and the face of the crossing beam. These are particularly effective in coffered ceiling configurations where the visual complexity of multiple intersecting beams makes any unfinished seam stand out sharply. The corner trim creates a clean, framed appearance that reads as intentional detailing rather than concealment.
For perimeter applications where beams meet walls, T-shaped trim pieces or cove-style moldings create a graduated transition that softens the junction between the vertical beam face and the horizontal or sloped wall surface. In vaulted ceiling installations, where beams run at angles following the roof pitch, matching the trim to the beam profile requires careful measurement of the intersection angle and, in some cases, a custom miter cut to ensure a clean fit.
Installation Techniques for Lasting Results
The installation process for beam trim pieces follows a sequence that prioritizes alignment and adhesion. Begin by cleaning the surfaces that will receive the trim, removing any dust, grease, or loose material. If the beam surface has been painted or sealed, lightly scuff the area where the trim will sit with fine sandpaper to improve adhesion. Wipe away the sanding dust with a clean cloth.
Dry-fit the trim piece before applying any adhesive. This step allows you to confirm that the fit is correct and make any minor adjustments before committing. Mark reference lines on the beam surface if needed to guide positioning. Apply a thin, even bead of construction adhesive to the back of the trim piece, concentrating the adhesive along the edges and any high-contact areas.
Press the trim firmly into position and hold it in place for the adhesive manufacturer's recommended setting time, typically thirty seconds to two minutes depending on the product. For longer trim pieces, work from the center outward to avoid trapping air bubbles and to maintain even contact pressure across the full length. Once the adhesive has set, a second bead of caulk along the edges of the trim creates a weatherproof seal that prevents moisture infiltration, particularly important for exterior beam installations.
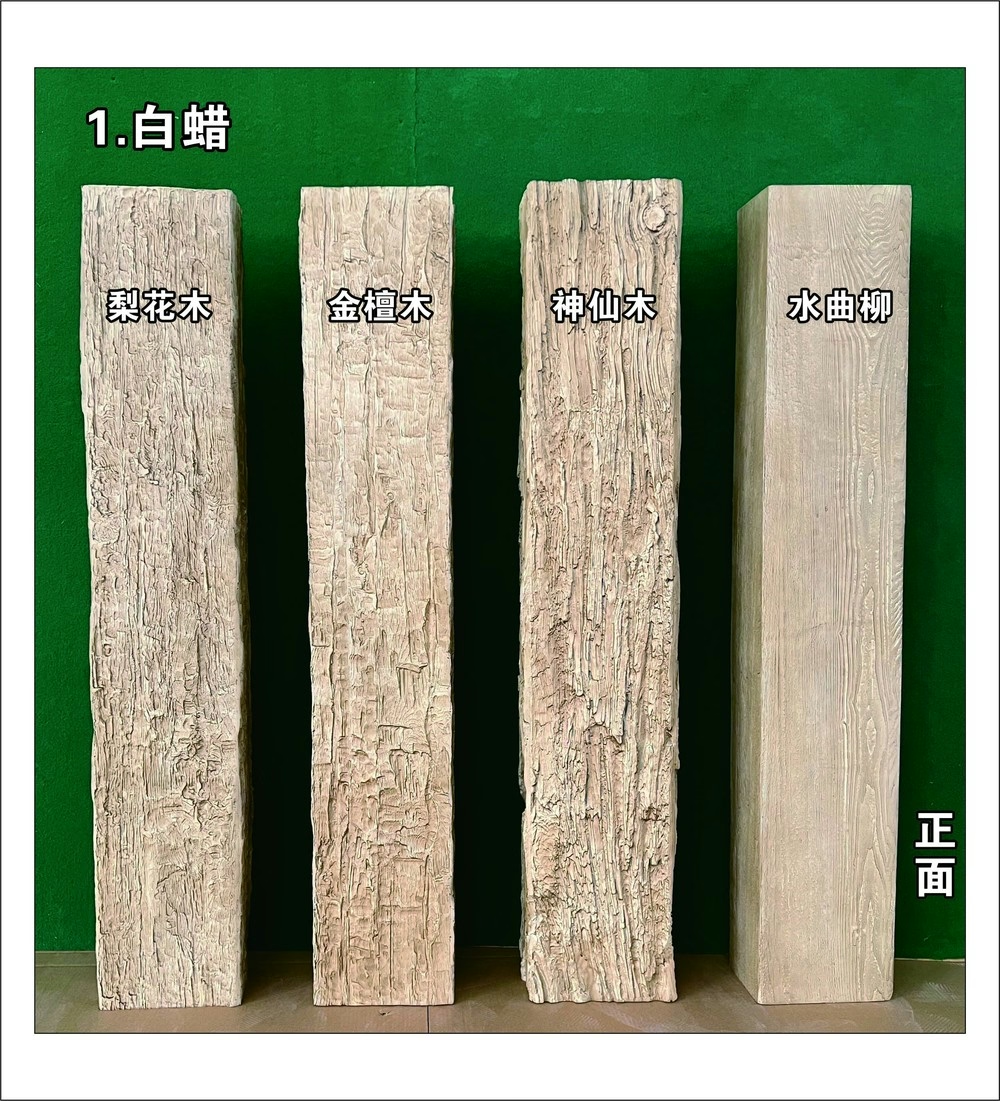
Finishing and Matching Trim to Beam Color
The visual success of trim pieces depends heavily on how well the trim color and texture match the beam surface. Most PU resin trim is available in the same range of finishes as the beam products they accompany, including natural wood tones, painted whites and neutrals, and weathered grey finishes. Ordering trim and beams from the same manufacturer in the same finish batch is the most reliable way to ensure a close color match.
In situations where a perfect color match is difficult to achieve, using a slightly darker trim piece and applying a tinted topcoat can produce excellent results. Some installers prefer to leave trim pieces unpainted or unstained and apply a protective clear coat over both the trim and the beam together, which unifies the appearance by adding a shared sheen rather than attempting to match two different applied colors.
For exterior applications, UV stability is a critical consideration. Confirm that both the trim pieces and any applied finishes are rated for sustained outdoor exposure. The finish should include UV inhibitors that prevent chalking, fading, and surface degradation over time.
Technical References
ASTM standards cited in every specification
Test Data
Lab results from internal testing program
Updated 2026
Reviewed against current product specs


