When existing ceiling beams lack the visual appeal a space demands, property owners face a choice between removal, replacement, or concealment. Complete removal often proves impractical given structural requirements, while replacement involves significant expense and disruption. Beam shells provide an elegant third option—covering existing beams with realistic timber-textured panels that transform appearance without addressing underlying structure.
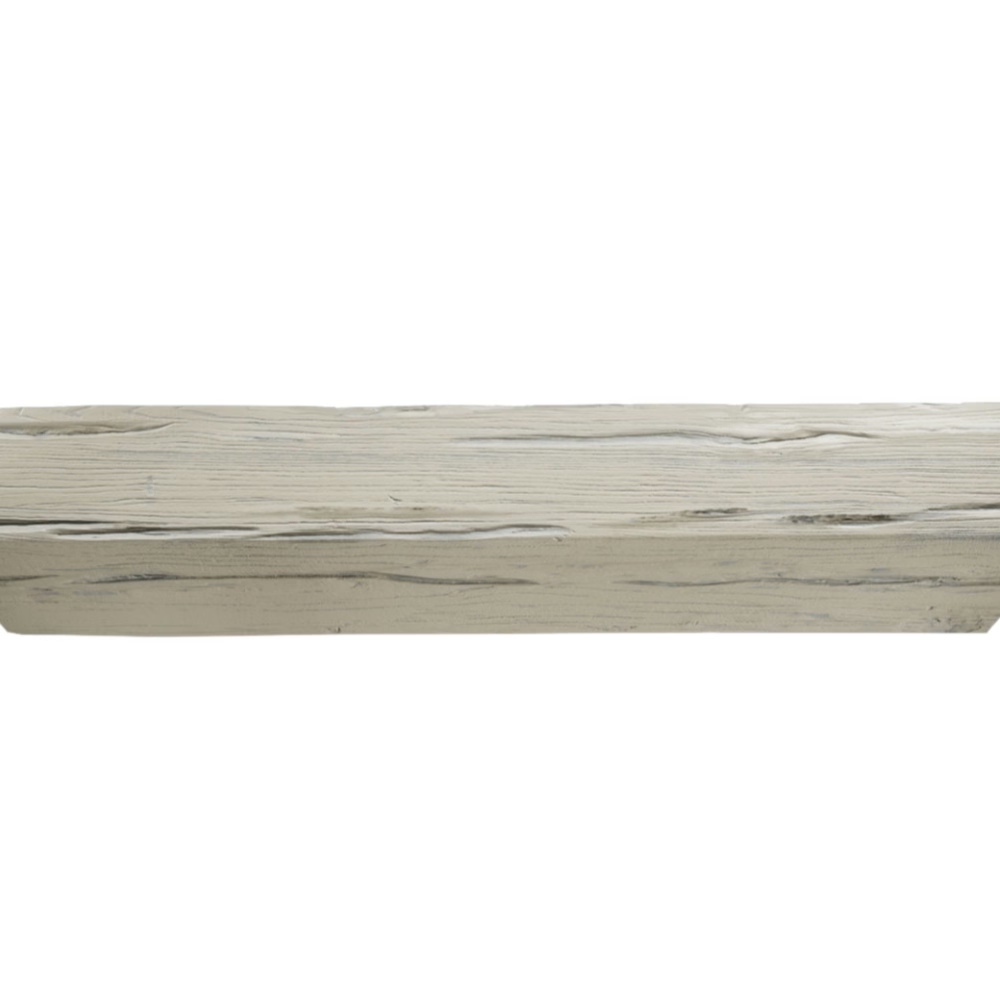
Hollow beam shells consist of manufactured panels designed to wrap around existing rectangular or square beams. The panels interlock or adhere to form a complete covering that presents the appearance of solid timber while maintaining the structural integrity of the original beam. This approach preserves load-bearing capacity while achieving cosmetic transformation.

Understanding Beam Shell Construction
Quality beam shells comprise two or more pieces that combine to encase the existing beam completely. The number of pieces varies by beam dimensions and manufacturer design—smaller beams may use two-piece systems while larger dimensions require three or four segments. Corner joints typically feature interlocking profiles that simplify alignment and create clean transitions.
Wall thickness of beam shells affects both appearance and durability. Thicker walls better replicate the substantial presence of genuine timber, with wall depths of three-quarters to one inch creating convincing scale. Very thin shells may appear flat or insubstantial when viewed at normal room distances.
Interior dimensions must accommodate the existing beam precisely while leaving adequate clearance for installation tolerance. Measurement accuracy proves critical—shells too tight risk installation difficulty while excessively loose shells create visible gaps that compromise the finished appearance. Professional installers recommend careful measurement and potentially creating cardboard templates before committing to final product selection.
Applications Beyond Basic Beam Covering
Ceiling wrapping extends beyond simple beam concealment. Soffits—horizontal extensions below ceiling planes—present ideal candidates for shell treatment. Kitchen peninsulas, bathroom vanities, and architectural soffits all benefit from timber-textured covering that integrates them into surrounding timber elements.
Structural columns in open-plan spaces often disrupt visual flow with their rectangular cross-sections. Beam shells transform these utilitarian elements into decorative features matching adjacent ceiling beams. The timber appearance creates visual warmth while maintaining the column's structural function.
Window bulkheads and architectural dropped ceilings gain substantial aesthetic improvement through shell treatment. These transitions between ceiling planes often appear stark or unfinished, but timber covering introduces the warmth and character associated with exposed timber construction.

Preparation Requirements
Successful beam shell installation requires thorough preparation of the existing substrate. The original beam must be clean, dry, and structurally sound. Any surface irregularities that would telegraph through the shell should receive correction—minor patching compound or sanding addresses small issues while larger problems may require more extensive repair.
Electrical wiring, plumbing, or HVAC components running along or through the existing beam require relocation or accommodation. Beam shells provide minimal space for utilities—typically a quarter inch or less between the shell interior and the original beam surface. Running conduit or pipe within the hollow space rarely proves practical.
Moisture assessment matters in any environment subject to humidity. While polyurethane shells resist moisture absorption, trapped moisture between the shell and original beam creates conditions for mold growth and adhesive failure. Ensuring adequate ventilation or applying vapor barriers addresses this concern in problematic locations.
Installation Techniques
The installation process begins with dry-fitting shell segments to verify fit and identify any necessary adjustments. Mark cutting lines, notches, and hole locations at this stage. Unlike solid timber, polyurethane cuts cleanly with standard saws—fine-toothed blades prevent chip-out on visible surfaces.
Adhesive application provides the primary bond between shell segments and between the shell assembly and the original beam. Construction adhesive formulated for polyurethane ensures compatibility without chemical attack. Apply adhesive to both the shell interior and the original beam surface, then position and hold until initial set occurs.
Mechanical fastening supplements adhesive bonding, particularly for longer beam runs or locations with vibration exposure. Concealed screws driven through the shell into the original beam at intervals provide supplemental support. Countersink fasteners and fill holes with wood filler matching the beam finish for invisible appearance.
Finishing and Seaming
Joints between shell segments require attention to achieve seamless appearance. These locations occur at corners and along beam lengths where multiple pieces meet. Premium manufacturers design joint profiles that minimize visible seams, but some finishing typically remains necessary.
Wood filler or spackling compound fills minor gaps and covers fastener holes. Select products that accept staining or painting to match the surrounding beam finish. Multiple thin applications create better results than single heavy fills, with sanding between coats to achieve smooth transitions.
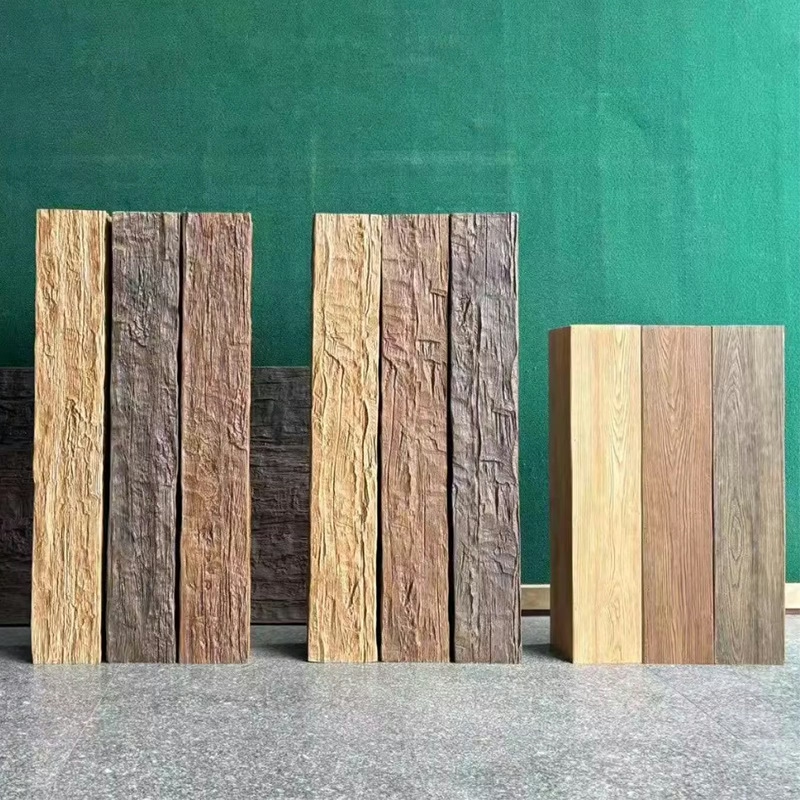
If the beam shells arrive primed or unfinished, apply paint or stain after installation. Pre-finished products may require only touch-up of any installation marks. Color matching between adjacent pieces and across joints ensures cohesive appearance throughout the installation.
Maintaining Shell Installations
Beam shell maintenance parallels maintenance for solid faux beams. The exterior surface wipes clean with mild detergent and water. Avoid abrasive cleaners that might scratch finishes or damage surface textures.
Periodically inspect joints and seams for any separation or cracking. Address gaps promptly before they enlarge—re-apply adhesive or filler as conditions require. Early intervention prevents more extensive repairs later.
Should damage occur to a shell segment, repair options depend on severity. Minor dents or scratches may respond to filling and refinishing. Extensive damage typically requires segment replacement rather than repair. Maintaining extra material from the original installation provides repair stock if available.
Technical References
ASTM standards cited in every specification
Test Data
Lab results from internal testing program
Updated 2026
Reviewed against current product specs


