Lighting integration represents one of the most common challenges in faux beam installation projects. The desire to combine warm timber aesthetics with modern lighting requirements creates technical demands that require careful planning. Recessed light fixtures installed near or within beam installations require special consideration to maintain both visual appeal and functional performance.
Several approaches address lighting integration, each with distinct advantages and limitations. Selection depends on aesthetic goals, functional requirements, and budget constraints. Understanding available options enables informed decisions that satisfy practical needs while preserving the intended timber appearance.

Understanding Recessed Light Compatibility
Recessed light fixtures present thermal and structural challenges when installed near or within beams. Heat generated by lamps accumulates in enclosed spaces, potentially creating fire hazards or reducing fixture lifespan. The structural implications of cutting openings in beams require engineering attention regardless of material.
Polyurethane's thermal properties affect how it responds to heat exposure. While not combustible, extended exposure to high temperatures may cause surface degradation or finish damage. Quality manufacturers specify maximum allowable temperatures and clearances for safe installation. Following these guidelines ensures long-term performance without concern.
Beam modifications for lighting integration should occur during manufacturing when possible. Factory-cut openings ensure clean edges and proper dimensions that field cutting rarely achieves. Coordinate with manufacturers early in design development to incorporate custom features economically.
Fixture Types and Integration Approaches
Wafer-thin LED recessed fixtures offer the most integration flexibility. These ultra-compact units install in minimal ceiling space, enabling placement between beams without structural compromise. The minimal recess depth also reduces thermal accumulation that affects deeper fixtures.
Adjustable recessed fixtures provide flexibility for aiming light after installation. These units suit accent lighting applications where directional control adds value. Integration with beams requires careful sizing to ensure that fixtures appear proportional within the overall design.
Pinhole and gimbal fixtures create focused lighting effects suitable for highlighting specific features or artwork. The visible fixture trim may require coordination with beam finish and style. Manufacturers offer various trim options that may complement timber aesthetics better than standard white trims.

Surround Fixture Design Options
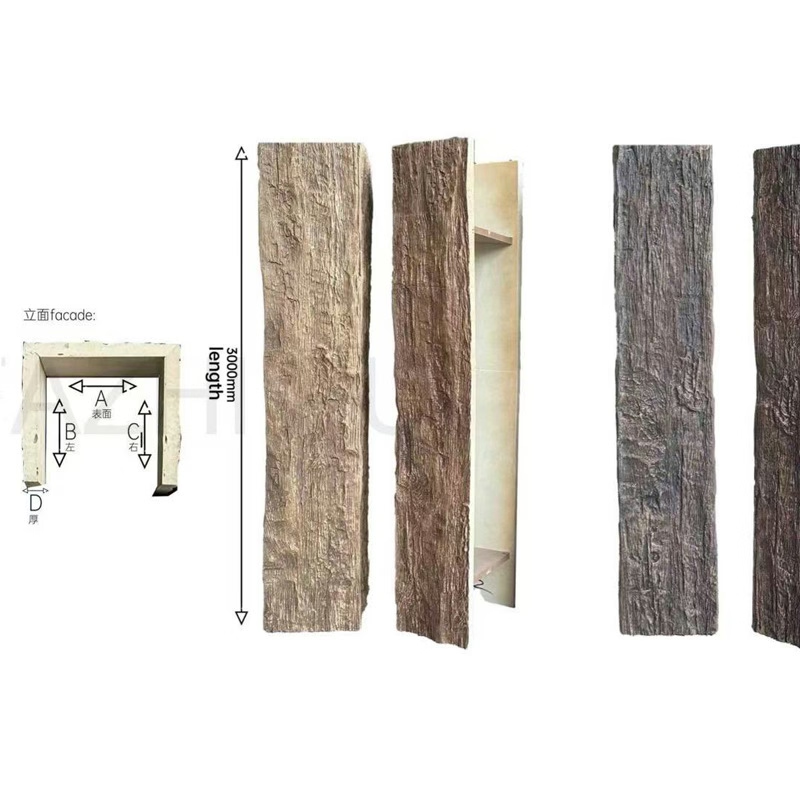
Manufactured surrounds provide finished openings where beams intersect ceiling planes or where fixtures penetrate beam surfaces. These accessories create the appearance of fixtures integrated into timber construction rather than installed as afterthoughts. Surround styles range from simple rings to elaborate architectural trim.
Recessed housing shields prevent contact between fixtures and insulation or other materials that might create fire hazards. Metal housings may require thermal protection when installed near polyurethane beams. IC-rated fixtures designed for direct insulation contact address this concern safely.
Beam pockets create recessed areas within beam installations specifically sized for light fixtures. This approach integrates fixtures completely into beam appearance while providing adequate space for housing and heat dissipation. Pocket dimensions should accommodate fixture clearance requirements plus any required thermal separation.
Planning for Lighting Integration
Electrical coordination should occur early in design development. Fixture locations affect beam placement and may require structural backing for weight support. Running wiring before beam installation simplifies later work and reduces the risk of damaging finished beams.
Lighting layout should coordinate with beam configuration. Consider how light patterns interact with beam shadows and how fixture locations affect visual balance. Light spill onto beam surfaces creates different effects than illumination of surrounding ceiling areas.
Control systems add complexity but enable atmospheric effects that static lighting cannot achieve. Dimming capability extends fixture versatility significantly. Smart lighting integration enables scene control, automated scheduling, and voice command compatibility for contemporary interiors.
Installation Techniques
Furring and backing installation prepares surfaces for beam mounting while accommodating fixture housings. Coordinate backing locations with beam layout before ceiling enclosure. Allow adequate space for housing clearance and wire routing.
Fixture mounting brackets attach to backing before beam installation. Final fixture connection occurs after beam positioning, requiring access through beam openings or from adjacent positions. Plan access routes for installation and future maintenance.
Beam cutting for fixture openings should follow manufacturer guidelines for minimum edge distances and reinforcement requirements. Field-cut openings require edge finishing that matches beam appearance. Consider pre-finishing cut edges before installation to simplify final touches.
Maintenance Access
Serviceability affects long-term satisfaction with lighting-integrated beam installations. Consider how fixtures will be accessed for lamp replacement or repair. Open-bottom beam designs may simplify access compared to enclosed configurations.
Fixture selection should consider lamp replacement frequency and complexity. LED fixtures with extended lifespan reduce maintenance requirements but may require complete module replacement rather than simple lamp swaps. Factor maintenance access into fixture specification.
Remote driver placement for LED fixtures enables driver replacement without accessing fixture location. Running low-voltage wiring to accessible locations simplifies future service. Coordinate driver mounting with beam installation planning.
Aesthetic Coordination
Trim selection affects how fixtures blend with beam aesthetics. Standard white trims may contrast inappropriately with timber-finished beams. Alternative finishes—brushed nickel, bronze, black—may coordinate more effectively. Some manufacturers offer timber-look trim rings that integrate fixtures completely.
Visible fixture positioning relative to beams deserves attention. Asymmetric placement appears unintentional; symmetrical arrangements read as designed. Consider the overall composition when positioning fixtures and align placement decisions with aesthetic intent.
Beam shadows interact with lighting design. Directional fixtures create shadows that emphasize beam depth and texture. Diffuse general lighting creates softer effects that may minimize beam presence. Match lighting approach to the role beams play in overall design.
Technical References
ASTM standards cited in every specification
Test Data
Lab results from internal testing program
Updated 2026
Reviewed against current product specs


