Successful faux beam installations depend fundamentally on appropriate fastener selection and proper application. The lightest, most realistic beam delivers poor results if mounting failures cause sagging, separation, or visible damage. Understanding fastener options and their proper application enables installations that perform reliably over extended service periods.
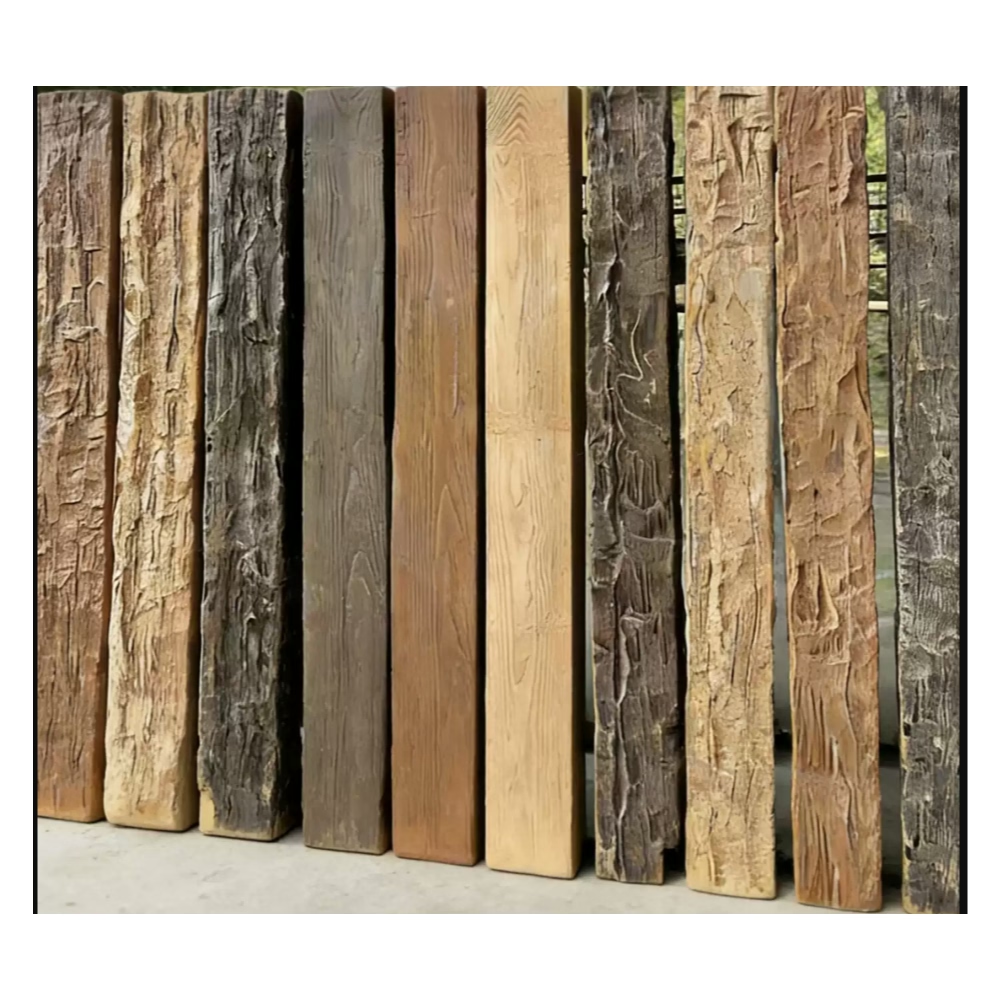
Polyurethane's material properties differ from wood, affecting how fasteners engage and hold. These differences require consideration when selecting mounting hardware. The same principles that guide wood fastening require adjustment for optimal faux beam results.

Screw Fasteners for Primary Support
Wood screws provide excellent holding power through thread engagement in mounting substrates. Select screws with appropriate length to penetrate at least one inch into structural framing. Pan head or flat head styles sit flush with beam surfaces; avoid screws with large washers or rounded heads that create visible bumps.
Deck screws offer similar holding power with corrosion-resistant coatings suitable for interior and covered exterior applications. The coarse threads develop strong purchase in wood framing. Counter-sink holes for flush mounting, then conceal with wood filler matching beam finish.
Structural screws provide superior load capacity for demanding applications. These modern fasteners combine enhanced thread designs with stronger steel formulations. Smaller diameter installation reduces splitting risk while developing higher loads than traditional screws.
Nail Fasteners for Concealed Attachment
Finish nails suit applications where fastener visibility must be minimized. The small heads disappear when filled and finished. Brad nailers speed installation for larger projects while delivering consistent depth control. pneumatic or gas-powered nailers reduce fatigue during extended installation work.
Stainless steel finish nails resist corrosion that might affect appearance over time. While more expensive than standard steel, the investment proves worthwhile for visible applications or humid environments. Match nail finish to beam treatment—brighter nails for light finishes, blued nails for darker treatments.
Ring-shank nails provide superior withdrawal resistance compared to smooth-shank alternatives. The ringed shaft develops grip that smooth nails cannot match, particularly in conditions where movement might occur. This fastener type suits applications near HVAC vents or in spaces with temperature fluctuation.

Adhesive Companions to Mechanical Fasteners
Construction adhesive applied between beam and substrate provides load distribution that mechanical fasteners alone cannot match. Adhesive reduces point-loading at fastener locations, preventing the stress concentrations that may cause failure over time. The combination typically outperforms either method independently.
Polyurethane construction adhesive is specifically formulated for use with polyurethane materials. This compatibility prevents chemical attack on beam surfaces while developing strong bonds. Avoid latex or solvent-based adhesives that may damage polyurethane finishes.
Application technique affects adhesive performance significantly. Apply adhesive to both surfaces being joined, ensuring complete coverage without excessive squeeze-out. Allow appropriate open time before positioning beams, then maintain pressure until initial set occurs.
Installation Spacing and Pattern
Fastener spacing should relate to beam length, weight, and anticipated loads. General guidance suggests fasteners at 12 to 16 inch intervals along beam length, with additional fasteners at ends and transitions. Heavier beams or longer spans require closer spacing.
Edge distance affects both holding power and material integrity. Fasteners too close to beam edges may cause splitting, particularly with larger diameter screws. Maintain minimum distances from edges—typically three times fastener diameter for hardwood substrates.
Corner and joint locations require special attention. Beam ends, mitered corners, and beam-to-beam intersections concentrate loads that single fasteners may not handle. Distribute fasteners to develop adequate capacity at these critical locations.
Specialized Mounting Systems
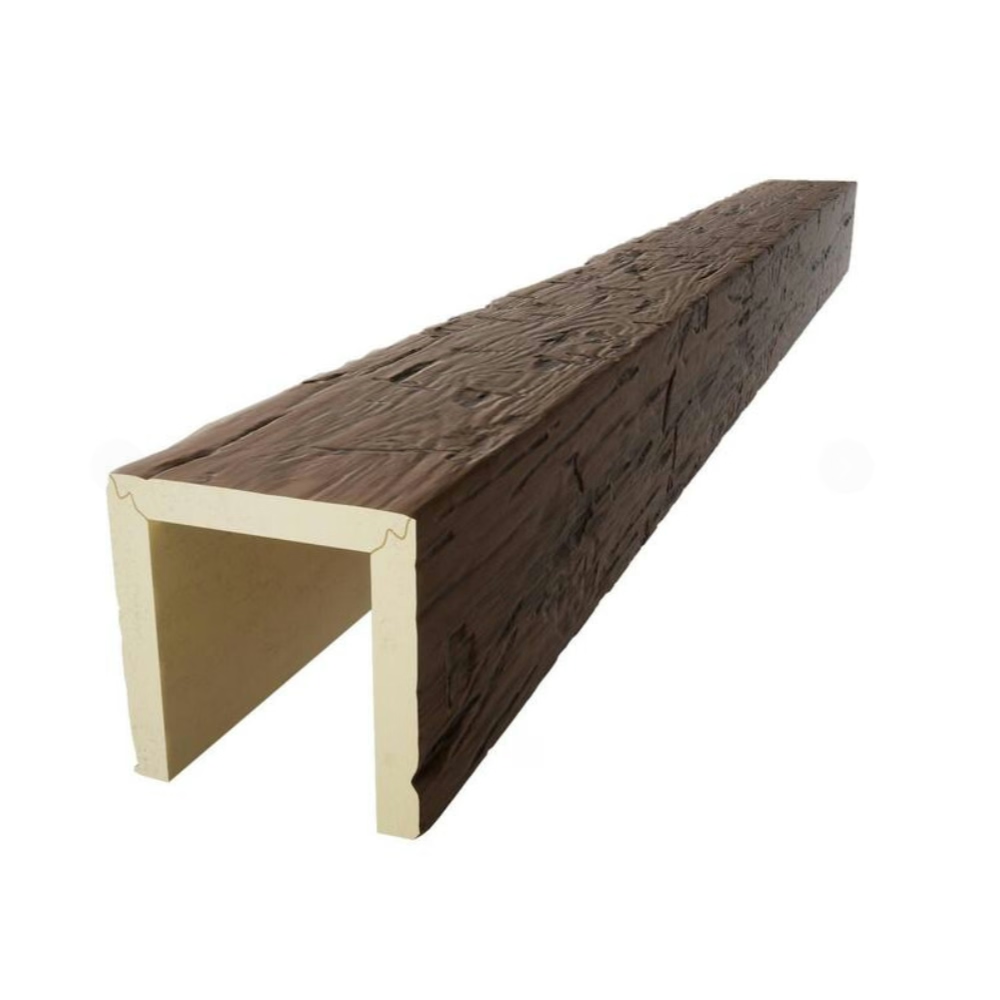
Cleat systems use metal brackets that interlock between beam and substrate. One bracket mounts to the ceiling, another to the beam; the interlocking connection secures without visible fasteners. This approach facilitates removal for access or modification while providing secure permanent mounting.
French cleat installation involves routed profiles in both beam and mounting surface that interlock. The floating joint accommodates movement while maintaining secure connection. This traditional technique adapts effectively to faux beam applications.
Lag screw through-bolting provides maximum security for demanding applications. This approach requires access above the mounting plane—attic space, floor above, or removable ceiling panels. The visible bolt heads may require decorative treatment or positioning in less visible locations.
Troubleshooting Common Issues
Splitting occurring during installation typically indicates improper technique or unsuitable fasteners. Pre-drilling pilot holes eliminates most splitting problems. Reduce fastener diameter or switch to nails from screws if problems persist.
Fastener pull-through results from insufficient penetration or inadequate substrate strength. Verify that fasteners penetrate solid framing, not just drywall or sheathing. Add backing or structural support where framing spacing or orientation complicates direct mounting.
Sagging beams over time indicate insufficient support, typically from fastener failure or substrate degradation. Inspect mounting conditions when sagging appears; address substrate issues before reinstalling beams. Consider supplemental support or modified fastening patterns for problem locations.
Technical References
ASTM standards cited in every specification
Test Data
Lab results from internal testing program
Updated 2026
Reviewed against current product specs


