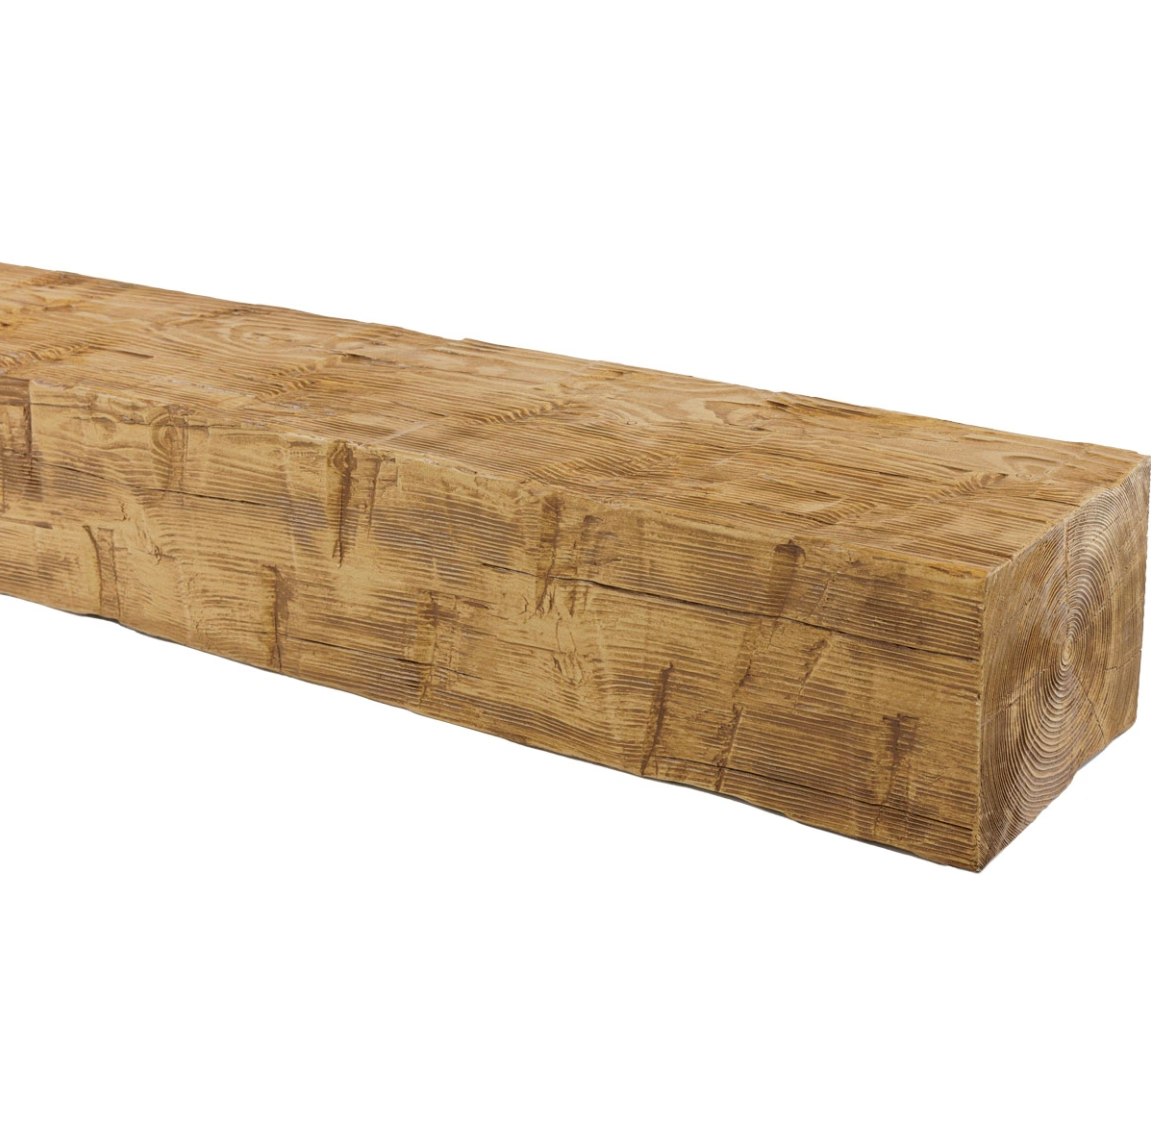
Faux wood beam removal becomes necessary when redesigns, repairs, or structural modifications require ceiling access. The process need not be intimidating when approached methodically with proper understanding of what each step accomplishes. This guide walks through the complete removal process from preparation through final cleanup, ensuring that projects complete successfully with ceiling surfaces ready for whatever treatments follow.
Different attachment methods require different approaches. The majority of this guide addresses the most common scenario—beams attached with construction adhesive—but references variations for mechanical fastening where relevant. Understanding which category applies to your situation helps select appropriate techniques.
Step One: Assessment and Planning
Every successful removal begins with thorough assessment that prevents mid-project surprises. Taking time to understand conditions before beginning eliminates most problems that might otherwise develop.
Examine each beam to determine attachment method. Look for visible fasteners, assess how edges meet ceiling surfaces, and identify any signs of previous repairs or modifications. Understanding what holds beams in place determines what removal techniques will work.
Identify ceiling construction by examining areas where beams meet walls or where ceiling surface is visible. Drywall, plaster, and different ceiling types accept attachment differently and respond differently to removal forces. Knowing what you're working with affects technique selection.
Locate any utilities that might be concealed behind beam installations. Electrical wiring, plumbing, or HVAC components sometimes run through ceiling spaces that beams appear to cover. Non-invasive detection methods prevent accidental damage to building services.
Document the existing installation with photographs before removal begins. Images record beam positions, attachment points, and any complications that affect removal approach. This documentation proves valuable if questions arise later or if new installations should reference original configurations.
Step Two: Gathering Tools and Materials
Having appropriate equipment ready before beginning prevents interruptions that create frustration and potential mistakes. A complete toolkit ensures that each removal phase can proceed without searching for needed items.
Pry bars in various sizes from thin to moderate width handle different leverage requirements. Thinner bars fit into tight spaces while wider bars provide more controlled force application.
Putty knives and scrapers remove adhesive residue after beam extraction. Plastic versions protect surfaces while metal versions handle more stubborn residues.
Heat sources such as heat guns soften adhesive bonds for easier release. The temperature increase weakens bonds temporarily, allowing manipulation that cold adhesive resists.
Protective equipment including safety glasses, work gloves, dust masks, and knee pads protects against debris, sharp edges, and physical fatigue during extended work.
Drop cloths and heavy-duty trash bags manage debris and keep work areas clean throughout the process.

Step Three: Preparing the Work Area
Workspace preparation affects both safety and efficiency throughout the removal process. Proper setup at the outset prevents mid-project adjustments that waste time and energy.
Clear the floor below and around beam locations. Furniture, decorations, and floor items should move to protected areas or out of the room entirely. Debris falling from ceiling work can damage whatever lies below.
Protect floors with canvas drop cloths or cardboard that catches debris without creating slip hazards. Plastic sheeting may seem protective but creates slippery surfaces when debris falls upon it.
Set up stable access appropriate to ceiling height. Extension ladders for higher ceilings, step ladders for moderate heights. Ensure that ladder positioning allows reaching work areas without overreaching or awkward positioning.
Arrange tools for efficient access while working at height. Tool aprons, bucket hooks, or platform staging areas keep needed items within reach without constant climbing up and down.

Step Four: Beginning Edge Release
Removal starts from edges where access to adhesive bonds is most straightforward. Working from edges inward maintains control throughout the process.
Identify the weakest points in beam-to-ceiling bonds. These typically occur at corners, ends, or anywhere that adhesive coverage may be thinner. These points provide natural starting locations.
Insert thin pry bars or putty knives between beam and ceiling surfaces. Work carefully to avoid damaging ceiling materials while creating separation that allows deeper tool insertion.
Apply heat to stubborn areas while maintaining gentle pressure on tools. The combination of heat and leverage gradually releases bonds without the force that damages ceilings.
Work around beam perimeters before attempting to free any sections completely. Each edge released provides access for the next, gradually working toward complete separation.
Step Five: Progressive Section Release
With edges freed, central sections require attention. Working methodically prevents stress concentrations that damage ceiling surfaces.
Continue heat application while sliding tools along adhesive bonds. Maintain steady, patient pressure rather than attempting to force rapid separation.
Support beam weight as bonds release to prevent sudden dropping that could damage the beam, the ceiling, or workers below. Having helpers available for longer beams provides necessary support.
Work back and forth between sections rather than attempting to free long runs completely from one end. This alternating approach maintains control and prevents the beam from binding on partially released sections.
Watch for signs of ceiling stress—sagging, cracking, or separation from framing. Any of these signs indicate excessive force that should be reduced immediately.
Step Six: Complete Beam Extraction
Final extraction requires careful coordination to ensure that neither beam nor ceiling sustains damage during removal.
Ensure adequate support for the entire beam weight throughout the final removal movement. Longer beams require multiple support points to prevent sagging or snapping during extraction.
Coordinate final movement with helpers if needed. A smooth, controlled withdrawal prevents the impacts that damage surrounding surfaces.
Set removed beams aside carefully where they won't create obstacles or hazards. The beams may be reusable if removal preserved their integrity.
Inspect ceiling surfaces immediately after beam removal to identify any damage that occurred during extraction. Addressing damage while removal materials are still staged proves more efficient than returning later.
Step Seven: Adhesive Residue Removal
Ceiling surfaces typically retain adhesive residue that must be removed before new finishes can be applied. This step prepares surfaces for whatever treatments follow.
Allow residual adhesive to cool and harden if heat was used during removal. Softer adhesive proves difficult to scrape cleanly while warm.
Begin scraping with plastic scrapers to remove bulk material. Work across the surface systematically to identify areas requiring additional attention.
Switch to metal scrapers for stubborn residues once plastic scraping has removed loose material. Test in inconspicuous areas to confirm that scraping won't damage underlying surfaces.
Apply appropriate solvents for adhesive types that resist scraping. Adhesive remover products work on specific chemistries—matching products to adhesives improves effectiveness.
Sanding may be necessary for very smooth residues that scraping cannot fully level. Fine-grit sandpaper smooths without creating significant depth variations.
Step Eight: Surface Preparation and Repair
Damaged ceiling surfaces require repair before refinishing. Addressing these issues now prevents problems with subsequent finishes.
Fill small holes and indentations with appropriate patching compounds. Multiple thin applications prevent cracking as materials cure.
Route cracks to create clean edges before filling. This preparation ensures that repair materials bond properly and last.
Match textures to existing ceiling finishes. Spray texture products replicate common textures, while pre-textured patches suit more distinctive patterns.
Allow all repairs adequate cure time before priming or painting. Rushing this phase creates problems that show through new finishes.
Step Nine: Cleanup and Disposal
Final cleanup prepares spaces for whatever comes next. Thorough cleanup prevents problems from debris that remains hidden.
Remove all debris from the work area including fragments, dust, and packaging materials. Vacuum corners and edges where debris accumulates.
Clean ceiling and surrounding surfaces to remove dust generated during removal and repair. Clean surfaces accept new finishes better than dusty ones.
Dispose of removed materials appropriately. Beams may be salvageable for other uses or recyclable depending on local programs. Adhesive residue and packaging go to appropriate waste streams.
Return the room to normal configuration with furniture and furnishings restored. The project concludes with spaces ready for the next phase of renovation or redecoration.
This step-by-step guide ensures safe, successful faux wood beam removal that protects ceiling investments while enabling desired changes.
Technical References
ASTM standards cited in every specification
Test Data
Lab results from internal testing program
Updated 2026
Reviewed against current product specs


