
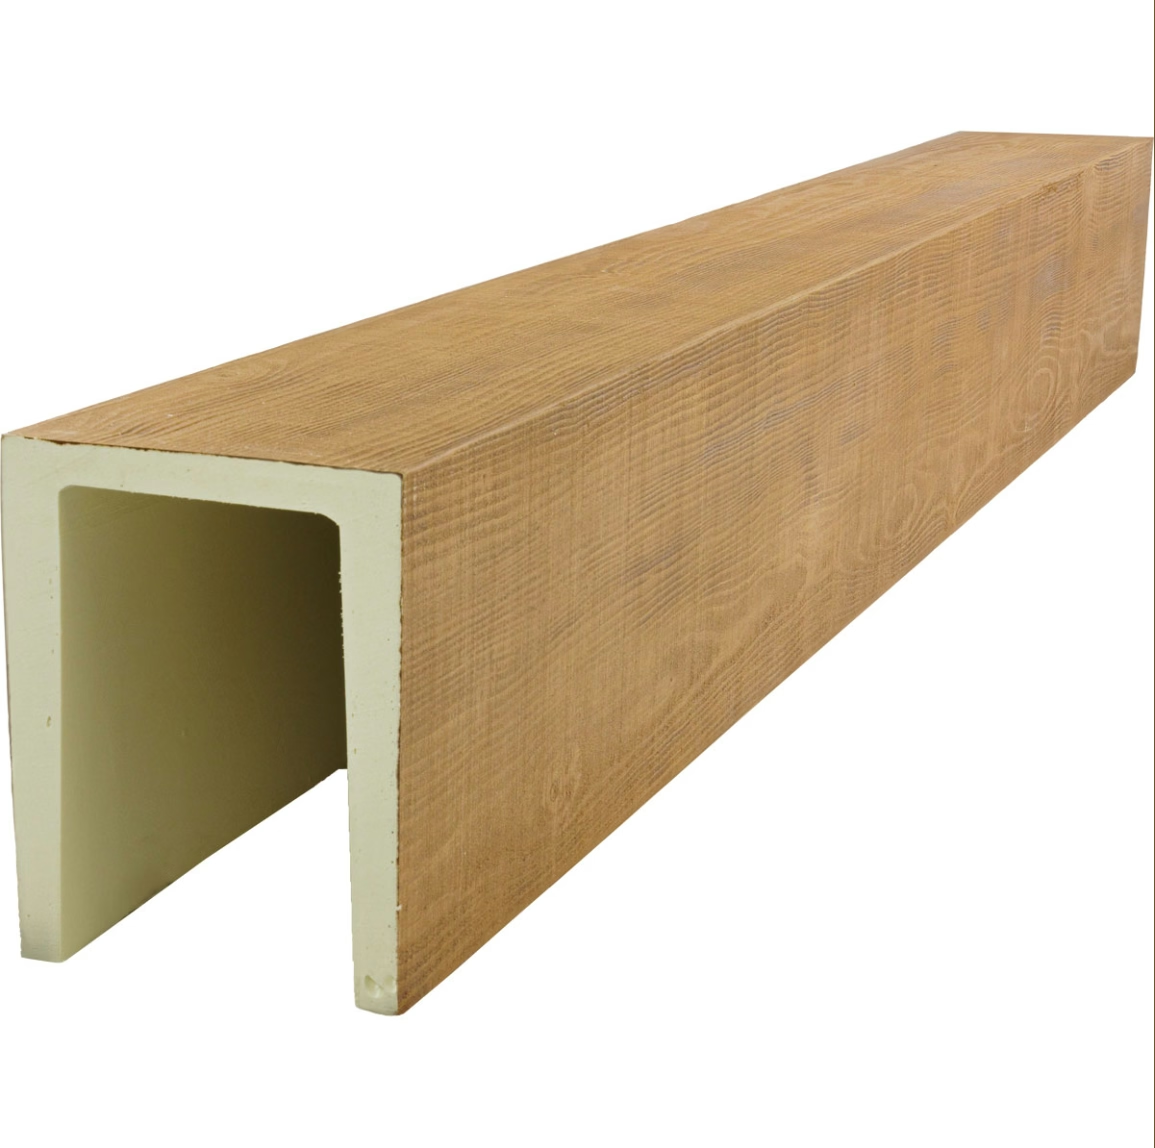
The rich, warm tones of dark walnut faux timber beams bring sophistication to any space they inhabit. Whether installed as a dramatic ceiling feature or as architectural accent beams, these elements often become focal points that define room character. This visual prominence means that scratches, scuffs, or surface damage receive immediate attention—they stand out against the carefully crafted wood grain in ways that smaller blemishes might not. The good news is that polyurethane's uniform composition makes repairs more straightforward than many owners expect.
Unlike natural wood where damage penetrates to actual wood fibers requiring fiber-by-fiber matching, polyurethane damages typically affect only the surface coating or superficial material. This distinction transforms what seems like a major repair into an accessible DIY project that most homeowners can complete successfully. Understanding the repair process and having appropriate materials on hand ensures that damage gets addressed promptly before it becomes more noticeable or potentially worsens.
Assessing Damage Severity
Before beginning any repair work, accurate damage assessment determines the appropriate repair approach. Light surface scratches that catch fingernails but don't show depth fall into the minor category requiring simple refinishing. Deeper scratches that expose the beam's core material need more substantial repair with fill materials. Impact damage that creates dents or gouges requires yet different approaches depending on whether the structural integrity remains affected.
Lighting affects visibility of both damage and repairs. Examining beams under strong overhead lighting reveals imperfections that might escape notice under ambient illumination. Conversely, working under harsh lighting can make repairs appear more obvious than they will in normal viewing conditions. Working with natural daylight when possible provides the most accurate assessment and repair reference.
Documenting damage with photographs helps track repair progress and provides reference for matching colors and textures. Close-up images capture details that casual observation might miss, revealing the true extent of damage and helping determine material requirements for repair. These images also help if consulting with professionals or purchasing repair materials from suppliers who might request visual assessment.
Gathering Repair Materials
Successful dark walnut faux beam repair requires appropriate materials matched to the damage type and beam finish. Touch-up markers and pens in walnut tones provide quick solutions for minor surface scratches. These products work like markers but contain finish materials that blend with existing coatings. Multiple shades often exist within a single product, allowing nuanced color matching across the varied tones typical of walnut finishes.
For deeper scratches, wood filler or spackling compounds in appropriate colors provide the body needed to rebuild damaged surfaces. Dark walnut tints in these products allow blending with surrounding finish during application. Some professionals prefer using neutral fillers that accept stain or paint afterward, providing more control over final appearance matching.
Fine-grit sandpaper, soft cloths, and appropriate cleaning solutions prepare surfaces for repair. Isopropyl alcohol removes oils and contaminants without damaging existing finishes in most cases. Lighter fluid or specialized panel cleaners work for more stubborn contamination. Having multiple cleaning options ensures compatibility with various finish types.
Heat guns or hair dryers provide heat-reactivation capability for certain repair techniques. The heat allows surface materials to soften and flow, potentially blending minor damage without adding materials. This technique works best for superficial scratches but can serve as preliminary treatment before additional repair steps.

Clear coats and sealers in appropriate sheens complete repairs by protecting repaired areas and matching surrounding finish. Matte, satin, and gloss options allow precise matching to existing beam surfaces. Aerosol cans provide easier application for small areas, while brushable versions suit larger repairs or applications where aerosol overspray might affect nearby surfaces.
Minor Scratch Repair Process
Light surface scratches respond to a straightforward refinishing approach that refreshes the damaged coating. Cleaning the scratch area with isopropyl alcohol removes any contamination that might interfere with refinishing. The cleaned area should extend slightly beyond the visible damage to ensure complete treatment.
Touch-up markers or pens in appropriate walnut shades fill the scratch with matching material. Applying the marker along the scratch length with steady pressure deposits finish material into the damaged area. Multiple thin applications typically work better than single heavy applications, building color gradually while maintaining control over placement.
Once touch-up material has dried according to product instructions, a clean cloth wrapped around a fingertip allows gentle feathering of edges where touch-up material meets original finish. This blending step prevents visible hard edges that would make the repair obvious. Light pressure and circular motions work better than aggressive rubbing.
A final clear coat application over the repaired area seals the touch-up and ensures consistent sheen with surrounding surfaces. Several thin coats with drying time between applications typically produce smoother results than single heavy coats. Light sanding with very fine grit between coats improves adhesion and smoothness.
Deep Scratch and Gouge Repair
Deeper damage requiring filler needs more careful preparation and application. The damaged area should be thoroughly cleaned and allowed to dry completely before filler application. Any loose material should be removed, creating clean edges around the damage for proper filler adhesion.
Dark walnut wood filler applied with a flexible putty knife fills the damaged area slightly proud of the surrounding surface. This overfill allows for sanding flush once the filler has fully cured. Matching the filler color as closely as possible during application reduces the amount of finishing required afterward.
Sanding begins after filler cures completely, typically requiring overnight drying for deeper applications. Fine-grit sandpaper wrapped around a soft backing block sands the filler flush with surrounding surfaces. The goal is achieving smooth transition without sanding through to bare material or creating visible depression around the repair. Working slowly and checking progress frequently prevents over-sanding.
Color matching the repaired area to surrounding walnut finish requires layering techniques that account for walnut's characteristic color variation. Dark base tones provide the rich foundation, with medium and light tones adding depth and dimension. These tones can be applied with artists' brushes, touch-up pens, or stain markers depending on the specific colors available and the size of the repair area.
Sealing the repaired and colored area with clear coat matches the surrounding finish's protective layer. Multiple coats with light sanding between applications build up the protective layer while maintaining color integrity. The repaired area should become indistinguishable from surrounding beam surface when viewed under normal lighting conditions.
Prevention and Ongoing Care
Preventing future damage extends the life of repairs and maintains beam appearance. Identifying the source of scratches—whether from furniture movement, ladder contact, or other causes—allows implementing preventive measures. Furniture pads, ladder padding, and traffic management reduce contact damage in vulnerable locations.
Regular cleaning with appropriate methods maintains finish integrity over time. Soft dusting, gentle washing with mild detergents, and avoiding abrasive cleaners prevents the gradual wear that makes scratches more visible. Establishing cleaning routines ensures that beams receive consistent care that preserves their appearance.
Quick response to new damage prevents small problems from becoming larger ones. The longer damage remains unrepaired, the more likely it is to collect contamination, expand, or cause additional finish failure around the damaged area. Having basic repair materials available allows immediate attention to damage as it occurs.
Professional assessment helps for damage that exceeds comfortable DIY repair scope. Extensive damage, structural concerns, or repairs that don't achieve satisfactory results benefit from experienced hands. Many beam suppliers and installation professionals offer repair services or can recommend specialists who handle these specific materials.
Dark walnut polyurethane faux beams reward careful maintenance and prompt repair. Their rich, sophisticated appearance remains achievable even when damage occurs, as proper repair techniques restore original beauty effectively. Understanding these techniques empowers owners to maintain their investments with confidence.
Technical References
ASTM standards cited in every specification
Test Data
Lab results from internal testing program
Updated 2026
Reviewed against current product specs


