
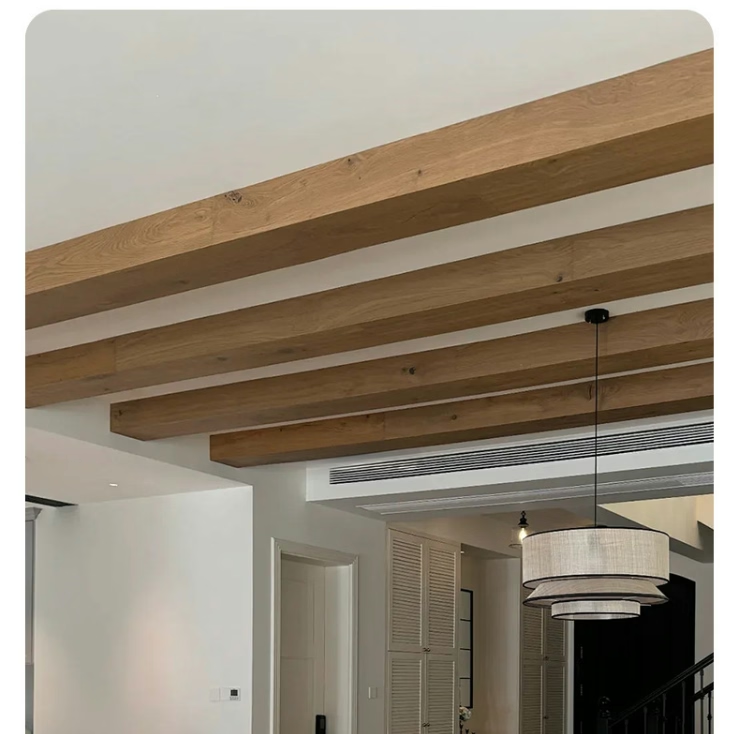
The difference between beams that stay put and beams that develop problems often comes down to installation methodology. Even the highest quality polyurethane faux beams can fail to perform if mounted inadequately. Conversely, beams of moderate quality can provide decades of reliable service when properly installed. This reality makes installation technique as important as product selection in determining project outcomes. Among available mounting approaches, the dual fixation method combining mechanical screws with construction adhesive provides the most stable and reliable results.
Dual fixation addresses different aspects of beam attachment that single-method approaches cannot fully satisfy. Screws provide immediate mechanical connection that can withstand loads immediately upon installation. Adhesives provide continuous surface contact that transfers loads across entire beam dimensions rather than at discrete points. Together, these methods complement each other's strengths while compensating for individual weaknesses. Understanding this complementary relationship helps installers make appropriate decisions about when and how to apply dual fixation techniques.
Understanding Mechanical Versus Adhesive Fixation
Mechanical fasteners work by applying pressure through physical connection between the fastener, beam, and mounting surface. Screws draw materials together, creating clamping force that maintains contact. This force keeps beams in position against gravity and any dynamic loads that develop. The clamping action works immediately and intensifies under load rather than weakening, providing progressive security as conditions challenge the installation.
Adhesive bonding operates through molecular attraction between materials in contact. Construction adhesives flow across surfaces, filling microscopic irregularities and creating continuous contact. Once cured, adhesives transfer loads across entire bonded surfaces rather than at discrete points. This load distribution reduces stress concentration at any individual location, providing stability that mechanical fasteners alone cannot match.
Each method has vulnerabilities that the other addresses. Screws create point loads at fastener locations, potentially concentrating stress in ways that cause cracking or pull-out over time. Adhesives can fail if surfaces aren't perfectly clean and prepared, and they provide no immediate holding power during application. Dual fixation eliminates these vulnerabilities by ensuring that each method's strengths compensate for the other's limitations.
Preparing for Dual Fixation Installation
Successful dual fixation begins with thorough surface preparation on both the beam and mounting substrate. The mounting surface must be clean, dry, and structurally sound. Dust, debris, oils, and loose materials prevent adhesive from achieving proper contact. Existing finishes may need removal or at least roughening to create suitable bonding surfaces. In some cases, priming with appropriate primers improves long-term adhesion.
Beam preparation includes checking fit against mounting locations before any adhesive or fasteners are applied. Marking beam positions, checking clearances, and dry-fitting all components identifies potential issues before they're committed with adhesive. This preparation step proves especially valuable for complex installations involving multiple beams, corners, or spliced connections.
Gather all required materials before beginning installation. Construction adhesive appropriate for polyurethane and the specific mounting surface must be selected. Screw type and length must be appropriate for the materials being joined. The tools required—drill, driver, level, measuring tools—should all be available and functional. Organizing the workspace prevents mid-installation interruptions that could compromise adhesive working time.

Temperature and humidity conditions affect adhesive performance and should fall within manufacturer specifications. Extreme temperatures may accelerate or slow curing unpredictably. High humidity can affect some adhesive formulations. Checking conditions before beginning installation and adjusting approach accordingly prevents performance issues that might not become apparent until problems develop.
Adhesive Application Techniques
Construction adhesive application requires technique that ensures complete coverage without waste or squeeze-out. For most beam installations, continuous beads along the center of the mounting surface provide adequate coverage. Some installers prefer serpentine patterns that cover more surface area, though this increases adhesive consumption. The goal is creating continuous contact across the bonding surface without gaps that might reduce overall bond strength.
Applying adhesive to both the beam and mounting surface generally provides stronger bonds than single-surface application. This double application doubles the adhesive material but ensures that bond failure would require adhesive failure in two locations rather than one. For critical installations where maximum stability is required, double application justifies the additional material cost.
Working time after adhesive application varies by product and conditions. Most construction adhesives allow several minutes of open time before initial setting begins. Understanding the specific product's working time prevents situations where adhesive sets before beams are properly positioned. When working time approaches its end, beams should already be aligned and ready for final positioning.
Mechanical Fastening Sequence and Technique
Screw placement follows a logical sequence that maintains alignment throughout the installation process. Starting from the center of the beam and working toward ends prevents the bowing that can occur when fasteners at one end pull alignment out of position before opposite-end fasteners are installed. This sequence also allows micro-adjustments as installation progresses, catching alignment problems before they're committed.
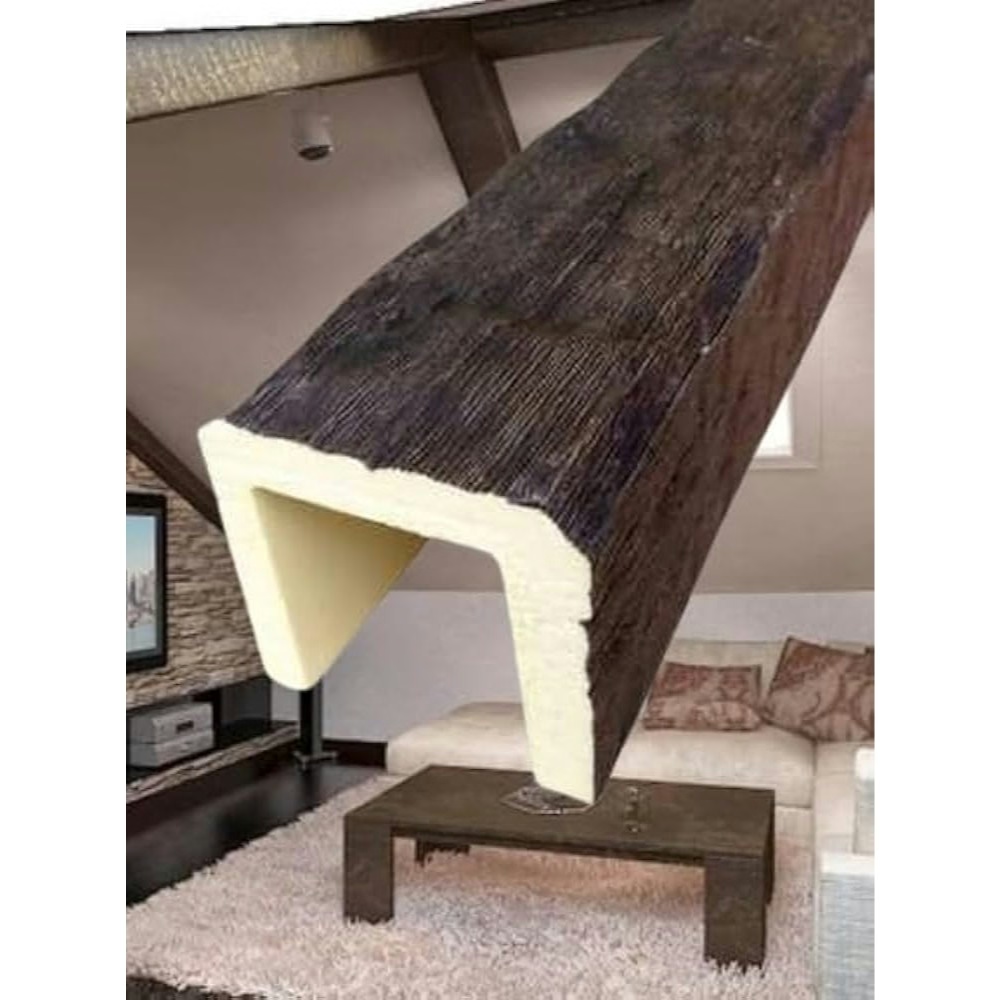
Pilot holes prevent splitting and ensure accurate screw placement, especially important near beam edges where the risk of blow-out is highest. Drill bit diameter should be slightly smaller than screw core diameter, allowing threads to engage while preventing material cracking. The pilot hole depth should equal or slightly exceed screw length to prevent binding.
Fastener spacing follows manufacturer guidelines and structural requirements for the specific installation. Spacing that is too wide allows beam movement between fasteners. Spacing that is too close may not provide additional benefit while slowing installation unnecessarily. Generally, spacing of twelve to twenty-four inches along the beam length provides adequate security for typical residential applications.
Countersinking screws slightly below the surface allows filling and touch-up that conceals fastener locations. This finishing step becomes especially important when beams will be painted or when appearance at close viewing distance matters. The filled holes blend with surrounding surfaces, creating the impression that mechanical fastening was never used.
Curing and Quality Verification
Adhesive curing requires time during which the installation should remain undisturbed. Most construction adhesives achieve initial set within hours but reach full bond strength over one to several days. Light loads during curing may be acceptable, but full service loading should wait until curing completes. Checking product specifications for cure times prevents premature loading that might compromise bond strength.
Quality verification confirms that installation meets requirements before considering the project complete. Visual inspection checks for complete adhesive coverage without gaps or voids. Physical testing within safe limits verifies that beams are securely attached. Any movement, sounds, or signs of loosening indicate problems that require attention.
Documentation of the installation provides valuable information for future reference. Recording adhesive product, fastener specifications, and any unusual conditions encountered helps when questions arise later. Photographs of the completed installation preserve visual records that assist with future work in the same area.
Dual fixation represents the gold standard for faux beam installation where maximum stability is required. The investment in additional materials and installation time pays dividends through decades of reliable service without the problems that lesser methods might encounter. Professional results depend on professional technique, and dual fixation delivers professional quality to projects that demand it.
Technical References
ASTM standards cited in every specification
Test Data
Lab results from internal testing program
Updated 2026
Reviewed against current product specs


