
Architectural ambitions frequently exceed the practical limits of available beam lengths. Cathedral ceilings, great rooms, and open-plan commercial spaces demand visual continuity across distances that manufacturing capabilities cannot match. The solution lies in splicing—joining beam sections together to create spans that appear as single, continuous pieces. When executed properly, these splices become invisible, leaving observers certain they're seeing original structural elements rather than assembled components.
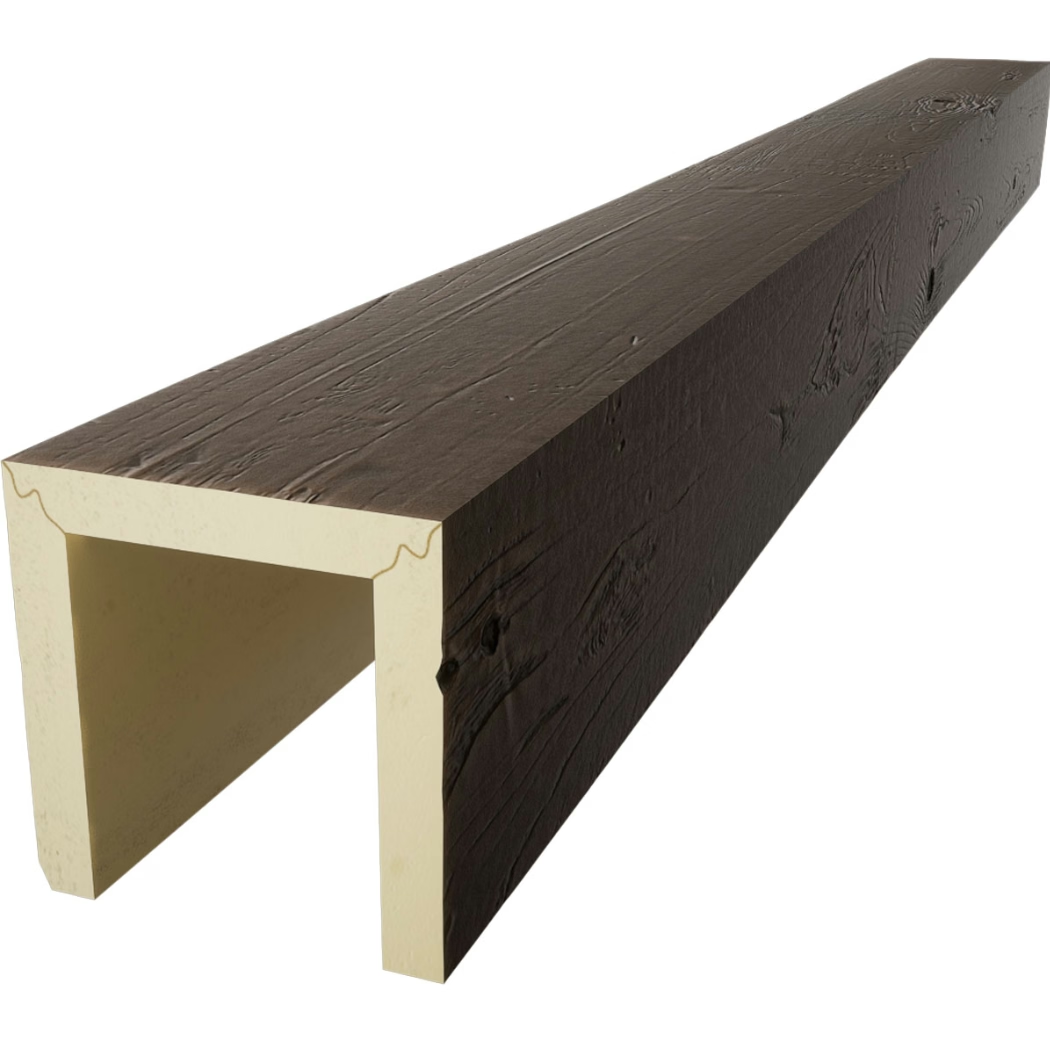
Butt joint splicing represents one approach to this challenge, creating connections where beam ends meet square across their profiles. Unlike scarf joints that employ angled cuts and overlapping sections, butt joints bring flat surfaces together, relying on adhesive and mechanical reinforcement to create strength and invisibility. This approach requires precise preparation and execution but rewards effort with seamless results when performed correctly.
Understanding Butt Joint Mechanics
The simplicity of butt joints—both pieces simply meet at their ends—belies the precision required for successful invisible splicing. Any gap between mating surfaces becomes visible once finish is applied. Any height mismatch creates shadow lines that announce the joint location. Any dimensional variation produces visible steps rather than continuous planes. The apparent simplicity of butt joints actually demands more precision than more forgiving joint designs.
Stress distribution at butt joints differs from continuous beam sections in ways that affect long-term performance. Natural wood beams often fail at joints because end grain accepts stress differently from face grain. Polyurethane faux beams behave more consistently because the material is homogeneous throughout, but the joint interface still represents a potential weakness that proper technique must address.
Reinforcement strategies for butt joints focus on transferring loads across the joint interface. Internal splines, dowels, and plates all provide load paths that bypass the joint itself, carrying stresses through continuous material. The reinforcement must extend sufficiently into both beam sections to develop full strength while remaining concealed within beam profiles.
Precision Cutting for Perfect Fit
Achieving invisible butt joints begins with cuts of absolute precision. Beam ends must be square—both perpendicular to the beam axis and flat across the entire profile. Any deviation from square creates gaps or misalignments that prevent invisible joints. Even small errors compound over visible spans, making accuracy essential rather than optional.
Crosscut saws with guides provide the most consistent results for cutting beam ends square. Table saws with precision fences, miter saws with sharp blades, and track saws with rigid guides all produce adequate accuracy when properly set up. The key is using appropriate equipment and taking time to verify setup before cutting begins.
Trimming beams to final length after initial cutting often improves fit. Running a final pass across both mating surfaces simultaneously removes minor variations and ensures perfect matching. This technique, sometimes called jointing, creates surfaces so precisely matched that they seem to flow together when placed in contact.
Surface Preparation for Invisible Joints
The surfaces being joined must be absolutely clean and properly prepared for adhesive bonding. Any contamination—dust, oils, moisture—compromises adhesion and creates conditions for joint failure. Cleaning with appropriate solvents removes contamination without leaving residues that might interfere with bonding. Clean white shop towels work well for wiping surfaces without leaving fibers.
Sanding or abrading prepares surfaces for adhesive bonding by creating micro-mechanical keys that improve adhesion. Fine-grit sandpaper, applied evenly across both surfaces, creates uniform texture that accepts adhesive consistently. The sanding must be uniform—uneven preparation creates variations in bonding that affect joint invisibility.
Priming may be required for some adhesive and beam material combinations. Adhesive manufacturers specify whether priming improves performance for specific applications. Following these recommendations ensures that adhesive bonds develop full strength without interference from surface conditions.
Adhesive Selection and Application
Construction adhesive formulated specifically for polyurethane provides the best bonding for faux beam splicing. These adhesives chemically bond with polyurethane surfaces, creating connections that often exceed the strength of the material itself. Selecting adhesives rated for the loads and conditions the installation will experience ensures long-term performance.
Application technique affects both joint strength and invisibility. Complete coverage without voids ensures that the entire joint surface transfers loads uniformly. Insufficient coverage creates stress concentrations that may cause failure. Excessive coverage leads to squeeze-out that complicates finishing and may telegraph through to visible surfaces.
Working time must be understood and respected when making butt joints. Most construction adhesives have limited open time after application before surface skinning begins. During this window, beams must be positioned, aligned, and clamped without delay. Rushing creates errors while waiting allows adhesive to set before positioning completes.

Clamping for Success
Clamping pressure holds mating surfaces in contact while adhesive cures, but pressure must be uniform across the entire joint surface. Inadequate pressure allows gaps to persist. Excessive pressure squeezes adhesive away from critical bonding areas. Finding the appropriate pressure for each adhesive and joint configuration ensures complete contact throughout the cure period.
Specialized clamps designed for beam splicing provide the coverage and pressure distribution butt joints require. These clamps often span the entire beam width, applying pressure across the joint rather than at discrete points. The investment in appropriate clamping equipment pays returns through consistent results and reduced rework.
Checking alignment during clamping catches problems while adjustment remains possible. Flashlights positioned to cast raking light across the joint reveal any gaps or misalignments before adhesive sets. Making corrections while adhesive remains workable prevents the frozen errors that occur when curing prevents adjustment.
Finishing for Invisibility
The finishing approach determines whether joints become truly invisible or remain faintly visible. Careful color matching between beam sections ensures that no tonal variation announces the joint location. This matching may require blending techniques that transition color gradually across the joint area.
Clear coating unifies appearance once color matching is complete. The continuous clear layer eliminates any remaining visual evidence of the joint by creating uniform surface properties across the entire beam. Multiple thin coats with sanding between applications build up protection while maintaining invisibility.
Final inspection under multiple lighting conditions confirms that joints meet quality standards. Daylight, incandescent, fluorescent, and LED lighting all reveal different aspects of surface appearance. Joints that remain invisible across all conditions satisfy the most demanding quality requirements.
Butt joint splicing transforms limited beam lengths into unlimited design possibilities. The techniques required demand attention and precision, but the results justify the effort. For installations that must span distances beyond available lengths, properly executed butt joints provide the continuous appearance that design visions require.
Technical References
ASTM standards cited in every specification
Test Data
Lab results from internal testing program
Updated 2026
Reviewed against current product specs


