Home renovation enthusiasm has surged as homeowners discover the satisfaction of improving their own spaces. The availability of quality polyurethane faux beams has opened ceiling transformation projects to capable DIYers who might otherwise assume such improvements required professional expertise. These lightweight architectural elements respond to basic tools and reasonable care, allowing enthusiastic beginners to achieve results that would have required specialized help just a generation ago.
The key lies in selecting appropriate projects for your skill level while building confidence through achievable first steps. Like most construction skills, faux beam installation rewards patience and attention to detail, but it doesn't demand exotic tools or years of apprenticeship. Most homeowners with basic experience using drills, levels, and saws can successfully complete ceiling beam projects that dramatically improve their living spaces.
Getting Started: Your First Beam Project
Beginning with a straightforward project establishes skills and confidence for more ambitious future work. A single beam installed above a focal point—a dining table, seating area, or bed—provides the learning experience without the complexity of multiple-beam coordination. This focused project allows you to develop your technique and tool familiarity before tackling larger installations.
Gather your materials before starting: the beam or beams themselves, appropriate mounting hardware (often included with purchase), a level, measuring tape, drill with appropriate bits, and any cutting tools if custom sizing is needed. Having everything accessible prevents frustrating interruptions that can lead to sloppy work. A helper for positioning and holding beams during installation makes the process smoother, though single-beam projects can often be managed solo with creative use of temporary supports.
Take measurements twice (or three times) before cutting anything. The irreversibility of cutting means errors become expensive quickly. Mark cuts clearly and confirm positioning before committing. For first projects, buying standard lengths that require minimal or no cutting reduces risk considerably while you develop confidence and competence.
Bedroom Beam Transformations
Bedrooms respond beautifully to ceiling beam additions, and the typically simpler ceiling structures in residential bedrooms make these projects accessible for beginners. A centered beam above the bed creates a canopy-like effect that anchors the sleeping area while adding architectural interest that paint or wallpaper simply cannot achieve. Light-colored beams in a bedroom maintain the restful atmosphere that these spaces require.
Coordinate beam finish with existing bedroom elements. If your bedroom features wooden furniture, a natural wood-toned beam complements nicely. For predominantly white or gray bedrooms, painted beams matching the ceiling keep the space feeling open while adding the texture and shadow that beams provide. The beam becomes part of the room's color story rather than a competing element.
The installation above a bed requires careful consideration of how you'll work overhead while protecting bedding and mattresses from dust and debris. Remove bedding before starting work, or cover everything thoroughly with drop cloths. Working in stages—measuring and marking one day, installing the next—allows you to address any accumulated dust before replacing bedroom furnishings.

Kitchen and Dining Applications
Kitchens and dining areas present excellent opportunities for faux beam DIY projects, adding warmth to spaces often dominated by hard surfaces. A beam crossing above the kitchen island or dining table creates a visual anchor that organizes these functional areas while introducing the organic character that many homeowners seek in kitchen renovations.
The relative simplicity of kitchen ceiling structures—typically featuring standard joist spacing and accessible above-cabinet areas—makes these locations forgiving for beginner installations. Beams can often be mounted directly to existing structure with standard hardware, avoiding the blocking or reinforcement that might be needed in more complex situations.
Consider the practical aspects of kitchen beam installation regarding proximity to cooking areas. Grease and cooking residue can accumulate on ceiling surfaces near ranges and stoves. While polyurethane beams clean easily, positioning beams away from the most intense cooking activity reduces maintenance. If beams must be near cooking areas, selecting darker finishes that hide accumulated residue more effectively than light colors may prove practical.
Living Room Feature Installations
Living rooms accommodate more ambitious beam installations that showcase the dramatic potential of these architectural elements. Multiple parallel beams across a living room ceiling can transform an ordinary space into something approaching great room drama, yet the installation remains manageable for capable DIYers with reasonable planning.

Spacing beams requires attention to proportion and visual balance. Measure your room's dimensions and calculate beam placement that divides the space harmoniously rather than creating awkward gaps or overly tight spacing. Online design tools or even simple graph paper drawings help visualize results before committing to installation. The investment in planning prevents disappointment once beams are permanently mounted.
Finishing around beams—where they meet walls or other architectural elements—deserves attention that beginners sometimes overlook. Caulk and paint or wood filler can create clean transitions that elevate the finished appearance considerably. These details distinguish professional-looking results from amateur installations, and they're well within any careful DIYer's capability with basic materials from the hardware store.
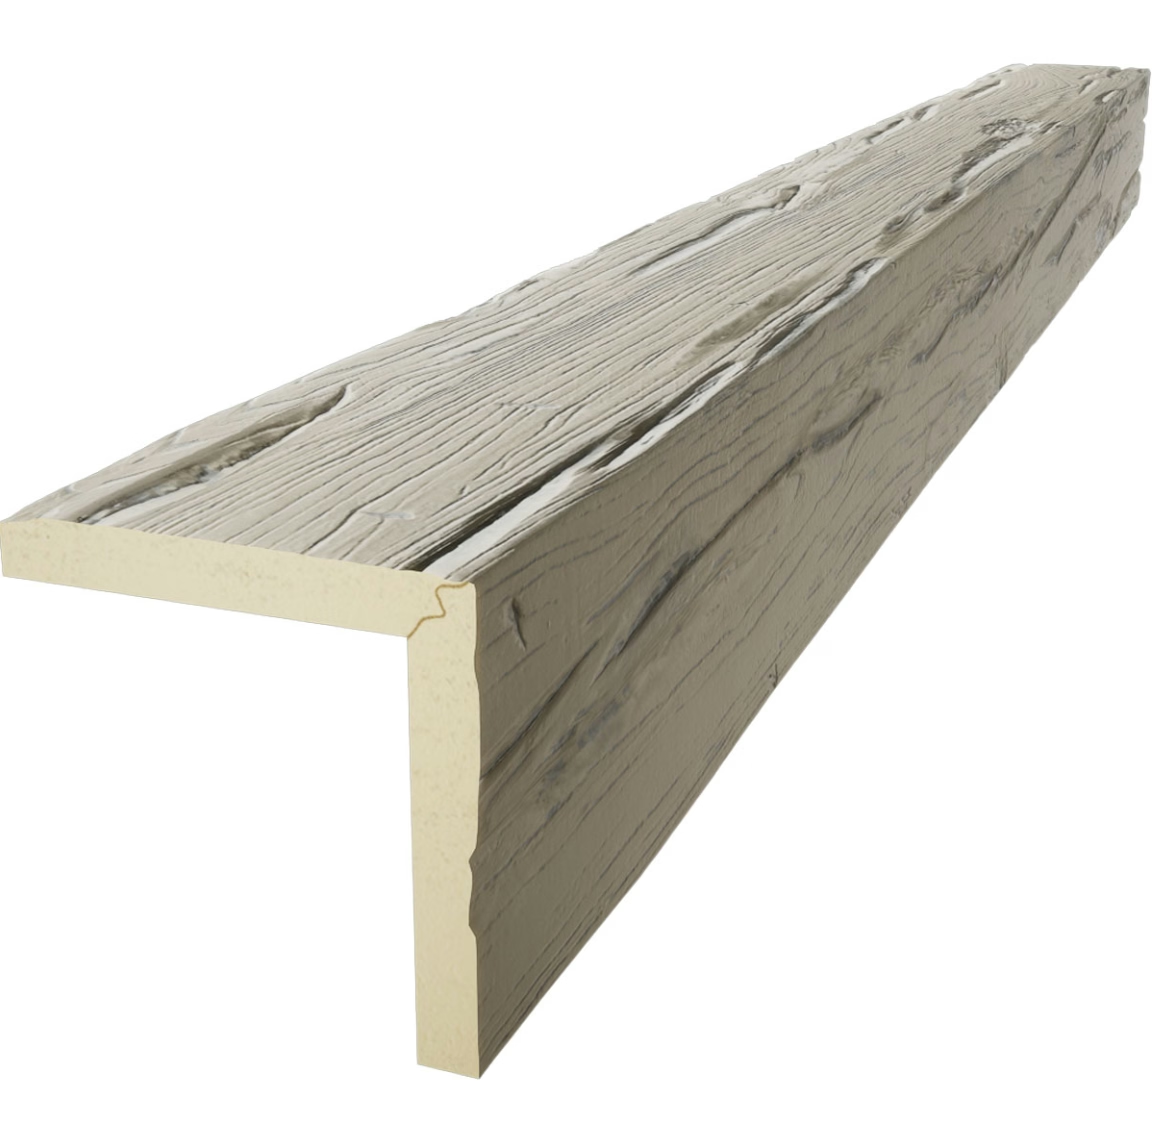
Budget Considerations for DIY Projects
The cost advantage of DIY installation extends beyond savings on labor. Homeowners can work incrementally, purchasing and installing beams for one room while saving for additional spaces. This pacing avoids the financial strain of whole-house renovations while still delivering meaningful improvements that enhance daily life as you proceed.
Reuse mounting hardware and supplies across projects when expanding your faux beam installations. The brackets, screws, and other components from first projects often serve subsequent installations with minimal additional purchases. Building a collection of appropriate tools and materials over time creates capability for future improvements without requiring large upfront investment.
Consider the value of your time when calculating project economics. DIY installation typically takes longer than professional work due to learning curves and smaller time investments per session. If your time has high opportunity cost, professional installation might provide better economic value despite the labor expense. For most homeowners, though, the combination of cost savings and personal satisfaction makes DIY beam projects worthwhile.
Technical References
ASTM standards cited in every specification
Test Data
Lab results from internal testing program
Updated 2026
Reviewed against current product specs


