One of the delightful aspects of polyurethane faux beams is their receptiveness to paint and finish products. Unlike some materials that resist coating adhesion or require hazardous preparation processes, polyurethane accepts standard interior paints and stains readily, allowing homeowners to achieve precise color matching without specialized equipment or professional finishing services. This paintability opens creative possibilities that pre-finished alternatives cannot match.
Whether you need to match beams to existing woodwork, complement a room's color scheme, or create a specific stylistic effect, understanding basic finishing techniques ensures satisfying results. The process doesn't require artistic talent—systematic application of proven methods produces professional-quality outcomes reliably. Even homeowners who've never painted architectural millwork can achieve excellent results with polyurethane beams.
Preparing Beams for Painting
Proper preparation determines finishing success more than any other factor. Even though polyurethane accepts paint readily, surface contamination interferes with adhesion and causes premature finish failure. Cleaning beams before applying any finish removes dust, oils, and any manufacturing residues that might compromise the bond between beam surface and paint.
A simple wipe-down with a clean cloth dampened with water or mild soap solution prepares most beams adequately. Allow the cleaned surface to dry completely before proceeding—polyurethane doesn't absorb moisture, so drying happens relatively quickly, but rushing this step undermines everything that follows. In humid conditions or enclosed spaces, a day of drying time may be necessary.
Light sanding improves adhesion significantly by creating a slightly roughened surface that paint grips mechanically. 220-grit sandpaper smoothed across the entire beam surface provides appropriate texture without visible scratching. This sanding also removes any minor surface imperfections, creating smoother final results. Sand with the grain direction if your beams feature visible wood grain texture to avoid creating scratches that show after finishing.
Selecting Appropriate Paint Products
Interior latex paints work excellently on polyurethane beams, providing durable finishes that resist the mild scuffing these surfaces sometimes encounter. Eggshell or satin finishes work particularly well for most residential applications, offering easy cleaning combined with modest sheen that adds visual interest without appearing overly glossy.
For darker colors or high-coverage situations, quality primer application before topcoat improves results. Primer creates uniform surface characteristics that help topcoat apply consistently across the entire beam. Even white or light-colored finishes often benefit from primer, which can be tinted toward the final color to reduce the number of topcoat layers required.
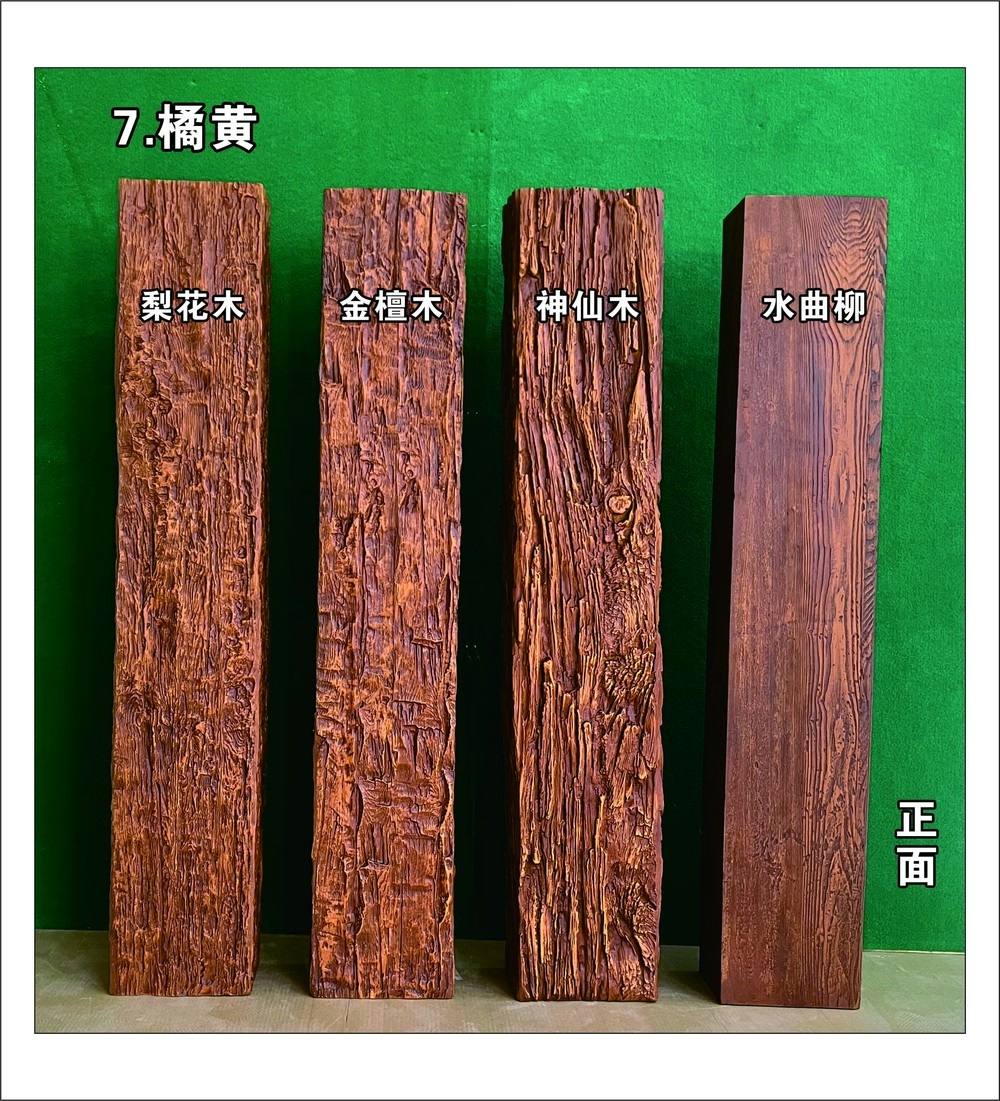
Stains offer different aesthetic possibilities for beams where you want wood-grain texture to remain visible while changing the underlying color. Gel stains work particularly well on polyurethane, sitting on the surface rather than penetrating as traditional wood stains do. This behavior produces even coloration that mimics the appearance of stained wood convincingly.
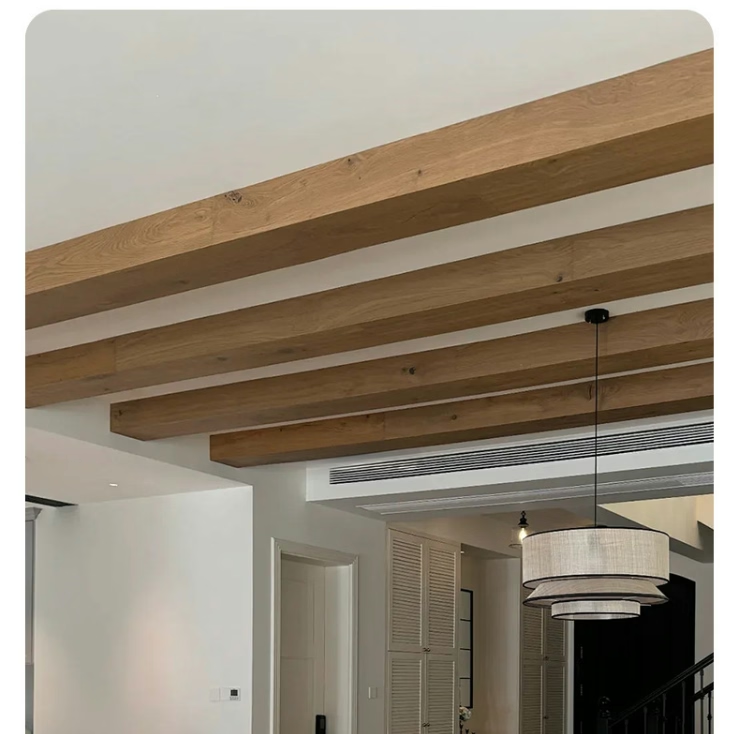
Application Techniques for Smooth Results
Spray application produces the smoothest finish but requires equipment and setup that many homeowners prefer to avoid. Brush and roller application can achieve excellent results with proper technique, though the process requires more attention to application quality. For most DIY situations, careful brushwork provides adequate results without spray equipment complications.
Quality brushes with synthetic bristles appropriate for latex paints prevent brush mark problems. Cheap brushes leave visible marks and may shed bristles into wet finish, creating frustrating cleanup requirements. Investing a few dollars more in quality brushes pays dividends in application quality and cleaner final results. A 2-3 inch angled brush handles most beam work effectively.
Apply paint in thin, even coats rather than attempting full coverage in single applications. Thick coats sag, drip, and may not cure properly. Multiple thin coats build to the desired finish thickness while maintaining smooth appearance throughout. Between-coat drying time specified by paint manufacturer ensures proper curing without risking surface damage from premature handling.
Achieving Professional-Looking Results
The difference between amateur and professional finishing often lies in attention to details that seem minor but significantly affect perceived quality. Cutting in cleanly where beams meet walls or other surfaces creates crisp boundaries that elevate the entire installation. Steady hand technique or quality painter's tape produces these clean lines reliably.
Feathering edges where brush strokes meet prevents visible lap marks that betray brush application. Working from wet edges into previously painted areas before the earlier application dries ensures seamless blending. This technique requires planning the painting sequence so that you always have access to wet edges rather than trapping yourself into situations where paint dries before you can reach it.
Between-coat light sanding with fine-grit sandpaper (320 grit or finer) removes any dust nibs or minor imperfections without damaging the underlying coat. This step takes minimal time but dramatically improves final surface smoothness. Wipe away sanding dust with a tack cloth or barely-damp cloth before applying subsequent coats.
Maintaining Finished Beams
Once properly finished, polyurethane beams require minimal maintenance beyond occasional dusting. The paint film provides a protective barrier that resists mild scuffing and cleaning. For most situations, a soft cloth or duster maintains appearance indefinitely without additional intervention.
When cleaning becomes necessary—perhaps in kitchens near cooking areas—mild soap and water handles most situations effectively. Avoid abrasive cleaners or scrubbers that might damage the paint film. Harsh chemicals are unnecessary and potentially harmful to paint finishes. The goal is simply removing accumulated residue rather than aggressive cleaning that might cause new problems.
Touch-up for any damage that occurs over time follows the same process as initial finishing. Small scratches or chips can be touched up carefully without refinishing the entire beam. Keeping some leftover paint from the original finishing project enables easy touch-ups years later when the exact color may no longer be available. This small precaution preserves the ability to maintain pristine appearance indefinitely.
Creative Color Possibilities
Beyond practical color matching, the paintability of polyurethane beams enables creative expressions that pre-finished options cannot provide. Color blocking with beams in contrasting colors creates visual interest in monochromatic spaces. Faux finish techniques like color washing or distressing produce unique effects that mass-produced products cannot match.
Seasonal updates become possible when beams are finished with paint rather than permanent stain. Holiday decorations might coordinate better with certain beam colors, or spring cleaning might inspire room refreshes that include beam recoloring. This flexibility has value beyond initial installation, supporting evolving tastes and styling preferences over time.
The ability to change beam color also supports staged improvement strategies. Starting with a neutral beam color that accommodates various décor styles, homeowners can refinish beams later when specific design directions crystallize. This approach reduces commitment pressure while maintaining the ability to pursue refined aesthetic goals when readiness arrives.
Technical References
ASTM standards cited in every specification
Test Data
Lab results from internal testing program
Updated 2026
Reviewed against current product specs


