Successful beam installation follows a logical sequence where each phase builds upon the previous one. Skipping steps or working out of order creates problems that compound throughout the project, eventually manifesting as misaligned beams, visible gaps, or other issues that diminish results. Understanding the complete process from start to finish helps you approach the work with appropriate preparation while maintaining realistic expectations about what each phase requires.
This guide covers the complete installation sequence for standard polyurethane faux beams. While specific products and situations may involve variations, the fundamental approach applies broadly. Following this systematic method, you'll achieve professional-quality results that enhance your space reliably.
Phase One: Preparation and Planning
Begin by gathering everything you'll need before touching any tools or materials. Verify that all beams, hardware kits, and finishing supplies are present and correct. Check that nothing was damaged during shipping, as discovering problems after beginning installation creates frustrating delays. Having everything ready allows uninterrupted focus on the work itself.
Measure your installation space multiple times, recording dimensions clearly. Note ceiling height, joist locations, and any obstacles that might affect beam positioning. Create a simple diagram showing planned beam placement, including measurements that you'll reference during installation. This documentation prevents decision fatigue during the actual installation when you're working overhead and tired.
Prepare the workspace by clearing areas below planned beam locations. Cover furniture and flooring with drop cloths to protect from dust and debris. Ensure adequate lighting throughout the work area—you'll be working overhead, and shadows obscure details that good lighting would reveal. Consider whether you need assistance for any phases of the work; having a helper lined up before you need them prevents awkward scheduling.
Phase Two: Ceiling Preparation
Clean the ceiling surface where beams will mount. Remove any dust, cobwebs, or accumulated debris that might interfere with bracket adhesion or appearance. For painted ceilings, ensure the surface is sound without peeling or flaking that might compromise mounting. Address any moisture issues or structural concerns before proceeding with beam installation.
Locate and mark ceiling joists or structural elements that will support the mounting brackets. Use a stud finder for reliable detection, then verify joist positions by drilling small test holes if needed. For solid joist detection, mark the center of each joist you locate and draw a reference line showing their positions. These marks guide bracket placement throughout the installation.
Address any ceiling irregularities that might affect beam appearance. Minor surface variations typically don't affect mount-on installations, but significant problems should be corrected before proceeding. A level reference line across the ceiling helps identify any tilting or unevenness that might affect beam positioning. Knowing about such issues early allows you to plan accordingly.
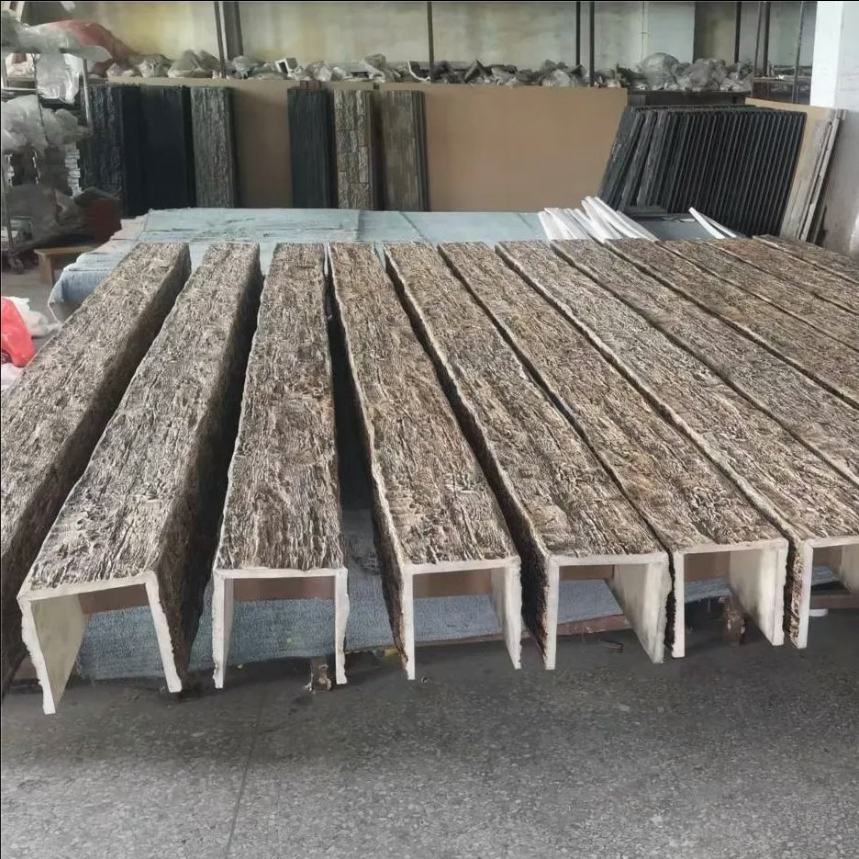
Phase Three: Bracket Installation
Position brackets according to manufacturer guidelines and your planning measurements. Most systems require specific spacing between brackets based on beam length and expected load. Mark bracket positions clearly on the ceiling, using a pencil or painter's tape rather than permanent markers in case adjustments prove necessary.
Install ceiling brackets using appropriate fasteners for your ceiling construction. Standard drywall requires anchors designed for the material; wooden joists accept standard wood screws. Drive fasteners fully without over-tightening, which might strip anchor grip or damage ceiling materials. Verify that each bracket is secure before proceeding—these connections support the entire installation.
Check that brackets are level and properly aligned with each other. Small adjustments are still possible before beams are mounted, but become increasingly difficult once installation proceeds. A string line stretched across multiple bracket positions reveals any misalignment that individual measurements might miss. Taking time to verify alignment saves much greater effort correcting problems later.
Phase Four: Beam Preparation
Dry-fit beams before any permanent installation. Position each beam on its brackets without engaging the locking mechanisms to verify fit and alignment. Check that beams sit properly in bracket cradles and that positioning matches your planned layout. This rehearsal identifies any issues while correction remains easy.
If custom cutting is needed, measure carefully and mark cuts clearly before proceeding. Use a straightedge to ensure cuts will be square, which matters for clean joints and proper alignment. Support beams securely during cutting to prevent movement that might cause uneven cuts. Fine-toothed saw blades produce cleanest results with minimal tear-out at cut edges.
Prepare any joint connections between beam segments. Some installations require joining beams end-to-end; others join beams at angles or create T-configurations. Understand the specific requirements for your installation and prepare connection points before attempting to mount beams permanently. Having everything ready streamlines the actual mounting process.
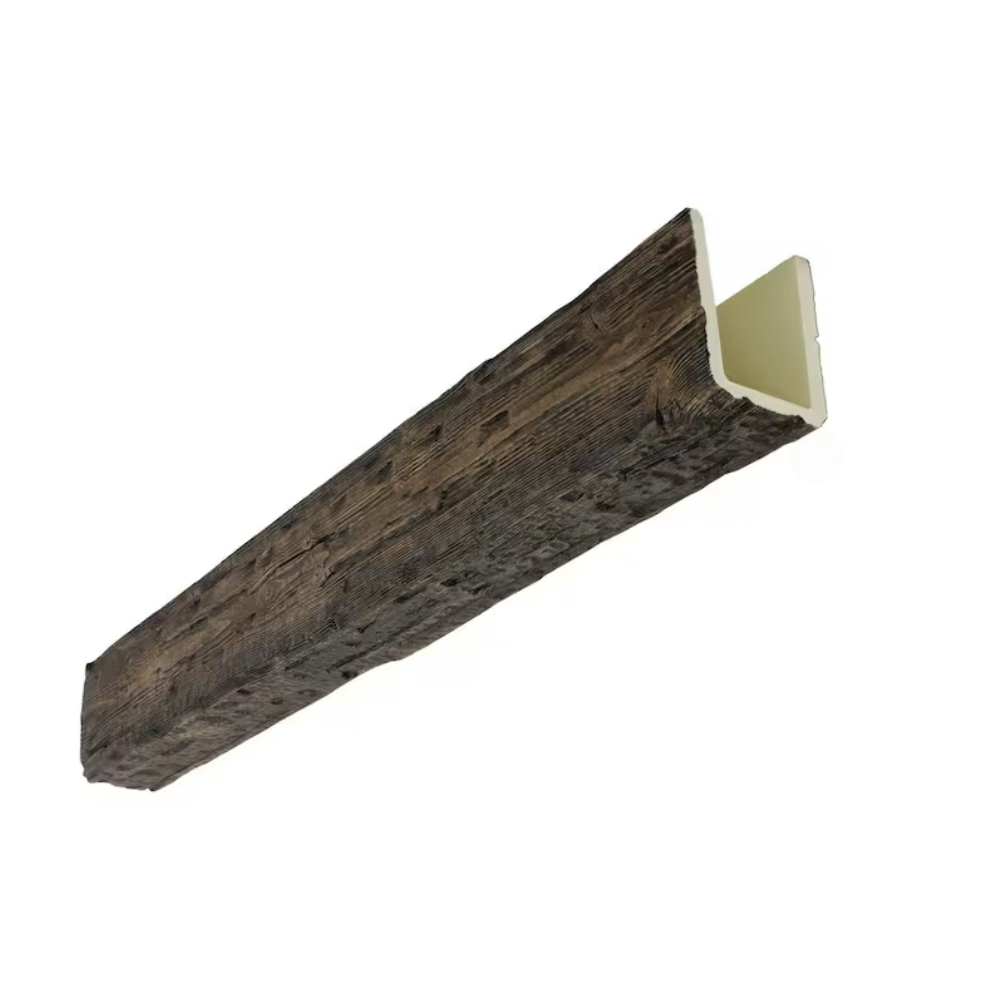
Phase Five: Beam Mounting
Begin mounting beams systematically, working from one end to the other or from the most visible location toward less critical areas. Position the beam on its brackets and engage any locking mechanisms as specified by the manufacturer. These mechanisms vary but typically involve sliding, rotating, or clicking into final position.
Check level and alignment immediately after mounting each beam. Small adjustments are still possible before final securement, but become increasingly difficult once neighboring beams are installed. Use a level on each beam to verify horizontal positioning, adjusting bracket positions if needed before proceeding further.
Secure beams according to manufacturer specifications. Some systems use set screws that lock beams to brackets; others rely on friction or gravity alone. Whatever your system requires, ensure that each beam is fully secured before considering it complete. Failing to properly lock beams creates safety concerns and may allow movement over time.
Phase Six: Finishing Details
Fill any gaps between beams and ceiling or wall surfaces. Caulk designed for painting accepts paint smoothly and remains flexible enough to accommodate slight movement without cracking. Apply caulk carefully for clean lines that appear intentional rather than sloppy. A caulk smoothing tool or barely-damp finger creates professional-looking results.
Address any nail holes, screw holes, or other minor surface imperfections. Wood filler or spackling compound fills these small defects effectively. Allow filler to dry completely before sanding smooth. The goal is invisible repairs that don't catch the eye when viewing the completed installation.
Touch up any paint or finish as needed. Use the same products applied during factory finishing or any custom finishing you've added. Multiple thin applications build coverage gradually, allowing you to stop when results satisfy rather than over-applying finish. Let touch-ups dry completely before evaluating final appearance.
Phase Seven: Final Inspection and Cleanup
Step back and evaluate the completed installation from various positions. View from normal standing positions, from furniture locations, and from doorways where the space is typically entered. This varied viewing reveals any issues that single-angle observation might miss. Minor imperfections that catch your eye might benefit from correction; others that disappear from normal viewing angles don't require attention.
Clean up the workspace thoroughly. Remove all debris, packaging materials, and tools. Vacuum or sweep surfaces below the installation to capture any accumulated dust. Properly dispose of any chemical containers or materials that shouldn't remain in the living space.
Photograph the completed installation for your records and potentially for manufacturer reviews or future reference. These images document the results of your work and may prove useful for warranty claims, insurance purposes, or future projects that reference current installations. Taking pride in documenting quality work reinforces the careful approach that produced good results.
Enjoying Your Completed Installation
The completed beam installation transforms your space in ways that become part of daily life. The architectural interest added to your ceiling creates warmth and character that bare surfaces simply cannot provide. Walking into a room with beautiful beams provides satisfaction that DIY projects deliver uniquely—the combination of functional improvement and personal accomplishment.
Regular maintenance preserves your installation's appearance indefinitely. Occasional dusting, prompt attention to any damage, and periodic inspection of mounting security ensure long-term satisfaction. Your thoughtful approach to installation creates results that reward attention rather than demanding it.
Technical References
ASTM standards cited in every specification
Test Data
Lab results from internal testing program
Updated 2026
Reviewed against current product specs


