There is a particular satisfaction in completing a home improvement project entirely on your own. You measure, you cut, you mount, and at the end of the day you stand back and admire something you built by yourself. That feeling is exactly what manufacturers of modern polyurethane faux beams have made possible for ceiling décor. Where once a homeowner needed to recruit a friend, rent equipment, or hire a contractor just to get beams on the ceiling, the material properties of PU now make one-person installation a realistic goal for nearly any room.
Why Polyurethane Changes the Solo Installation Equation
Traditional faux beams made from plaster or fiberglass weighed enough to require at minimum two people for safe handling. Even some lightweight gypsum alternatives demanded careful maneuvering through doorways and up ladders. Polyurethane changed this fundamentally. A standard 8-foot faux beam in polyurethane typically weighs between 3 and 6 pounds total. That weight is light enough to hold overhead with one hand while your other hand drives a fastener or applies adhesive.
The material also machines differently than wood or plaster. You can cut polyurethane beams with a standard miter saw and a fine-tooth blade without generating the hazardous dust that plaster produces. No special respirators, no heavy-duty vacuum systems, no sealed-off rooms. A basic shop vacuum and a dust mask handle cleanup easily, which matters when you are working alone and cannot split attention between cutting and supervising someone else with a vacuum hose.

Preparing Your Space Before You Start
Good solo installation begins long before you touch the beam. Measure your ceiling span twice, using a steel tape measure rather than a cloth one, because cloth tapes sag and produce inaccurate readings over distance. Record the measurement, then check it again from a different position in the room. Ceiling spans in older homes especially can vary by an inch or more between the center of the room and the corners.
Identify your ceiling structure. Most modern homes have drywall over wood truss or stick-frame joists. Finding the joists matters because you need solid attachment points, not just drywall. A magnetic stud finder works well for this, or knock on the ceiling and listen for the change in sound between drywall and the solid wood of a joist. Mark each joist location with painter's tape so you can see them clearly while standing on a ladder with a beam.
Clear the room of furniture that might obstruct your movement. You need unobstructed access to every section of the ceiling where a beam will go. Remove any ceiling fixtures that would interfere, or carefully work around them if they are permanent. Cover remaining furniture with drop cloths to protect against dust.
The Installation Process Step by Step
Begin by cutting your polyurethane beam to length using a miter saw. For beams that will span a room, cut both ends at 45 degrees if you are joining two beams at an inside corner, or at a single 45-degree angle if the beam terminates at a wall. Sand the cut edges lightly with 120-grit sandpaper to remove any minor roughness. Polyurethane cuts cleanly, but the surface grain can sometimes leave a slightly raised edge at the cut line.
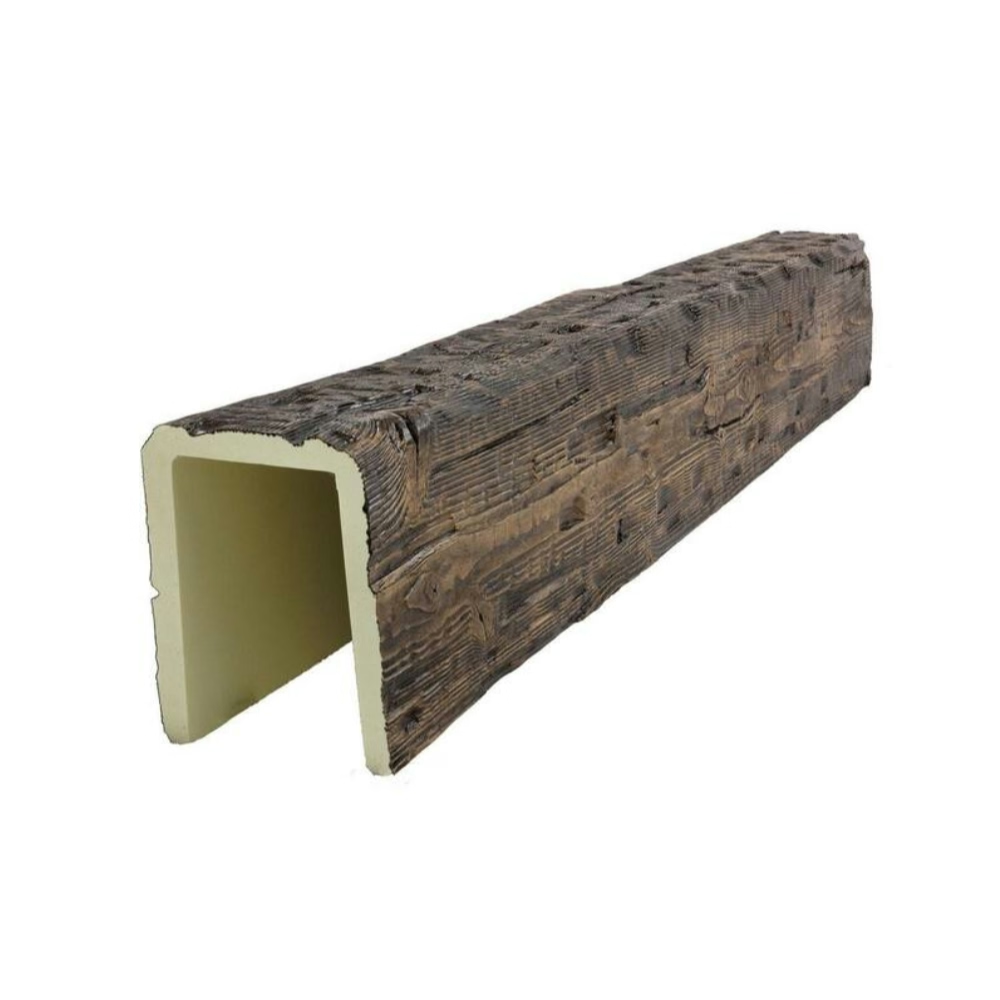
Next, install the mounting cleats or furring strips. Most faux beam kits include metal hangers designed to accept the beam from below. Screw these cleats into your ceiling joists using 2.5-inch wood screws, three screws per joist minimum. The cleats should be level with each other across the span. Use a long level—4 feet or longer—to check this, because a beam that sits crooked is immediately obvious and ruins the effect of the installation.
With the cleats in place, apply construction adhesive to the inside top surface of the beam. Use a zigzag pattern that covers most of the surface without pooling at the edges. Then, position yourself under the beam location and lift the beam upward, engaging the female portion of the cleat system with the male clips mounted to the ceiling. Most systems require you to slide the beam sideways slightly once it is seated to lock it in place. Apply firm downward pressure and hold for about 30 seconds while the adhesive begins to set.
Handling Long Spans Solo
One genuine challenge of single-person installation is handling long beams that might bow slightly under their own length when you lift them. The solution is to use a temporary support brace. A simple 2x4 cut slightly longer than the ceiling height, placed vertically under the center of the beam after you seat it, keeps the beam straight while the adhesive cures. You can remove this brace after 24 hours once the adhesive has fully bonded.
For very long runs that require two beams joined end to end, install one beam fully before attempting the second. Join the two beams at a joist location so you have solid attachment points on both sides of the joint. Use wood screws driven up through the bottom of the beam into the joist to pull the joint tight. Some installers apply a small bead of caulk at the joint line for a seamless appearance after painting or staining.
Finishing Touches and Common Mistakes to Avoid
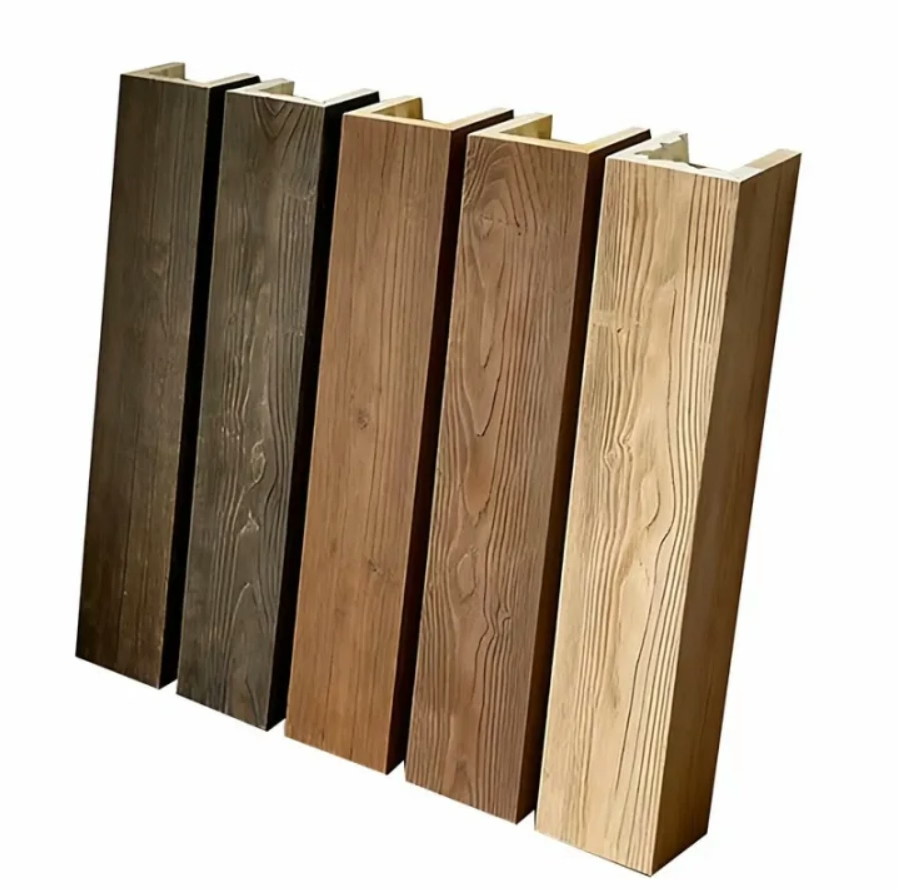
After the beams are installed and the adhesive has cured, you can finish the polyurethane to match your décor. Most PU beams accept paint, stain, or glaze just as wood does. The key is to use a bonding primer first if you are painting, because polyurethane has a slightly slick surface that standard paint struggles to adhere to. A coat of quality latex primer followed by two coats of latex ceiling paint gives a clean, durable finish that matches the surrounding ceiling.
The most common mistake solo installers make is rushing the adhesive cure time. Beams that are knocked loose within hours of installation almost always result from not waiting the full recommended curing period. Read the adhesive instructions carefully and resist the temptation to hang on the beam or disturb it during the curing window.
Another frequent issue is ceiling height clearance. Beams that project too far below light fixtures, ceiling fans, or HVAC vents create functional problems. Always check swing clearances for ceiling fans before finalizing your beam placement, and ensure that any recessed lighting or vent covers has at least 2 inches of clearance from the beam surface.
With careful planning and attention to material properties, a single person can genuinely complete a professional-quality faux beam installation in an afternoon, enjoying results that would have required a crew and significant expense just a decade ago.
Technical References
ASTM standards cited in every specification
Test Data
Lab results from internal testing program
Updated 2026
Reviewed against current product specs


