When you first pull a PU resin faux beam out of its packaging, the first thing you notice is how impossibly light it feels given its size. A 10-foot beam that looks substantial enough to anchor a farmhouse ceiling weighs less than a bag of groceries. That discrepancy between visual mass and physical weight is the central advantage of polyurethane resin as a material for architectural décor elements, and it has opened up ceiling beam installation to a category of homeowners who previously would have had to rule it out entirely.
Understanding PU Resin as a Material
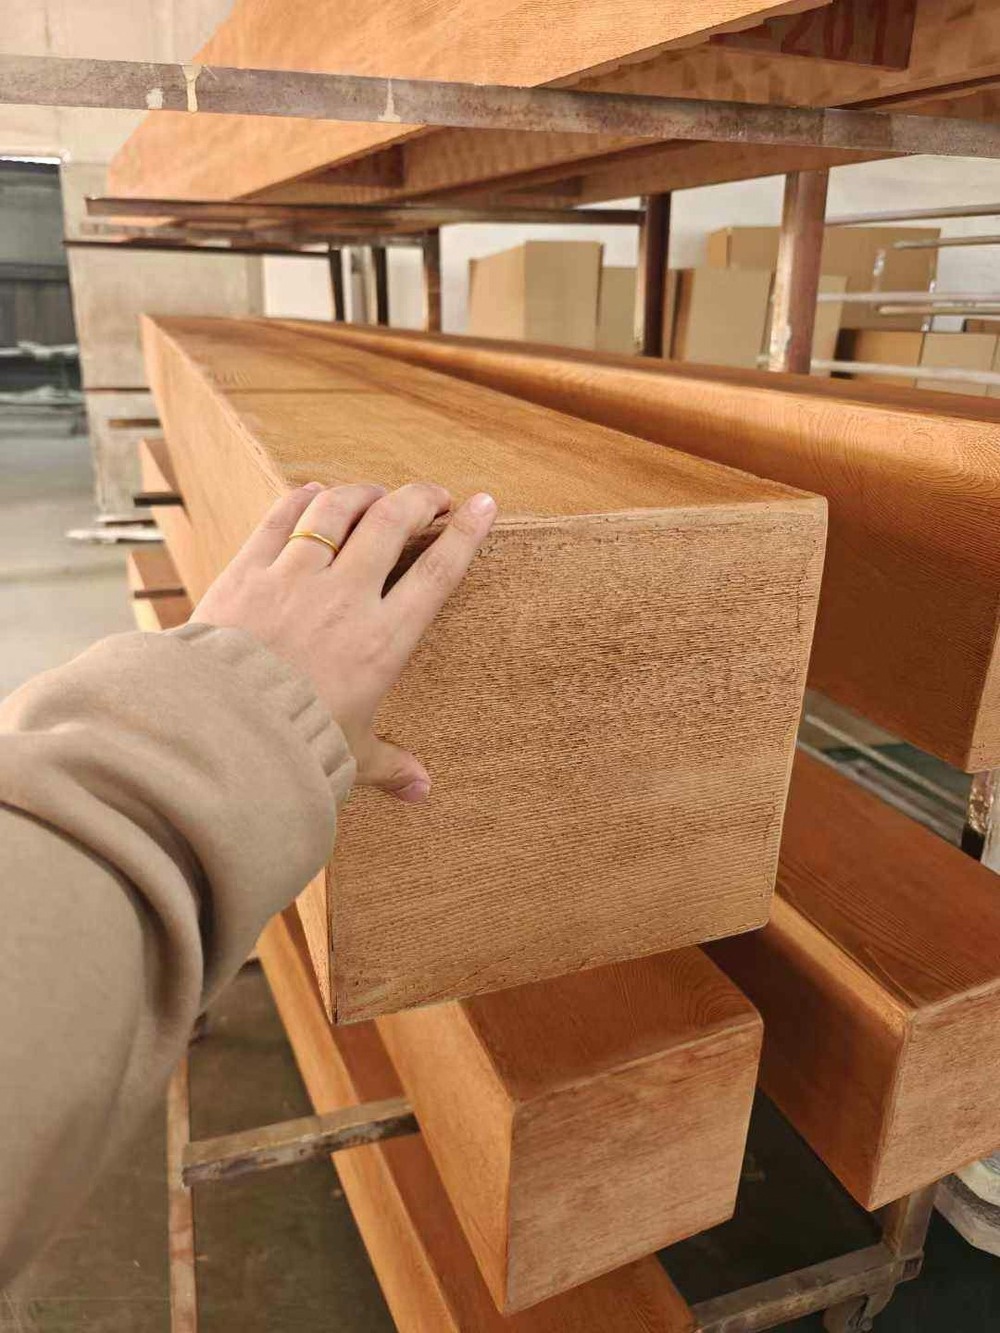
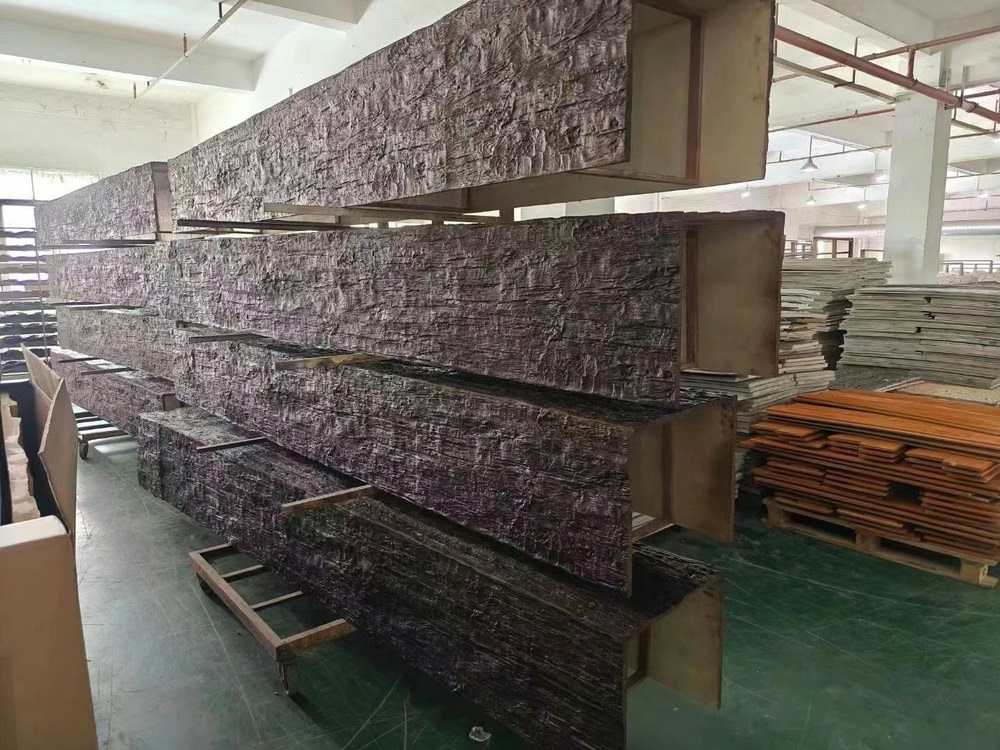
Polyurethane resin, often simply called PU, is a polymer material that starts as a liquid mixture and is poured into molds to create solid forms. The molds capture every detail of real wood grain, including the subtle variations in pattern that distinguish one species from another. The resulting piece has a density and surface hardness comparable to hardwood, yet it contains millions of tiny closed air cells that reduce weight dramatically.
The surface of PU resin accepts a wide range of finishes. Manufacturers typically apply a base coat and grain detail at the factory, but the material can be repainted, stained, or glazed after installation to match specific décor requirements. This makes it ideal for projects where the color of the beam needs to complement existing trim, cabinetry, or wall paint.
Why One Person Can Accomplish What Once Required a Crew
The weight advantage of PU resin is not trivial. A comparable real wood beam, even a hollow one, would weigh 30 to 50 pounds for an 8-foot section. PU resin brings that down to 4 or 5 pounds. That difference is not merely convenient; it is transformative. It means you can carry the beam through doorways without tilting it at dangerous angles. It means you can hold it overhead with one arm while your other hand drives fasteners. It means a fall from ladder height is a minor bump rather than a serious injury risk.

Measuring and Planning Your Layout
Before purchasing your beams, map the ceiling on paper. Note the location of ceiling joists, light fixtures, HVAC vents, and any architectural features that affect beam placement. Decide whether you want beams running parallel to the longest wall, perpendicular to it, or arranged in a more decorative pattern such as a grid or herringbone.
For a standard parallel installation, beams are typically spaced 4 to 6 feet apart on center. Closer spacing makes the ceiling feel more rustic and substantial. Wider spacing creates a more contemporary, minimalist effect. Choose your spacing before measuring and cutting, because the spacing determines the width of the filler pieces or panels you may need between beams.
Measure each span individually. Even in new construction, ceiling spans can vary slightly from one section of the room to another. Record each measurement and label the corresponding beam location on your paper diagram to avoid confusion during cutting and installation.
Cutting Techniques for Clean Results
Polyurethane resin cuts cleanly with standard woodworking tools, but the material is somewhat abrasive and generates fine dust that accumulates quickly. Use a chop saw or miter saw with a carbide-tipped blade designed for composite materials. A 60-tooth blade produces the cleanest cross cuts with minimal tear-out along the cut edge.
For mitered corners, set your saw to 45 degrees and make the cut in a single pass. Polyurethane resin does not splinter the way wood does, but you should still support the piece firmly on both sides of the cut line to prevent the saw blade from grabbing and causing an uneven edge. A shooting board or guide block helps maintain consistent angles if you are cutting multiple pieces to the same angle.
After cutting, inspect each edge. Light sanding with 150-grit sandpaper removes any minor roughness. Blow or brush away dust before applying finish or adhesive, because dust under these materials creates weak bonds and visible imperfections.
Mounting Systems and Hardware
Most PU resin beams use one of three mounting approaches. The simplest is the furring strip system, where a wooden strip is mounted to the ceiling and the beam slides over it or is attached with screws from below. This method is fast and provides excellent holding strength but requires ceiling access for the screw heads to be driven in.
The clip-and-cleat system uses metal brackets mounted to the ceiling joists. The beam has a corresponding female channel on its back that accepts the clips when the beam is lifted into position. This method hides all hardware and produces a clean underside appearance, but it requires precise alignment of the clips before the beam goes up.
The adhesive-only method works for lightweight beams in rooms where the ceiling structure is not ideal for screws. Construction adhesive rated for polyolefin substrates bonds PU resin directly to drywall or plaster. This method requires longer cure times and is best used as a supplement to mechanical fasteners rather than a sole attachment method.
Achieving Professional-Quality Results
The difference between an amateur-looking installation and a professional one often comes down to details that seem minor but are anything but. Beams should be absolutely level across the span. Even a quarter-inch drop over 8 feet is visible to a standing observer. Use a 4-foot or longer level when setting mounting hardware, not a torpedo level that only covers a 2-foot section.
Gaps at the wall ends of beams need to be addressed. In some installations, a small trim piece called a beam end cap or transition strip covers the end grain where the beam meets the wall. In others, the beam is set into a channel routed into the wall surface for a flush appearance. Choose the approach that matches your aesthetic goal before you begin installing.
Finally, take photographs of your completed installation from multiple angles and under different lighting conditions. Polyurethane resin beams are remarkably durable and will maintain their appearance for years with minimal maintenance, making them a genuinely practical choice for the solo installer.
Technical References
ASTM standards cited in every specification
Test Data
Lab results from internal testing program
Updated 2026
Reviewed against current product specs


