There is something empowering about tackling a home improvement project without calling in favors. You make the decisions, you set the pace, and when it is done, the satisfaction belongs entirely to you. Faux ceiling beams have historically been one of those projects where that sense of ownership was difficult to achieve because the handling requirements simply exceeded what one person could safely manage. The newer generation of PU faux wood beams designed specifically with solo installation in mind has changed that calculation significantly.
Design Features That Enable Solo Installation
Manufacturers designing beams for solo installation think through the entire handling sequence from the moment a beam leaves its packaging to the moment it is secured in its final position. Every design decision along that chain either helps or hinders a single installer.
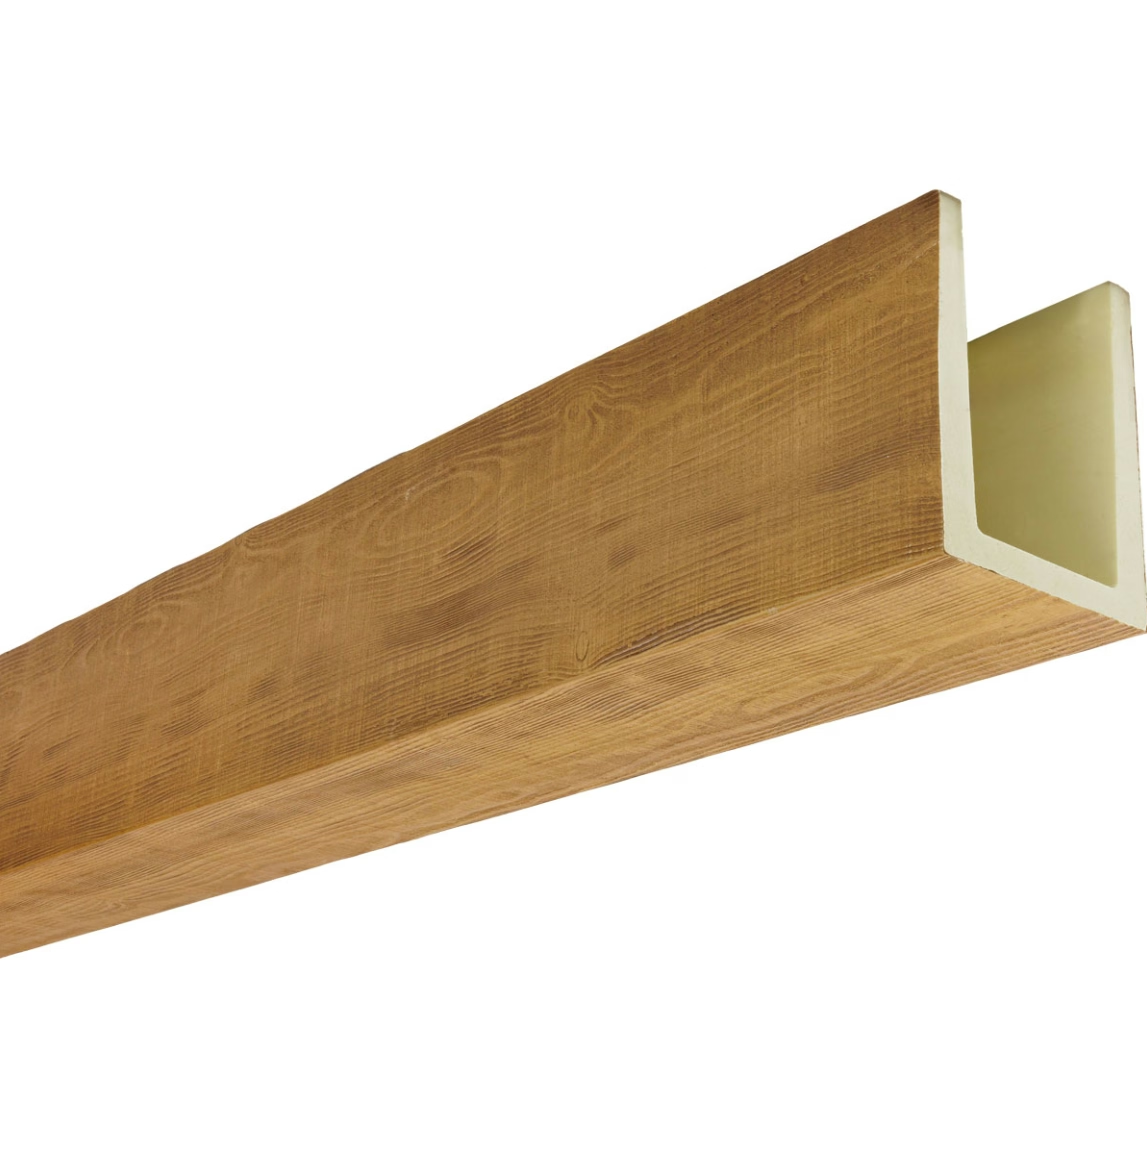
Weight is the most obvious factor, and modern PU formulations achieve remarkable reductions compared to traditional faux beam materials. A beam that weighs 4 pounds instead of 40 pounds changes the entire safety equation. The installer can hold it overhead without muscle fatigue, position it precisely without fighting gravity, and make adjustments after initial placement without needing a second person to maintain pressure.
Beyond weight, the internal structure of solo-friendly beams often includes reinforced mounting channels that accept hardware without the need for additional preparation. Some beams incorporate snap-lock mounting systems where the installer positions the ceiling clips first, then drops the beam into place and rotates it to lock. This type of system is particularly effective for solo work because the beam holds itself in position once seated, freeing both hands for the final securing steps.
Pre-Installation Planning That Makes the Difference
Solo installation rewards thorough planning more than any other aspect of the project. The time you spend preparing before you lift the first beam pays dividends throughout the installation in the form of faster progress and fewer interruptions.
Start by creating a detailed ceiling diagram. Measure each span to the nearest quarter inch, noting any variations along the length. Identify the location of every ceiling joist and mark them clearly with low-tack painter's tape in a color that contrasts with your ceiling. These tape marks will be visible from your ladder position and prevent the common mistake of drilling pilot holes in the wrong location.
Organize your tools and hardware in advance. Have all mounting clips or cleats sorted and labeled by beam position. Pre-load your adhesive caulk gun so you are not fumbling with tubes during the installation. Keep a helper tool such as a utility lamp or portable work light positioned to illuminate the work area, because shadow and glare on the ceiling surface make it harder to see alignment marks when you are working alone.
Prepare a simple staging area near the installation location where you can lay out each beam in sequence. This keeps beams accessible without requiring you to search through the house for the next piece, and it lets you verify dimensions one last time before lifting each beam into position.

The Lifting Strategy for One Person
Lifting a long beam overhead alone requires technique more than strength. The key is to avoid gripping the beam by its center, which creates a leveraged load that is difficult to control. Instead, position your body under the beam's intended location and lift it in stages.
Begin by setting the beam on a sturdy stepladder at a comfortable height, then climb the ladder and lift it from there. For very long beams, work from a platform ladder that allows you to stand with your hips inside the ladder rails, giving you a stable base while both hands are occupied.
As you lift the beam, bring it to the ceiling in a slightly angled orientation, with one end higher than the other. Engage the higher end with its mounting clips first, then pivot the lower end up and into position. This sequential engagement reduces the maximum force you need to apply at any single moment because you are never holding the full beam at full height simultaneously.
Securing the Beam Without Rushing
Once the beam is seated in the mounting system, resist the urge to immediately release it. Hold the beam in position with light pressure while you confirm that it is seated fully and aligned with your layout marks. Check the level from multiple vantage points in the room, because your perspective from directly below differs from your perspective across the room.
Begin the securing process with the center fasteners first, working outward toward the ends. This approach holds the beam in its centered position and prevents the ends from drifting sideways as you work. Drive each fastener fully before moving to the next, and use a screw gun or drill with an adjustable clutch set to prevent over-driving and damaging the beam surface.
After all mechanical fasteners are in place, apply the construction adhesive. A zigzag bead of adhesive across the full interior surface of the beam provides additional load distribution and helps the beam resist any vibration or thermal movement over time. Allow the full adhesive cure time specified by the manufacturer before disturbing the beam in any way.
Common Solo Installation Mistakes and How to Avoid Them
The most frequent error in solo installation is underestimating ceiling joist locations. Stud finders designed for walls can give misleading results on ceilings, where joist spacing is often irregular in older homes. Always verify joist locations by drilling a small test hole in an inconspicuous area and using a wire to probe the ceiling structure. The cost of one small patch is far less than the frustration of a mounting clip that will not hold.
Another common mistake is working too quickly through the adhesive cure process. When you are alone on a project, it is tempting to move fast to maintain momentum. But adhesive that has not cured cannot bear load, and a beam that is bumped or jostled before the adhesive sets may need to be removed, cleaned, and re-adhered, adding significant time to the project.
With careful preparation and attention to material properties, solo installation of PU faux wood beams is a realistic and rewarding project that produces results comparable to professional installation. The beams themselves are engineered to make single-person handling straightforward, and the techniques required to succeed are learnable by any homeowner willing to invest the planning time upfront.
Technical References
ASTM standards cited in every specification
Test Data
Lab results from internal testing program
Updated 2026
Reviewed against current product specs


