No two ceilings are identical, and the value of a faux beam product lies partly in its ability to adapt to the specific conditions of each space rather than requiring the space to adapt to the product. Site-cuttable and drillable PU faux beams embrace this reality by offering a material that can be modified with standard jobsite tools, giving installers the freedom to make precise adjustments in response to actual conditions rather than fighting against the constraints of a pre-engineered system.
The Cutting Properties of PU Material
Polyurethane faux beams respond well to standard woodworking cutting methods. The material machines without the splintering that affects MDF, without the dust hazards of plaster, and without the tool wear issues that make gypsum boards difficult to work with. A standard circular saw with a carbide blade or a miter saw with a fine-tooth crosscut blade produces clean, straight cuts in seconds.
The key to clean cuts in PU is blade selection. A blade with 60 to 80 teeth provides the best balance between cutting speed and edge quality. Fewer teeth cut faster but leave rougher edges that require more sanding. More teeth produce smoother edges but cut more slowly and may generate excessive heat on longer cuts. For most residential beam cutting, a 60-tooth blade is the optimal choice.
When cutting beams that will be visible from the room below, cut with the decorative face oriented away from the saw table. This orientation produces a cleaner edge on the visible surface because the saw blade enters the material from the back side and the tear-out occurs on the back rather than the front. After cutting, lightly sand the cut edge with 120-grit sandpaper to remove any minor roughness and create a clean surface for finishing.
Drilling and Fastening in PU Beams
Unlike plaster or fiberglass, polyurethane holds fasteners securely without cracking, splitting, or requiring pre-drilling in most applications. Standard wood screws driven into PU create their own threads in the material and provide excellent holding strength. The recommended approach is to use screws with coarse threads and a sharp point, which bite into the material cleanly without broaching.
For applications where the fastener needs to be removed and reinstalled, such as temporary removal for maintenance access, predrilling with a bit slightly smaller than the screw shank prevents thread damage during reinstallation. A 3/32-inch pilot hole works well for number 8 screws, and a 1/8-inch pilot hole works for number 10 screws.
When installing multiple fasteners along a beam, predrill all holes before inserting any screws. This allows you to verify spacing and alignment while all the holes are still just marks, making corrections easy. Once the first screw is driven, the beam is held in place and adjustments become more difficult.
For heavy-load applications, such as supporting a beam that will bear weight from above, use washers under the screw head to distribute the load across a larger surface area. French cleat systems with metal mounting brackets provide the highest load capacity and are recommended for any application where the beam will support significant weight.
On-Site Customization Scenarios
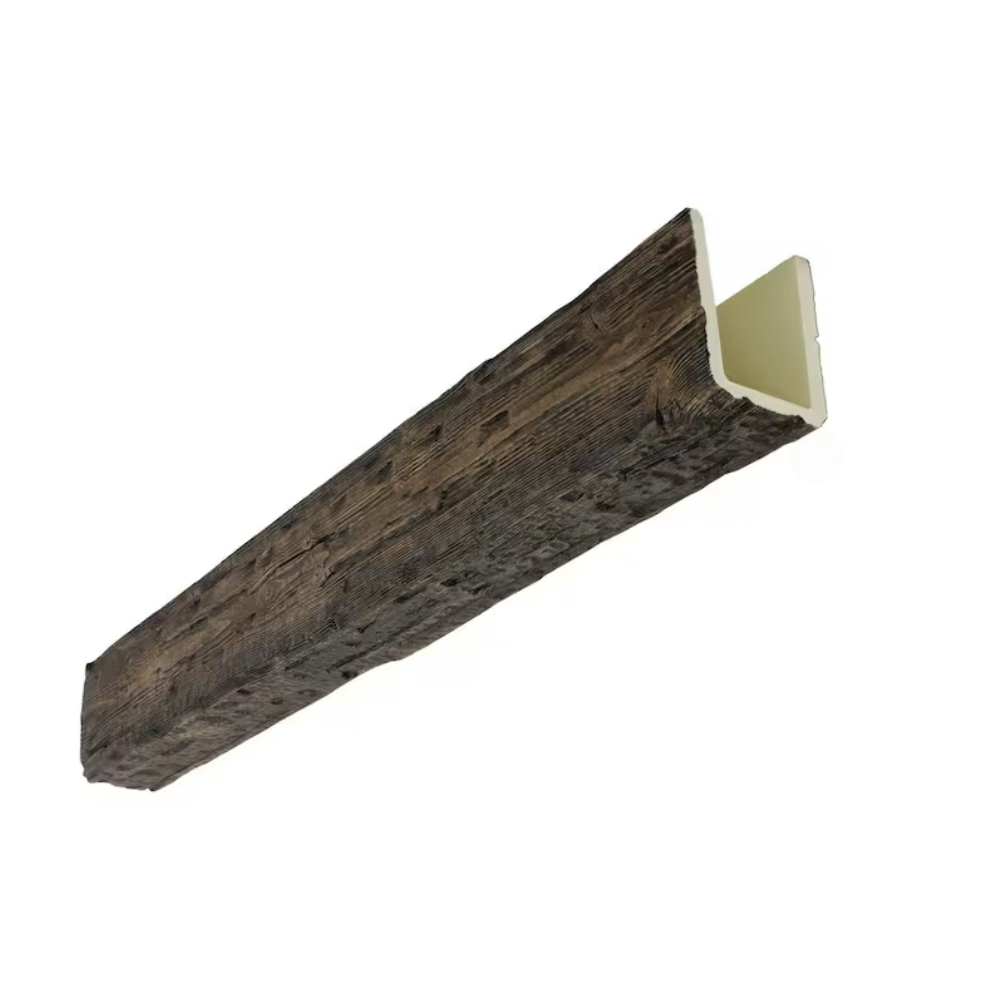
There are numerous situations where site-cut ability makes the difference between a successful installation and a compromised one. Perhaps the most common is accommodating light fixtures. Most ceiling beams need to work around recessed lighting, ceiling fans, or vent grilles, and the ability to cut a hole in the beam at the precise location and size required means these obstacles no longer dictate beam placement.
Cutting openings in PU beams for light fixtures is straightforward. Use a jigsaw with a fine-tooth blade for curved cuts, or a circular saw with a guide for straight cuts through the web of the beam. Mark the opening clearly on the beam surface before cutting, and make relief cuts at the corners to reduce the chance of tear-out. The cut edges can be finished with sandpaper and painted to match the beam surface.
Another common customization is mitering beam ends for corner treatments. Standard 45-degree miter cuts are made with a miter saw, but irregular corner angles that differ from 45 degrees require careful measurement and hand-cut miters. For non-standard angles, mark the cut line directly on the beam surface, check it from multiple angles, and cut slowly with a hand-held circular saw guided by a straightedge.
Finishing Cut and Drilled Surfaces
Cut and drilled surfaces in polyurethane accept finish materials readily, but they require slightly different preparation than the original molded surfaces. The cut surface is denser than the molded surface because the manufacturing process creates a microcellular foam structure that is compressed slightly at the cut line.
Before applying finish to a cut surface, wipe it with a cloth dampened with isopropyl alcohol to remove any dust, oils, or contamination from handling. The alcohol evaporates quickly and leaves a clean surface that promotes good paint adhesion. Allow the surface to dry fully before applying primer or paint.
For stain or glaze finishes on cut surfaces, test the finish on a scrap piece of the same beam material first. The cut surface may accept color differently than the molded surface due to the difference in density, and it is better to discover this on a test piece than on the installed beam.
Contractor Advantages of Site-Workable Beams
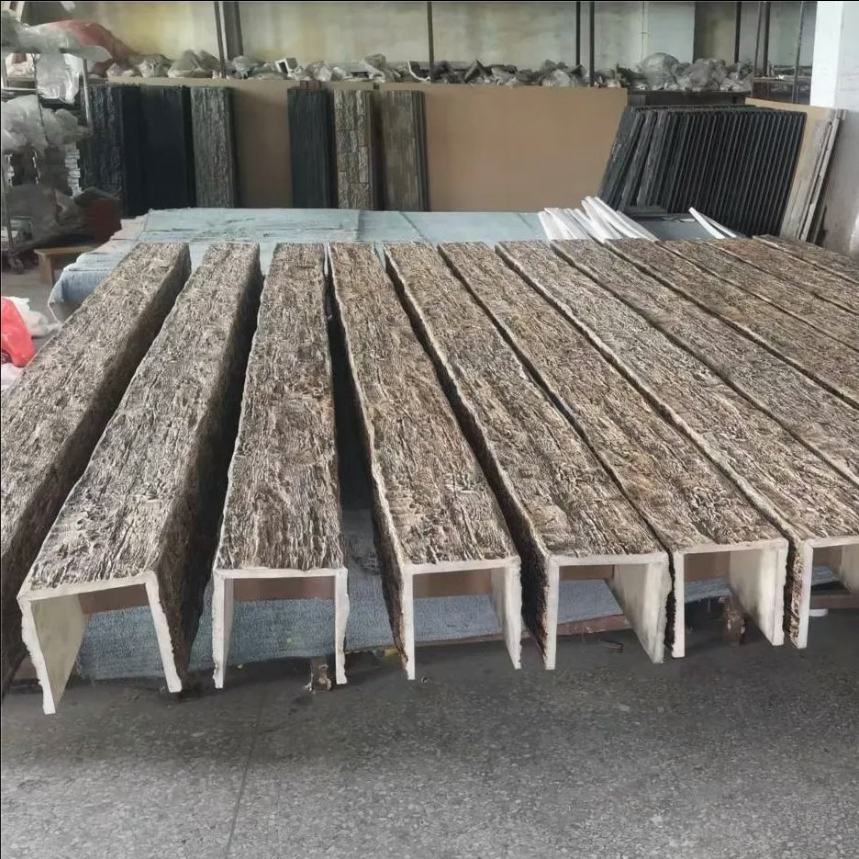
For contractors, the ability to cut and drill PU beams on site eliminates the need for field measurements to be transmitted to a factory for custom fabrication. This reduces lead times, eliminates the risk of measurement errors in the supply chain, and allows the installer to make real-time adjustments based on what they observe in the actual space rather than what they anticipate from plans and specifications.
A contractor carrying PU beams in their vehicle inventory can respond to customer requests on the spot, providing quotes and beginning work in the same visit. The beams adapt to the conditions they find, whether those conditions match the plan or deviate from it in subtle ways that only become apparent during installation.
The drillability of PU beams also simplifies the integration of lighting, electrical, and HVAC components into beam installations. Contractors can route wiring through channels routed into the beam surface, install mounting brackets for light fixtures, or create access panels for maintenance without the specialized equipment or extended timelines that these modifications would require in traditional materials.

Both DIY homeowners and professional contractors benefit from the on-site workability of PU faux beams. The material responds predictably to common tools, holds fasteners reliably, and finishes to match factory-molded surfaces. This flexibility is not an afterthought in the product design; it is a core feature that makes PU faux beams practical for the full range of real-world installation scenarios.
Technical References
ASTM standards cited in every specification
Test Data
Lab results from internal testing program
Updated 2026
Reviewed against current product specs


