The most beautiful faux wood ceiling beam can fail to deliver on its promise if it is not installed properly. A beam that sags slightly over time, that creaks when the temperature changes, or that detaches partially from the ceiling plane will undermine the room it was meant to enhance. The difference between a beam installation that lasts decades and one that develops problems within months often comes down to the blocking — the structural support members hidden behind the finished surface.
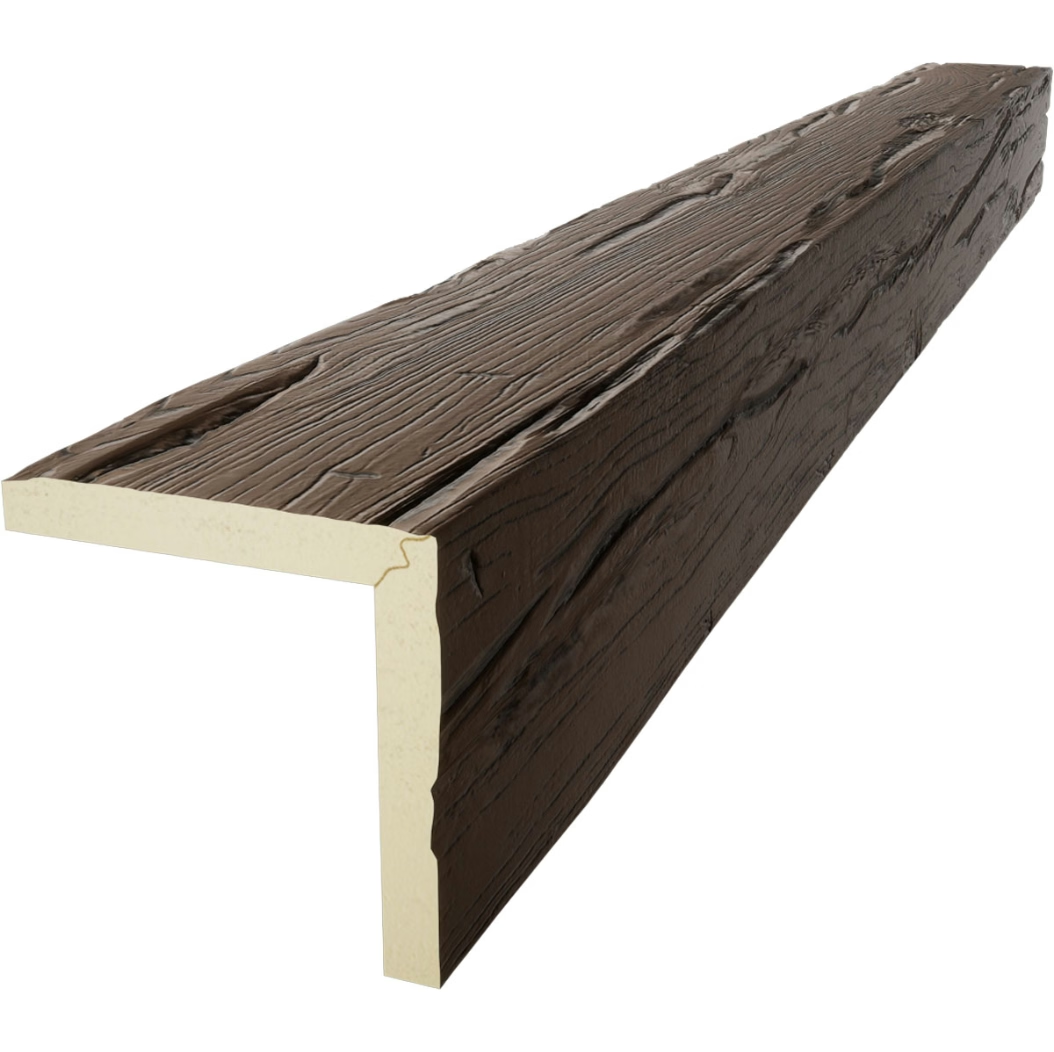
For U-shaped faux beams, which consist of two parallel vertical panels connected by a top flange, the mounting process requires specific structural considerations. The U-shaped profile creates a channel that sits against the ceiling plane, and the primary load-bearing connection points are the top flange and the vertical legs. Without adequate blocking behind the ceiling plane at these connection points, the beam cannot resist the forces it will encounter: its own weight, the tension of thermal expansion and contraction, and the occasional lateral stress from cleaning or maintenance.
Why 2x4 Blocking Is the Right Choice for U-Shaped Beam Mounting
The 2x4 dimensional lumber is the workhorse of residential construction for good reason. It is widely available, structurally adequate for most ceiling applications, and easy to work with using standard tools. In the context of faux beam mounting, a 2x4 provides a solid nailing and screwing surface of approximately three and a half inches wide and one and a half inches deep — sufficient for driving multiple fasteners through the beam's mounting flange and into the blocking without risk of the fastener passing through or splitting the wood.
A 2x4 also has enough thickness to accommodate the full penetration of screws rated for the load, typically two to two and a half inches for ceiling applications. This gives the fastener adequate grip in the blocking while leaving enough thread engagement to resist pull-out forces. In contrast, a 2x2 would provide insufficient thickness for reliable screw engagement, and a 2x6 or larger would waste material and reduce the workable space in the ceiling cavity.
For trade buyers specifying blocking materials for their customers' installations, recommending standard 2x4 kiln-dried spruce-pine-fir lumber is both cost-effective and structurally sound. The lumber should be straight, dry, and free of large knots that could compromise the fastener holding power.
Planning the Blocking Layout
The blocking layout for U-shaped beam mounting must align with the beam's connection points. Every U-shaped beam has a top flange that runs continuously along the top of the channel, and this flange is the primary surface through which the beam is secured to the ceiling. The blocking must be positioned to provide solid wood behind every point where the flange will be fastened.
Begin by measuring the length of the beam and marking the positions of the ceiling joists it will cross. In most residential construction, ceiling joists are spaced sixteen inches on center, though twenty-four-inch spacing is common in some newer builds and twenty-inch spacing appears in older homes. Knowing the joist spacing allows you to plan blocking positions that align with the joists, which are the only structural elements in a standard ceiling that can bear the load.
For a U-shaped beam running perpendicular to the joists, blocking should be installed at every joist crossing point. At each position, cut a 2x4 to fit snugly between the two adjacent joists, with the wide face perpendicular to the joist direction so that the broad side faces the beam's mounting flange. The blocking should fit tightly enough that it stays in place without fasteners during the installation of the beams, though it can be toenailed to the joists for added security.
Step-by-Step Blocking Installation
Step One: Locate and Mark the Joists
Use a stud finder to locate each ceiling joist along the planned beam path. Mark the center of each joist with a pencil line that extends at least two inches beyond the estimated beam edges. This gives you a clear reference for positioning the blocking and for aligning the beam during installation.
It is worth taking extra time at this stage to verify the joist locations. A stud finder can sometimes give false readings near electrical wiring or metal junction boxes. Where possible, confirm joist positions by driving a small finish nail through the ceiling finish in an inconspicuous location and feeling for resistance. Two or three confirmation probes along the planned path will confirm that your stud finder readings are accurate.
Step Two: Cut the Blocking Pieces
Cut each 2x4 blocking piece to the exact width between the joists at its position. In most cases, this will be fourteen and a half inches for joists spaced sixteen inches on center, or twenty-two and a half inches for joists at twenty-four-inch centers. Measure each space individually, as construction tolerances can result in slight variations from the nominal spacing.
Use a sharp saw blade and cut the blocking square. Any twist or bow in the blocking piece will prevent it from sitting flush against the joist faces, which will create gaps between the blocking and the beam flange that weaken the connection.
Step Three: Install the Blocking
Slide each blocking piece between the joists with the broad face perpendicular to the joists, oriented so that the broad face will be directly behind the beam's mounting flange. The blocking should fit with light tapping — tight enough that it does not fall out, but not so tight that it requires excessive force, which could shift the joists or damage the ceiling finish above.
Once positioned, toenail the blocking to each adjacent joist using two eight-penny nails driven at an angle through the blocking and into the joist. This creates a secure connection that holds the blocking in place without requiring access to the top of the joists. For added security in critical applications, apply construction adhesive to the joist faces before seating the blocking.
Step Four: Verify the Blocking Plane
After all blocking is installed, stretch a straightedge across the blocking pieces to verify that they are all in the same plane. Any blocking that sits proud of or behind the others will create an uneven surface that prevents the beam flange from sitting flush against the ceiling. If a piece is proud, sand or plane it down slightly. If it is recessed, add shims — thin plywood or cardboard strips — between the blocking and the joist to bring it forward.

Mounting the U-Shaped Beam to the Blocking
With the blocking in place, mounting the U-shaped beam is straightforward. Set the beam in position and check that the top flange sits flush against the ceiling plane along its entire length. Adjust by adding thin shims behind any sections that do not make contact. Once the fit is confirmed, drive screws or nails through the flange and into the blocking at each blocking location.
For U-shaped beams, the recommended fastener pattern is one fastener every twelve to sixteen inches along each side of the channel, with fasteners positioned at least half an inch from the edge of the flange to prevent splitting. Use screws rather than nails wherever possible, as screws provide superior pull-out resistance and allow the installation to be disassembled if adjustments are needed.
In the channel of a U-shaped beam, additional support can be provided by installing blocking between the two vertical legs at regular intervals. This internal blocking fills the hollow channel and provides a surface to which small cleats or braces can be attached, further stabilizing the beam against lateral movement.

Common Installation Mistakes and How to Avoid Them
The most frequent mistake in faux beam installation is insufficient blocking. Installers who place blocking only at the ends of the beam or at widely spaced intervals create a beam that is inadequately supported at its center, where the load is highest. The result is a slow sag that becomes visible over months or years. Following the joist-spacing rule — blocking at every joist crossing — prevents this issue entirely.
Another common error is using the wrong fastener type. Nails alone are insufficient for ceiling installations, where gravity is constantly pulling downward on the beam. Screws rated for structural use, such as deck screws or structural wood screws with a minimum length of two and a half inches, provide the holding power that ceiling installations demand.
Failing to account for the ceiling plane in older homes with plaster or lathe ceilings is another pitfall. The plaster in these ceilings may not provide adequate support for fasteners driven through it, and the blocking must be sized and positioned to reach the structural joists behind the plaster. In these situations, longer fasteners or the addition of metal mounting plates may be required.
Load Considerations and Weight Distribution
For single-beam installations, the blocking approach described above provides more than adequate support for any standard U-shaped polyurethane faux beam. The combined holding power of screws driven into blocking at every joist crossing far exceeds the weight of the beam itself, even for beams that are ten feet long or longer.
For multiple-beam installations or installations where the beams will support additional weight — such as pendant light fixtures or ceiling fans — additional consideration is warranted. In these cases, the blocking should be doubled by installing a second 2x4 beside the first, or by using 2x6 lumber, to provide a thicker mounting surface capable of bearing the additional load. Always verify the weight capacity of the specific fasteners used and consult local building codes for requirements related to ceiling-borne loads.
For Trade Buyers: Supporting Customers Through Installation
Providing customers with clear installation guidance is one of the most effective ways to differentiate your business from competitors selling the same product. Consider developing a detailed installation guide that covers blocking requirements, fastener selection, and common mistakes, and include it with every U-shaped beam order.
Even better, offer a pre-installation consultation service for larger orders — commercial projects, multi-room residential installations, or hospitality fit-outs. A thirty-minute phone call or video chat to walk through the blocking plan before installation begins can prevent costly mistakes and build customer confidence in both the product and your company as a trusted advisor.
Properly installed U-shaped faux beams, supported by solid 2x4 blocking at every structural connection point, will perform reliably for decades. The hidden framework is not glamorous, but it is what transforms a decorative element into a permanent, worry-free feature of the home.
Technical References
ASTM standards cited in every specification
Test Data
Lab results from internal testing program
Updated 2026
Reviewed against current product specs


