
Custom beam installations rarely fit standard dimensions. Real architectural spaces contain irregular dimensions, unexpected obstructions, and design requirements that manufactured beam lengths cannot accommodate without modification. Cutting beams to fit these specific conditions distinguishes professional installation from amateur effort, yet cutting PU materials demands techniques that differ significantly from wood processing methods.
Robert Kim spent his first professional installation learning this lesson painfully. His preparation had been thorough—he'd measured carefully, ordered appropriate materials, and studied installation guides extensively. What he hadn't anticipated was the need to cut beams around a ceiling medallion that his measurements hadn't fully accounted for. Grabbing his workshop jigsaw, he made the cuts that the situation required. The results were disappointing: ragged edges, melted foam where the blade had rubbed, and visible gaps at every modified joint. The installation's quality suffered permanently from these processing errors.
The experience taught him that PU beam work requires specialized cutting approaches adapted to the material's unique properties. Polyurethane foam cuts differently than wood, with heat generation, edge quality, and blade selection all demanding consideration that standard carpentry practice doesn't address. Understanding these differences enables clean cuts that preserve both structural integrity and visual appearance.
Understanding PU Material Cutting Characteristics
Polyurethane foam responds to cutting tools differently than wood, metal, or other common construction materials. These differences stem from the material's cellular structure and thermal properties, which affect how blades interact during cutting.
The cellular structure of PU foam creates surfaces that can compress, tear, or melt under inappropriate cutting conditions. High-speed cutting with dull blades creates friction heat that melts surface material, creating the ragged edges that plagued Robert's early work. Appropriate blade speed and sharpness prevent this thermal damage.
The material's low density means that traditional wood-cutting techniques often produce imprecise results. Blade deflection, vibration, and chatter create cuts that waver from the intended line, particularly on longer crosscuts. Support and blade selection help control these tendencies.
Foam recovery—the tendency of cut edges to spring back slightly after cutting—affects dimensional accuracy. Cuts made to exact measurements may produce pieces that don't fit properly because the foam has partially returned to its original shape. Understanding this behavior allows appropriate over-cutting to achieve final dimensions.
Jigsaw Selection for Beam Work
Not all jigsaws perform equally on PU foam materials. Tool selection affects cut quality, speed, and operator comfort significantly. Understanding which features matter for foam work guides appropriate selection.
Motor power matters less for PU cutting than for wood or metal work, but adequate power prevents blade stalling in denser foam products. Variable speed control proves more valuable than raw power, allowing speed adjustment for different foam densities and cut types.
Orbital action settings affect cut speed and edge quality differently depending on the setting level. Higher orbital settings speed cutting but can create rougher edges on the bottom surface. For PU foam, minimal or no orbital action typically produces cleaner results, trading cutting speed for edge quality.
Dust extraction compatibility matters for maintaining visibility during cutting. PU foam generates fine dust that can obscure the cut line if not properly evacuated. Jigsaws with dust collection ports allow connection to shop vacuums that keep the work area clear.

Blade Selection and Configuration
Blade selection profoundly affects cut quality in PU foam applications. The wrong blade produces frustration and poor results; the appropriate blade enables clean, fast cutting with minimal effort.
Fine-toothed blades designed for cutting plastics often work well on PU foam, producing smooth edges without excessive tear-out. Blade tooth count should be high—at least 10-12 teeth per inch—for smooth cuts on foam materials. Coarse blades intended for wood cutting create rough surfaces that require extensive finishing.
Carbide-tipped or high-speed steel blades maintain sharpness longer than basic steel alternatives, particularly important when cutting multiple beams or dense foam products. While costing more initially, extended blade life often makes premium blades more economical over project duration.
Blade length should match the beam depth plus adequate clearance for the shoe plate. Blades that barely penetrate the work create awkward angles that affect cut quality; longer blades than necessary allow perpendicular entry and consistent cutting throughout the stroke.

Cutting Techniques for Professional Results
Proper technique transforms adequate tools into professional results. The specific approaches vary by cut type, but general principles apply across most beam cutting situations.
Straight cuts benefit from guide attachment use or straightedge clamping. These guides prevent blade wandering that produces angled cuts and jagged edges. A simple straight board clamped parallel to the cut line provides accuracy that freehand cutting cannot achieve.
Inside cuts—such as openings for light fixtures or other ceiling features—require pilot hole creation before blade insertion. The pilot hole should be large enough to accommodate the blade's orbital motion without binding. Starting the jigsaw with the blade already through the material risks binding and kickback.
Curved cuts demand careful speed control and blade angle management. Tight curves require the slowest cutting speed and frequent blade realignment to maintain control. Rushing curved cuts creates ragged edges that require extensive finishing work.
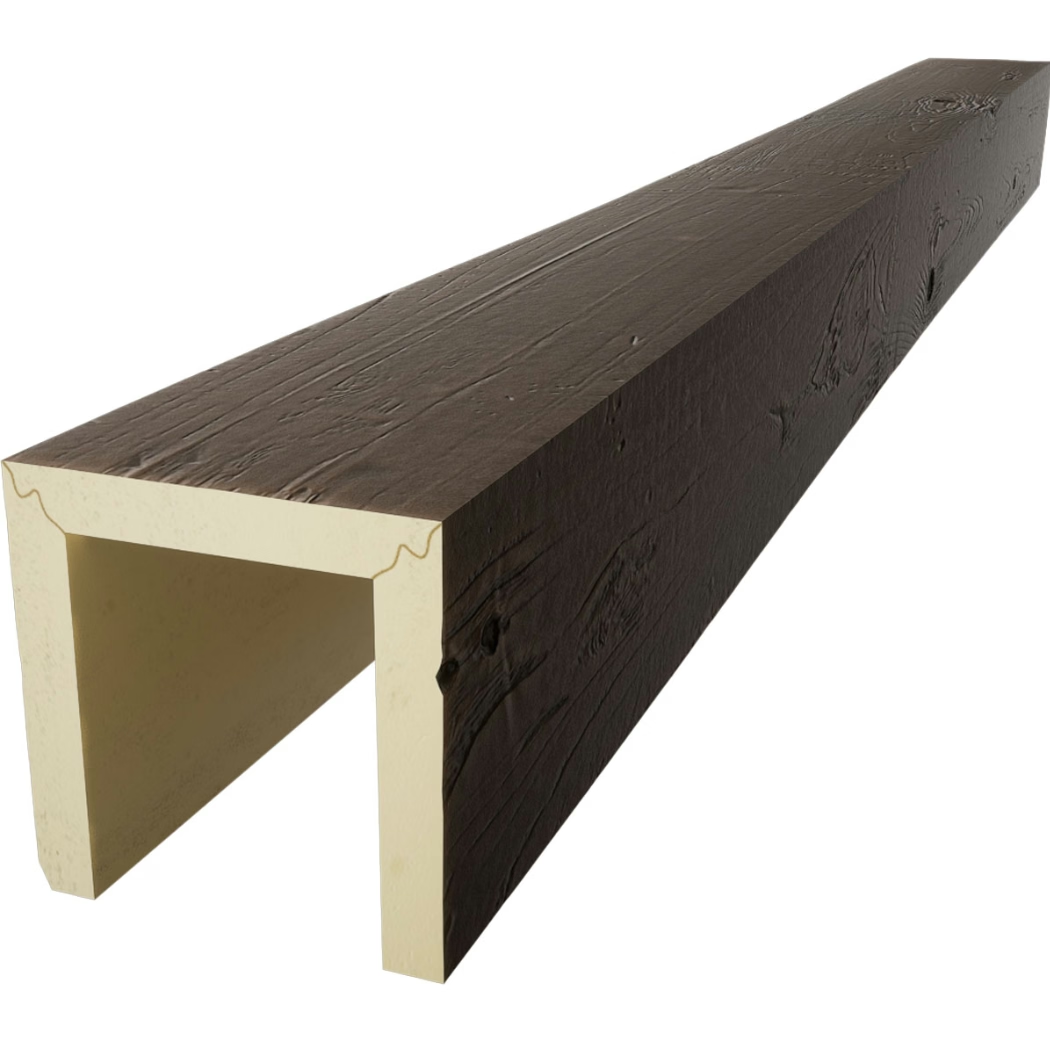
Supporting Beams During Cutting
Proper support prevents vibration, movement, and safety hazards during cutting operations. Inadequate support compromises cut quality and creates injury risks that proper preparation eliminates.
Beam positioning should allow the cut area to remain supported throughout the cutting process. Cantilevered sections that lose support mid-cut create vibration and potential binding. Positioning beams on sawhorses or stable work surfaces with the cut area fully supported prevents these issues.
Clamping prevents movement during cutting that could affect accuracy. Light clamping pressure holds beams in position without stressing the material. Excessive pressure can compress foam surfaces, affecting dimensional accuracy.
Scrap support beneath the cut line prevents tear-out on exit and supports the cut piece until cutting completes. A simple board or foam block positioned below the cut catches falling sections and prevents damage to floor surfaces or the beam itself.
Finishing Cut Edges
Freshly cut edges often require finishing before installation to achieve professional appearance. The specific finishing approach depends on cut quality and visibility after installation.
Light sanding with fine-grit paper removes loose foam particles and minor imperfections. For most applications, 120-150 grit provides appropriate aggression without creating visible scratches. Excessive sanding removes texture that helps the edge blend with surrounding surfaces.
Edge sealing prevents the absorption of paint or finish that can create color differences between cut and original surfaces. Clear primer or sealer applied to cut edges prepares them for finishing that matches original beam appearance.
Texture repair may be necessary on visible cut surfaces where original texture has been disturbed. Texturing compounds or careful application of original surface material can restore continuity that makes cuts invisible after finishing.
Safety Practices for Beam Cutting
PU foam cutting generates dust and heat that require appropriate safety precautions. Neglecting these precautions risks respiratory irritation, eye damage, or injury from blade contact.
Eye protection prevents foam dust from entering eyes during cutting. The fine particles generated by foam cutting can cause significant eye irritation; safety glasses or goggles provide necessary protection.
Respiratory protection filters fine foam dust that can irritate lungs if inhaled. While PU foam dust is less hazardous than some materials, adequate respiratory protection remains advisable for extended cutting operations. N95 dust masks or better provide appropriate filtration.
Blade safety during handling and storage prevents cuts and injury. Blades should be handled carefully during installation and removal, and stored in protective cases when not in use. Damaged or dull blades increase cutting force requirements, creating additional hazards.
Technical References
ASTM standards cited in every specification
Test Data
Lab results from internal testing program
Updated 2026
Reviewed against current product specs


