
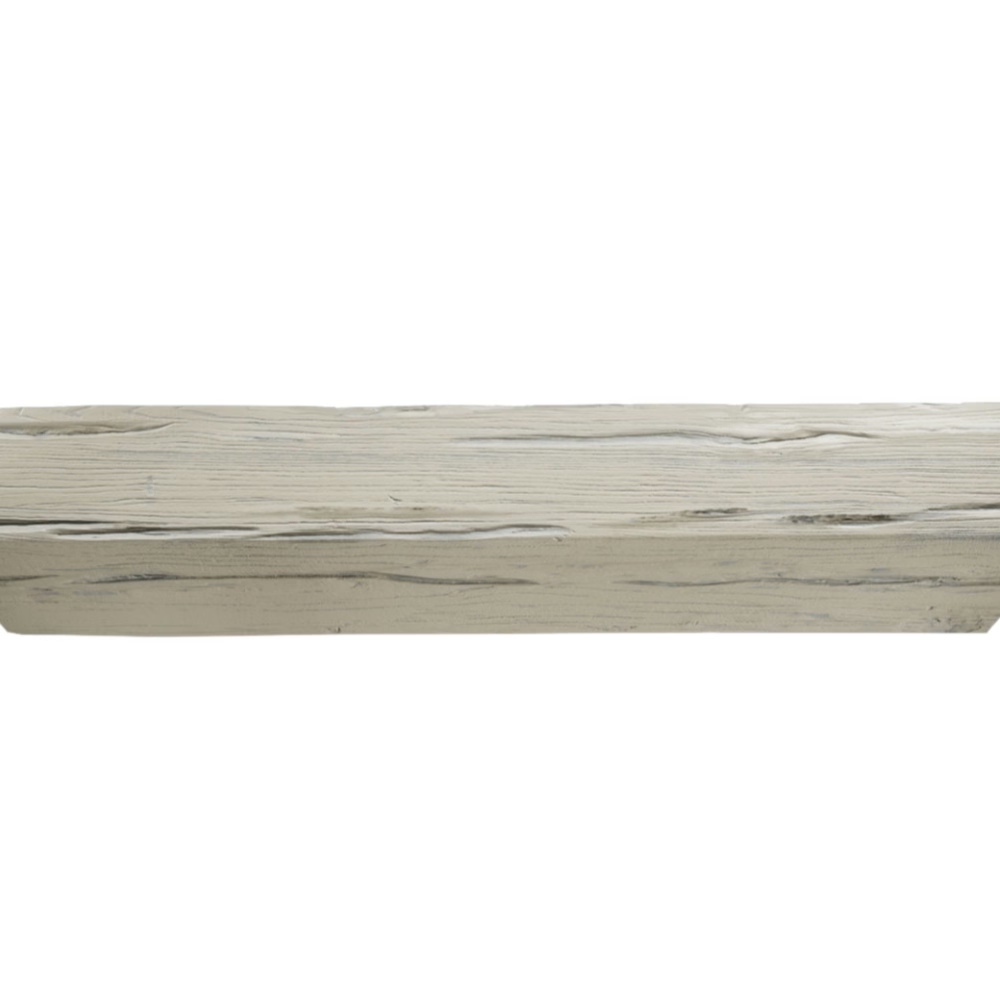
The difference between an amateur beam installation and a professional one is often found in the details that only a close observer will notice. The beam itself may be beautifully textured and perfectly colored. The joints may be seamless and invisible. But if the beam's ends are unfinished — showing a raw polyurethane cross-section where the beam meets the wall — the overall impression is one of incompleteness. End caps solve this problem, and when those end caps are finished to match the beam's surface, they create a termination that looks as though the beam was always meant to end exactly where it does.
The Role of End Caps in Beam Installations
An end cap serves both a practical and an aesthetic function. Practically, it covers the cut end of the beam, which would otherwise expose the hollow interior and the cross-section of the polyurethane material. Aesthetically, it presents a finished surface that matches the beam's texture and color, making the beam's termination look intentional and polished.
End caps are typically manufactured from the same polyurethane formulation as the beam itself, which ensures that they have the same expansion and contraction characteristics. A cap made from a different material would respond differently to temperature and humidity changes, potentially developing gaps or separations over time. Using matched materials prevents this issue and simplifies the finishing process.
The design of the end cap should complement the beam's profile. For beams with a simple rectangular cross-section, a flat end cap that covers the end face is appropriate. For beams with more complex profiles — beams with corbels, beams with v-groove or nickel-gap surfaces — the end cap must replicate these details to maintain visual consistency.
Stain Matching for Seamless Integration
The finishing process for end caps must achieve a color match that is indistinguishable from the beam's surface under normal viewing conditions. This requires the same attention to finish consistency that applies to any multi-piece beam installation. The stain or paint used on the end caps must be from the same batch or lot as the stain used on the beams, or at minimum from a carefully calibrated color reference.
Before staining any end caps, test the finish on a small inconspicuous area or on a spare piece of the same material. Polyurethane accepts stain differently than natural wood, and the absorption pattern can vary depending on the specific formulation. A test application reveals how the stain behaves on the material and allows adjustment of the application technique or dilution before committing to the caps.
Application technique affects the final color significantly. A heavy application of stain creates a darker, richer color than a light application, even with the same stain product. Maintaining consistent application pressure, coverage rate, and wipe-off technique across both the beams and the end caps is essential for achieving a consistent color. When possible, stain the end caps at the same time as the beams, using the same technique and material batch.

Types of End Cap Designs
Several end cap designs are available to suit different installation requirements and aesthetic preferences. The most basic is a flat cap that covers only the end face of the beam, creating a clean rectangular termination. This design is appropriate when the beam meets a wall at a right angle and the wall surface itself provides the visual context for the beam's ending.
Profile-matching caps extend slightly beyond the beam's face to replicate the beam's edge profile — rounded edges, chamfered corners, or any decorative edge detail. This approach is more visually complete because it suggests that the beam was manufactured with its end detail intact rather than cut off. Profile-matching caps are particularly valuable in exposed installations where the beam end is clearly visible from multiple angles.
Decorative end caps incorporate additional design elements beyond a simple surface cover. Scrolled or corbelled end profiles add visual interest to the beam termination. Turned or carved-style ends reference traditional woodworking details. These decorative options are most appropriate in traditional or transitional interiors where the additional detail reinforces the design intent.
Installation Techniques for Lasting Results
Proper end cap installation begins before the beam is mounted. The end caps should be installed and finished while the beam is accessible on the ground, not after it is in position on the ceiling. This allows full access to all surfaces for adhesive application, clamping, and finish touch-up.
Apply construction adhesive to the mating surface of the end cap and press it firmly against the beam end. For caps with a larger surface area, use clamps to hold the cap in place while the adhesive cures. The adhesive should be applied evenly across the entire mating surface to prevent gaps that could lead to cap separation over time.
After the adhesive cures, inspect the joint between the cap and the beam. Any visible gap should be filled with a paintable caulk or wood filler that matches the beam's finish. Feather the filler carefully and sand smooth before applying the topcoat. This step is critical — a joint that is invisible before painting may become visible after the stain or paint is applied if the filler is not properly blended.
Apply the final finish to the entire beam assembly — beam plus end caps — as a single unit. This ensures that the finish is continuous across the joint and eliminates the risk of a visible line where the cap's finish meets the beam's finish. If touch-up is required later, use the same stain or paint product and apply it carefully with a small brush, feathering the edges to blend with the surrounding surface.
Maintaining End Cap Quality Over Time
Over the life of the installation, end caps may require occasional attention to maintain their appearance. Temperature and humidity cycles can cause the bond between the cap and the beam to weaken, particularly in exterior applications or in buildings with inconsistent climate control. Periodic inspection of end cap joints — checking for any movement or gap formation — allows early intervention before a more serious separation occurs.
Cleaning the end caps with the same frequency and method as the beams maintains their appearance consistently. Harsh chemical cleaners can affect the finish on both the beam and the cap, so using a mild detergent solution or a dedicated polyurethane surface cleaner is recommended. Avoid abrasive cleaning tools that could scratch the finish and expose the underlying polyurethane.
In high-humidity environments, ensuring adequate ventilation around the beam installation prevents moisture accumulation that could affect the adhesive bond. End caps on bathroom or kitchen beams are particularly worth monitoring, as these spaces experience higher humidity levels than most other rooms in a home.
When end caps do require replacement — due to damage, adhesive failure, or significant finish deterioration — sourcing replacements from the original manufacturer is the best approach. Matching the finish on a replacement cap to an aged beam can be challenging, but a professional finisher can usually achieve a close match that is acceptable from normal viewing distances.
Technical References
ASTM standards cited in every specification
Test Data
Lab results from internal testing program
Updated 2026
Reviewed against current product specs


