Hollow ceiling faux beams offer distinct advantages that solid alternatives cannot match—lighter weight simplifies handling, interior voids accommodate utilities, and factory-finished surfaces require no on-site staining. These advantages translate into practical installation benefits that DIY installers and professionals both appreciate. Understanding how hollow beam construction affects installation technique ensures results that leverage these benefits fully.
Understanding Hollow Beam Construction
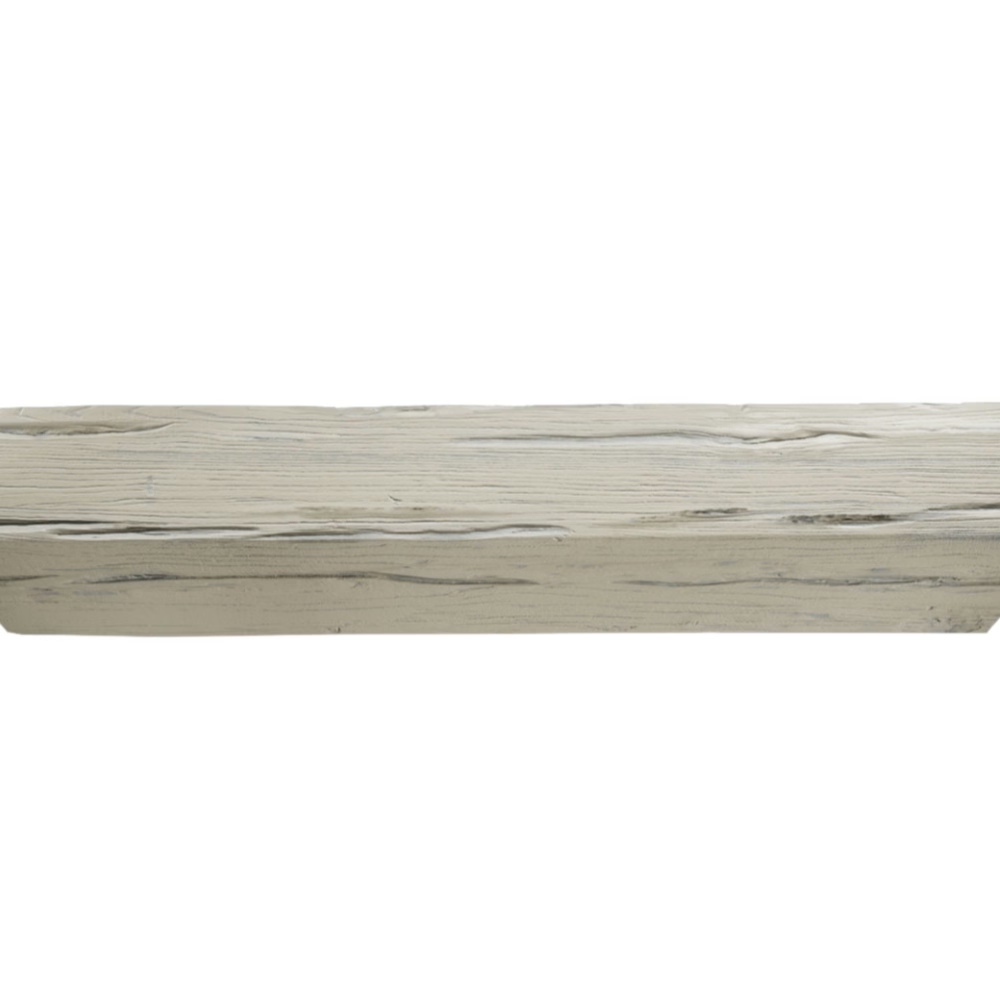
Hollow beams achieve their lightweight character through interior voids that remove material from areas where it doesn't contribute to appearance or structural performance. This construction creates profiles that look identical to solid timber from normal viewing distances while weighing dramatically less. Understanding this construction helps installers work with hollow beams appropriately.
The structural integrity of hollow beams comes from continuous outer shells and strategically placed internal supports. These internal elements, typically engineered wood or metal frameworks, provide mounting points and load distribution that solid beams provide naturally. The hollow interior remains empty except for these structural elements, creating space that can accommodate wiring, small HVAC runs, or insulation if desired.
This construction affects how beams can be cut and modified. Unlike solid wood that must be notched carefully around obstacles, hollow beams can often be cut completely through without compromising appearance. However, mounting points must align with internal structural elements—random screw placement may not achieve secure attachment. Manufacturer documentation identifies safe mounting locations.
Pre-Installation Planning for Hollow Beams
Planning for hollow beam installations should account for the utility accommodation possibilities that hollow construction enables. Consider whether you'll run any wiring through beams before finalizing placement. Lighting circuits, audio wiring, or other utilities can often travel through hollow beams, eliminating visible cable runs that would otherwise require concealment.
Beam spacing decisions for hollow installations should consider both aesthetic and practical factors. Aesthetic spacing creates visual rhythm and proportion; practical spacing affects how easily utilities can be routed between beams. Wider spacing simplifies utility runs between beams but may not provide desired visual effect. Find the balance that serves both visual and practical requirements.
Coordinate beam placement with any utilities that will occupy beam interiors. Mark utility routes clearly before beginning installation—it's much easier to adjust placement before beams are mounted. For complex utility routing, consider installing conduit or protective channels inside beams before final positioning.

Ceiling Preparation for Hollow Beams
Preparing the ceiling surface for hollow beam installation follows general guidelines but with attention to hollow-specific requirements. Ensure ceiling surfaces are clean, dry, and free from anything that might interfere with adhesive bonding. Repair any damaged areas before installation begins.
Locate ceiling joists or trusses accurately using a stud finder. Hollow beams attach to structural elements—attaching only to ceiling drywall won't provide adequate support regardless of how many screws you use. Mark joist edges clearly and verify your marks by probing with a small nail. Accurate joist location ensures that mounting hardware finds solid wood.
For beams that will span between parallel walls, verify that walls are parallel and level. Significant variations can affect how beams fit and appear once installed. Document any variations that might affect installation and adjust your approach accordingly.
Mounting Systems for Hollow Beams
Hollow beam mounting typically involves cleat systems that engage with corresponding hardware on the beam. The cleat design takes advantage of hollow beam construction, with mounting points positioned to align with internal structural elements. Understanding your specific mounting system ensures proper application.
Surface mounting uses blocks or plates attached directly to ceiling joists. These receive corresponding hardware on the beam, creating secure connections without penetrating the beam interior. This approach works well when ceiling conditions allow direct mounting.
Suspension mounting uses cables or rods from structural ceiling elements to support beam weight. This approach allows beams to appear floating below the ceiling plane, creating visual interest through revealed mounting hardware. Suspension systems require careful planning to ensure that visible hardware aligns with design intentions.
Some hollow beam installations use combinations of mounting approaches—cleats for primary support supplemented by screws through the beam face into structural elements behind. Follow manufacturer specifications for your specific beam type to ensure that mounting achieves intended performance.
Handling and Positioning Hollow Beams
Despite their lighter weight, hollow beams still require careful handling during installation. The reduced weight makes one-person installations feasible for many beam sizes, but larger beams benefit from two-person handling. Avoid dropping beams or impacting them against hard surfaces—internal structural elements can be damaged even though external appearance remains intact.
Positioning hollow beams follows the same general approach as solid beams but with attention to how the beam seats onto mounting hardware. Verify that the beam fully engages with all mounting points before releasing support. Incomplete seating creates安全隐患 that might not be immediately apparent but could cause problems later.
Check beam alignment from multiple viewing angles before securing. Hollow beams that appear level from one position might show misalignment from another. Taking time to verify alignment from several positions prevents the frustration of discovering problems after securing the beam.

Working with Hollow Beam Joints
Hollow beam joints require techniques appropriate for the construction type. Mitered corners work well with hollow beams, though the cut reveals hollow interior at the miter line. Some installers address this by adding blocking inside the beam at joints; others accept the hollow edge as part of the authentic timber appearance.
Butt joints between beam sections require attention to how the hollow interior appears at the joint. Clean cuts that maintain the beam's cross-sectional appearance create better joints than ragged cuts that expose interior construction. Use sharp blades and support beams adequately during cutting to achieve clean results.
Beam caps and decorative trim pieces can address joint appearance issues elegantly. These pieces slide over or attach to beam ends, covering cut surfaces and creating finished appearances. Many hollow beam manufacturers offer matching trim pieces designed for their products.
Finishing Techniques for Hollow Beams
Hollow beam surfaces arrive pre-finished in most cases, requiring only touch-up work where installation causes minor damage. Keep finish repair materials on hand—matching paint or stain, wood filler, and finishing supplies. Addressing damage promptly prevents visible repairs later.
Caulking gaps between beams and walls or other surfaces completes the installation visually. Use paintable caulk that accepts your finish color. Apply consistently thin beads—excessive caulking suggests that gaps were too large to begin with. Clean excess caulk promptly before it cures.
Internal hollow spaces remain accessible after installation, which proves valuable if future modifications become necessary. Understanding which parts of installed beams remain accessible helps with future work—electrical additions, fixture installation, or repairs that might require working through beam interiors.
Utility Integration Techniques
The hollow interior of these beams accommodates various utilities when installation planning addresses routing requirements. Electrical wiring can run through beams to supply recessed lighting, ceiling fans, or other fixtures mounted on or near beams. This routing keeps cables invisible while maintaining accessibility for future changes.
When running wiring through beams, use appropriate protection where wires enter and exit beam interiors. Grommets or protective channels prevent wire damage from beam edges. Keep wire runs organized inside beams—loose wiring can shift and create noise or damage over time.
HVAC routing through beams is possible for short distances but requires careful coordination. Supply ducts can reduce airflow capacity; return ducts can create imbalance if not properly sized. Consult HVAC professionals before routing ductwork through beams to ensure that system performance isn't compromised.
Quality Verification After Installation
After installing hollow ceiling beams, verify that all connections are secure and that beams perform as intended. Test for movement by applying firm pressure at various points—properly secured beams should not shift or flex. Any movement indicates inadequate support that requires correction.
Check that all mounting hardware is fully engaged and that no fasteners remain loose. Drive any protruding screws flush with beam surfaces. Verify that construction adhesive, if used, has fully cured before placing any weight on beams or performing activities that might stress the installation.
Document the installation for future reference—note beam locations relative to joists, any utility routing through beams, and any modifications made during installation. This documentation proves valuable for future work that might affect the installation or for troubleshooting if problems emerge.
Maintenance of Installed Hollow Beams
Hollow faux beams require minimal ongoing maintenance once properly installed. Regular dusting or occasional cleaning with mild detergent keeps surfaces looking their best. Avoid harsh chemicals or abrasive cleaners that might damage factory finishes.
Periodically inspect beams for any signs of movement or deterioration. Early detection of problems allows correction before issues worsen. Pay particular attention to beam ends and joints where movement might first become apparent.
The hollow construction means that any water intrusion into beam interiors could create problems not visible from outside. If water damage occurs to ceiling areas near beams, inspect beam interiors for moisture accumulation that might cause hidden deterioration.
Technical References
ASTM standards cited in every specification
Test Data
Lab results from internal testing program
Updated 2026
Reviewed against current product specs


