Polyurethane faux wood beams represent the convergence of authentic appearance and practical performance. Their popularity stems from qualities that installers appreciate as much as designers—the consistent quality, manageable weight, and forgiving material characteristics that simplify installation while ensuring reliable results. This guide addresses the specific requirements of polyurethane beams, helping you achieve installations that look perfect and perform flawlessly.
Polyurethane Beam Characteristics
Understanding polyurethane as a material helps you work with it effectively. Unlike wood, which varies with species, grain direction, and moisture content, polyurethane provides consistent characteristics from piece to piece. This consistency simplifies planning and execution—you can trust that what works with one beam will work with all beams from the same production run.
Polyurethane accepts fasteners differently than wood. The material holds screws adequately but doesn't have wood's natural fiber structure that grips fasteners. Specialized screws designed for polyurethane create better holds than standard wood screws. Some installers prefer to drill pilot holes for screws; others find that self-drilling screws work well without pre-drilling.
The material responds to temperature differently than wood. Polyurethane expands and contracts with temperature changes more than wood does, though this movement is typically imperceptible. However, extreme temperature variations during storage or installation can affect fit. Allowing beams to acclimate to room temperature before installation prevents dimensional issues that cold storage might cause.
Planning Polyurethane Beam Layout
Precise planning pays dividends throughout polyurethane beam installation. The consistency of manufactured beams means that your layout calculations will prove accurate—unlike wood where dimensional variations create uncertainty. Use this predictability to your advantage by planning exact positions and verifying measurements before purchasing.
Consider the relationship between beam length and ceiling dimensions carefully. Polyurethane beams typically come in standard lengths; planning your layout around these standards minimizes waste and unnecessary cutting. If your ceiling requires lengths between standard sizes, plan to cut longer beams rather than joining shorter pieces.
Document your planned layout with a scale drawing that shows beam positions, dimensions, and any obstacles the beams must accommodate. This drawing guides all subsequent work and helps identify potential problems before they become installation obstacles. Include notes about beam orientation—some beams have directional textures that should align consistently.
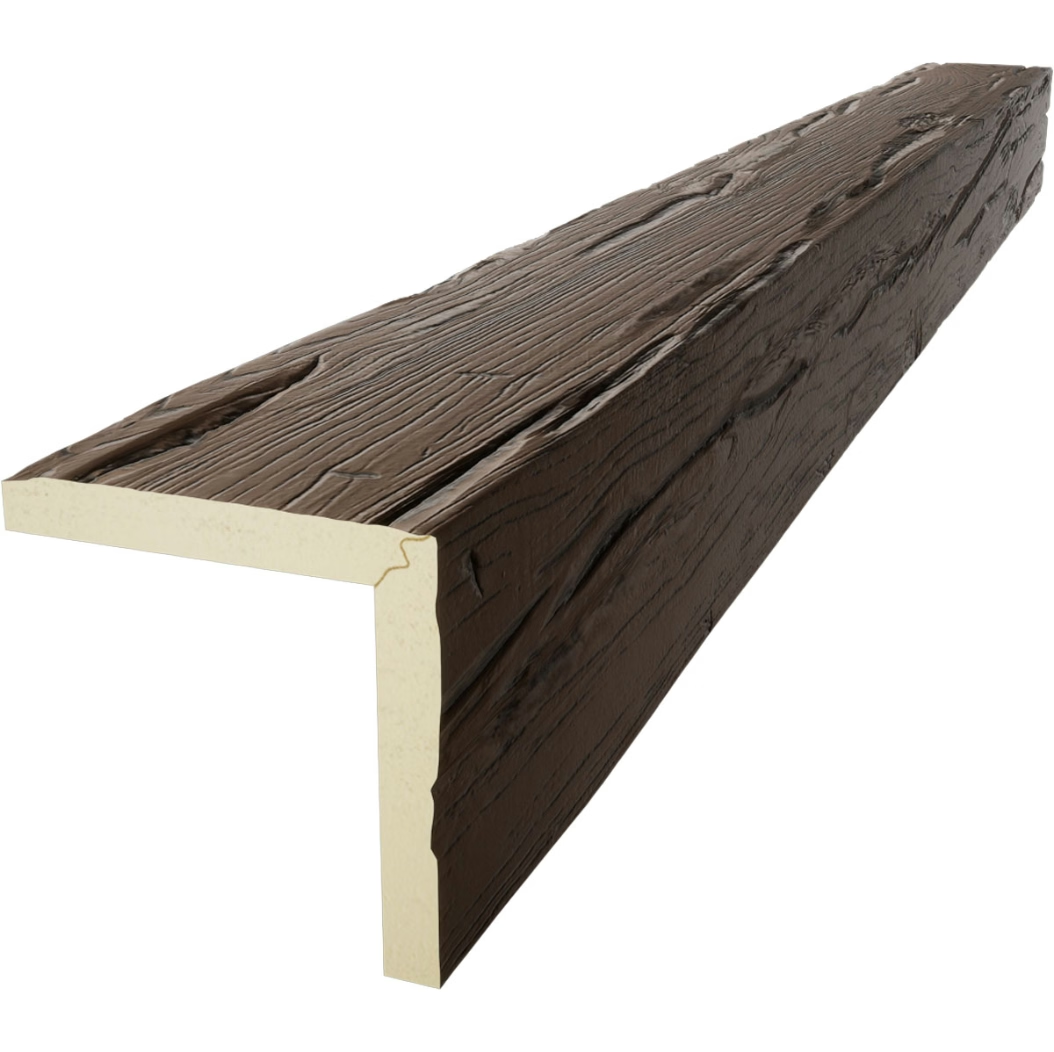
Surface Preparation for Polyurethane
Polyurethane beams require clean mounting surfaces but don't need the moisture content management that wood beams require. This simplification eliminates variables that could affect installation success. Focus on ensuring that ceiling surfaces are free from dust, grease, and loose material that might interfere with adhesive bonding.
Priming ceiling surfaces before adhesive application improves bonding significantly. Check adhesive manufacturer recommendations—some products perform better on primed surfaces. Primer application adds a small step but prevents bond failures that might require remediation later.
Verify that ceiling surfaces are structurally sound. Polyurethane beams, while light, still require secure mounting to structural elements. Any areas where ceiling material has degraded should be repaired before beam installation begins. This repair ensures that mounting hardware finds solid material to grip.
Cutting Polyurethane Beams
Cutting polyurethane differs from cutting wood in ways that affect technique. The material cuts cleanly with standard woodworking saws, but blade selection influences cut quality. Fine-tooth blades produce smoother cuts; coarse blades may create slightly ragged edges. Carbide-tipped blades maintain sharpness through multiple cuts better than steel blades.
Support beams adequately during cutting to prevent vibration that might cause imperfect cuts. The beam should rest firmly on a stable surface with the cut line clear of any support contact. Let the saw do the work—forcing the blade through creates binding and potential damage.
Cut all beams in a single session when possible to ensure consistent technique. Small variations in cutting approach between sessions might create slight differences in cut quality. If you must pause mid-project, note your technique precisely so you can resume exactly as you stopped.
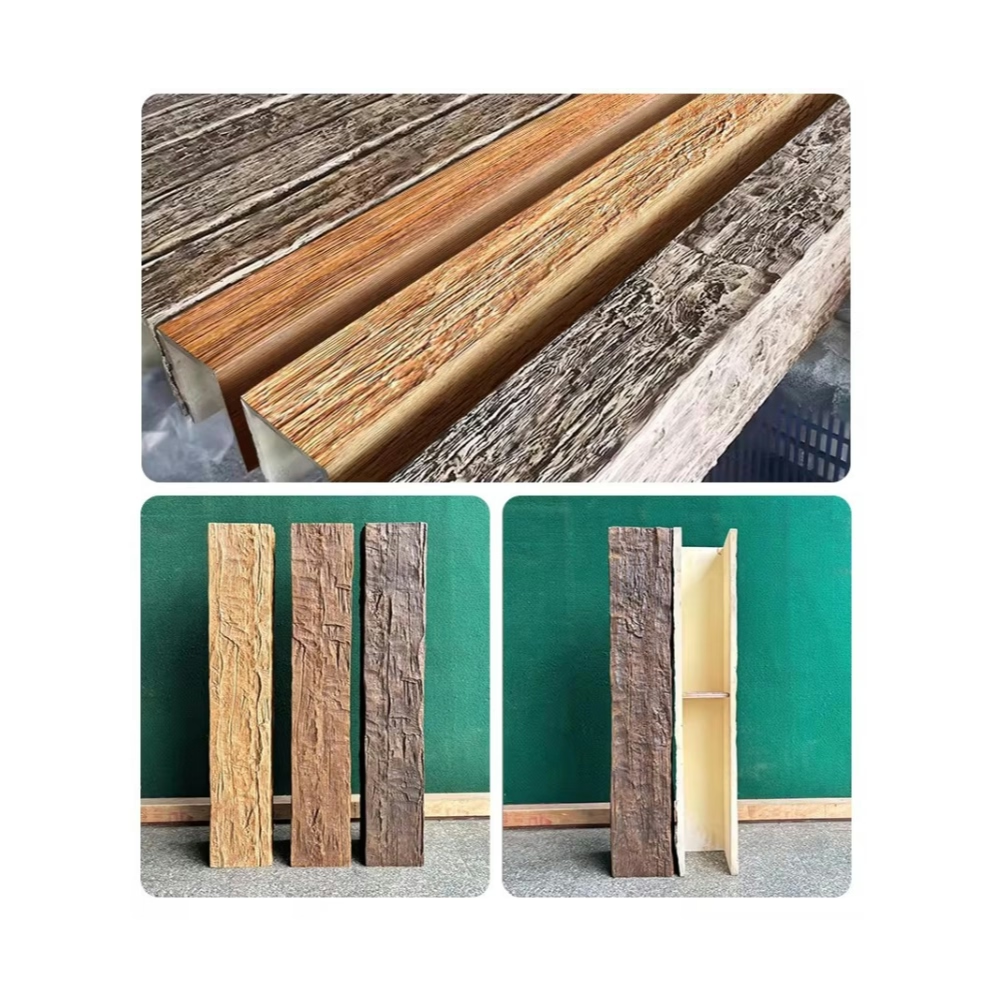
Adhesive Selection and Application
Construction adhesive provides the primary bond between polyurethane beams and mounting surfaces. Not all adhesives work well with polyurethane—some formulations don't bond effectively to the material surface. Select adhesives specifically tested for polyurethane or those recommended by beam manufacturers.
Apply adhesive in consistent beads that provide complete coverage without excess. The goal is continuous contact between beam and ceiling without squeeze-out that creates mess. Two parallel beads typically work better than a single thick bead, ensuring that the beam seats fully without adhesive displacement.
Allow adhesive to set according to manufacturer recommendations before handling beams. Premature handling can break bonds that haven't fully developed. This patience prevents failures that might not become apparent until later, when repair becomes more difficult.
Mechanical Fastening Techniques
Mechanical fasteners supplement adhesive bonds, providing immediate holding power while adhesives cure and permanent security against movement over time. The combination of adhesive and mechanical fastening creates installations that perform reliably for decades.
Fastener selection matters significantly for polyurethane. Standard wood screws may not grip adequately; specialized screws designed for polyurethane create better connections. Some installers use screws with large heads that distribute load across broader areas. Check manufacturer specifications for recommended fastener types.
Space fasteners appropriately along beam length—typically every 24 to 36 inches depending on beam size and manufacturer recommendations. Position fasteners at manufacturer-identified mounting points that align with internal structural elements. Random fastener placement risks inadequate holding power.
Perfect Alignment Techniques
Achieving perfect alignment requires attention throughout installation rather than corrections at the end. Start with accurate ceiling marking that reflects your planned layout precisely. Use a chalk line to create reference lines that guide positioning.
Check alignment from multiple angles as you work. What appears level from directly below might show deviation from other viewing positions. Taking time to verify alignment during installation prevents the frustration of discovering problems after everything is secured.
For installations with multiple parallel beams, use reference strings or lasers to ensure that beams track perfectly parallel. Small deviations compound across long runs, so checking early prevents larger errors later. Adjust positioning as needed before adhesive sets.

Joint Construction for Polished Results
Clean joints distinguish professional installations from amateur attempts. Mitered joints at corners require precise angle cutting and careful alignment. Practice cuts on scrap material if you're uncertain about your technique before cutting finished pieces.
Beam ends that meet walls or other surfaces require clean cuts that sit flush against adjacent materials. Gaps at these transitions indicate either inaccurate cutting or improper positioning. Fill small gaps with paintable caulk; larger gaps may require repositioning.
For runs requiring multiple beam sections, consider staggering joints so they don't align across parallel beams. Staggered joints create more natural appearances than synchronized joints, which can look manufactured. This staggering requires different cut positions for parallel beams—account for this in your planning.
Finishing Details That Complete Installations
The finishing phase distinguishes good installations from great ones. Attention to details that might seem minor creates the overall impression of quality that viewers notice even if they can't identify specific details.
Caulk all gaps and joints with paintable caulk that matches your finish. Apply thin, consistent beads; excessive caulking suggests carelessness. Tool caulked joints for smooth, concave finishes that look professional. Remove excess caulk before it sets.
Fill any visible screw holes with filler that matches your beam finish. Multiple thin applications create better results than single heavy fills. Sand smooth when fully dry, feathering edges so repairs become invisible.
Stand back from the installation and evaluate it as a whole. Look for any areas that look unfinished or that draw attention for wrong reasons. Address these areas before considering the project complete.
Quality Control Checkpoints
Before declaring installation complete, verify that all aspects meet quality standards. Check every beam for secure attachment by attempting to move it gently—if any movement occurs, additional fastening is needed. Verify that all fasteners are fully seated and that no screw heads protrude.
Examine all joints for gaps, misalignment, or unfinished appearance. Joints should appear continuous; any visible separation indicates problems that require correction. Check transitions between beams and walls or other surfaces for consistent reveals and clean contacts.
Test all adhesive bonds by checking for any softness or movement at beam edges. Fully cured adhesive should feel solid under pressure. Any flexing or softness indicates incomplete bonding that requires attention.
Long-Term Performance Considerations
Polyurethane beams properly installed perform reliably for decades without maintenance beyond routine cleaning. The material doesn't rot, warp, or crack like wood can, eliminating the maintenance concerns that genuine timber requires.
However, polyurethane can be damaged by extreme conditions—direct flame, significant impact, or prolonged exposure to harsh chemicals. Understanding these limitations helps prevent damage. Keep beams away from heat sources and avoid cleaning with aggressive chemicals.
If damage occurs, polyurethane repairs are often simpler than wood repairs. The material accepts fillers and patches that blend seamlessly when properly finished. Minor damage can be repaired without replacing entire beams, though significant damage may require section replacement.
Technical References
ASTM standards cited in every specification
Test Data
Lab results from internal testing program
Updated 2026
Reviewed against current product specs


