Faux timber beams occasionally need repainting—whether to refresh aging finishes, accommodate design scheme changes, or simply update appearances that have grown stale. The repaint process for polyurethane beams differs from repainting genuine wood, requiring specific techniques that respect the material's unique characteristics. This guide walks through each phase of repainting, ensuring results that look professional and endure over time.
Assessing Beam Condition Before Repainting
Before beginning any repaint project, evaluate the current condition of your beams thoroughly. Understanding what you're working with guides all subsequent decisions about preparation, products, and technique. Rushing this assessment often leads to problems that manifest only after painting is complete.
Examine beam surfaces for any damage that predates your repaint intention. Scratches, dents, gouges, or areas where the finish has worn through to the polyurethane substrate all require attention before new paint goes on. These defects will remain visible under new finish if not addressed properly.
Check for any previous repairs that might affect repainting. Filler patches, caulked joints, and other previous work may accept paint differently than surrounding beam surfaces. Identifying these areas allows you to address them appropriately before beginning the main repaint work.
Surface Preparation Fundamentals
Successful repainting begins with surface preparation that creates conditions for paint to bond effectively. Polyurethane surfaces benefit from gentle cleaning that removes accumulated dirt, oils, and any loose material without damaging the underlying surface. The goal is clean, slightly abraded surface that paint can grip.
Clean beams with a mild detergent solution, using soft cloths or sponges that won't scratch the surface. Avoid abrasive cleaners or scrubbing tools that might create scratches visible under new paint. Rinse thoroughly with clean water and allow complete drying before proceeding.
Sanding creates the slightly rough surface that helps new paint adhere to smooth polyurethane. Use fine sandpaper—220 grit works well for most polyurethane surfaces. Sand lightly in the direction of grain or texture, just enough to remove surface sheen. Excessive sanding can damage the beam profile or round crisp edges that define the timber appearance.

Priming Requirements for Polyurethane
Primer serves crucial functions that paint alone cannot provide—it creates consistent surface conditions, improves paint adhesion, and can block stains or colors that might bleed through new paint. Polyurethane surfaces typically benefit from priming before painting, though specific requirements vary by product combination.
Select primer appropriate for polyurethane surfaces. Not all primers adhere well to the material; those designed for plastics or specifically for polyurethane provide the best results. Check manufacturer recommendations for both primer and paint to ensure compatibility between all products.
Apply primer in thin, even coats following product instructions. Thick primer application can obscure fine details and create drips that require extensive sanding to correct. Two thin coats typically provide better coverage than one heavy coat, with less risk of problems.
Allow primer to cure fully before attempting to sand or apply paint. Premature handling of insufficiently cured primer creates adhesion problems that manifest later. Check product specifications for recommended cure times, and add buffer time if conditions aren't ideal.
Color Selection Considerations
Color selection for beam repainting should consider how new colors will interact with existing room elements. Beams typically serve as warm accents in spaces—changing them to cool colors creates different atmospheres than maintaining warmth. Consider whether this change aligns with your overall design intentions.
Test colors on inconspicuous areas before committing to full application. Polyurethane accepts paint differently than wood might, creating color variations that surprise unprepared installers. Testing reveals how specific products perform with your beams and in your lighting conditions.
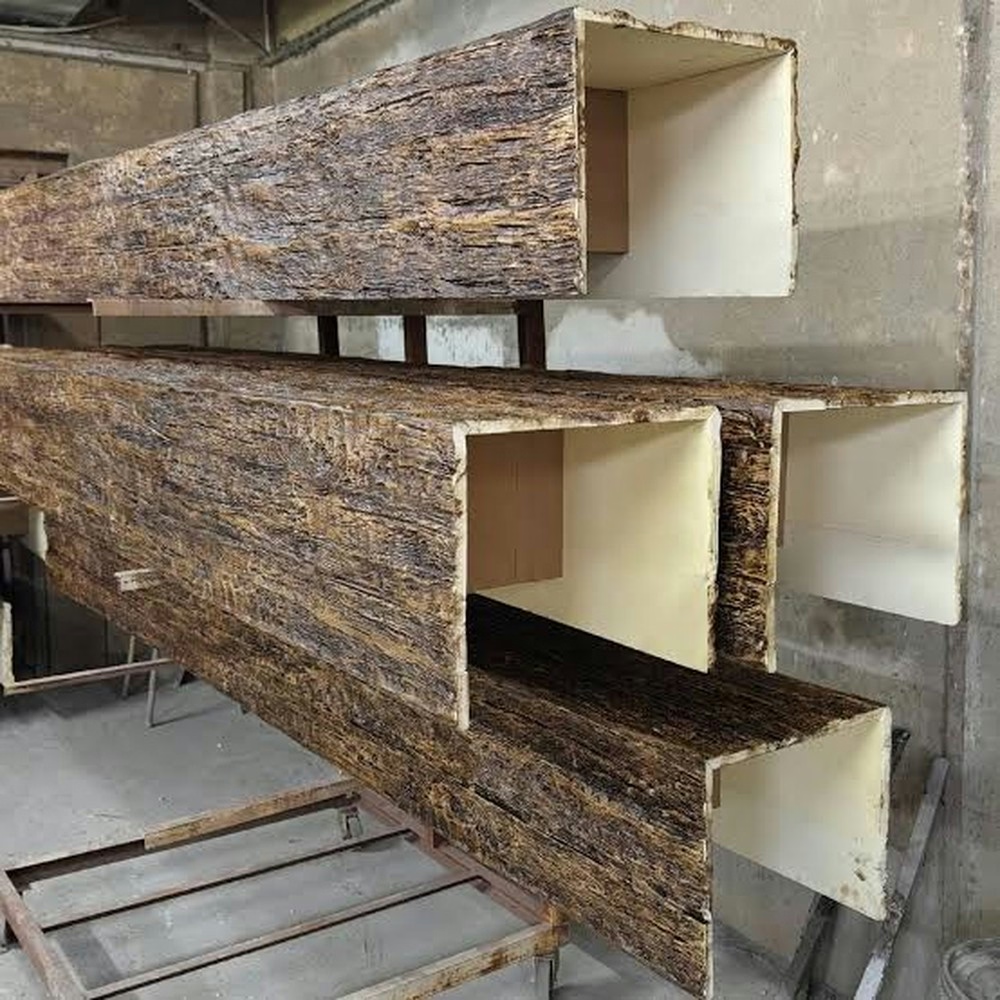
Consider whether you want to preserve any wood-grain appearance or cover it entirely with solid color. Some paint techniques simulate wood grain over polyurethane surfaces, creating authentic appearances with custom colors. This approach works particularly well when matching specific wood species that aren't available in standard finishes.

Paint Selection for Faux Beams
Paint selection significantly affects both immediate appearance and long-term durability. Interior latex paints work well for most faux beam applications, providing good color coverage and reasonable durability. However, high-traffic areas or spaces with challenging conditions might benefit from more durable formulations.
Satin or semi-gloss finishes typically suit faux beam applications better than flat finishes. These sheen levels clean more easily and resist staining better than flat paints. They also tend to enhance the dimensional appearance of beam profiles, making details stand out more effectively.
Acoustic properties of certain paint formulations can affect how sound behaves in beam-treated spaces. If acoustic performance matters in your room, select paints that don't significantly absorb high frequencies. Most standard interior paints perform adequately, but specialized acoustic coatings are available if needed.
Application Technique for Professional Results
Application technique distinguishes professional repaint results from amateur attempts. The goal is even coverage without drips, runs, or heavy material buildup that obscures beam detail. Multiple thin coats achieve this goal more reliably than fewer heavy coats.
Brush application works well for beams with complex profiles where spray equipment might create overspray problems. Use quality brushes that hold their shape and release paint evenly. Work paint into details and crevices with the brush tip before smoothing the main surface.
Spray application, when appropriate equipment is available, can produce exceptionally even finishes that highlight beam profiles beautifully. However, spray application requires proper masking of surrounding surfaces and adequate ventilation. This approach suits unoccupied spaces or complete room renovations where masking and ventilation concerns can be addressed.
Handling Detailed Areas and Joints
Beam details—knots, grain patterns, weathering effects—define the authentic timber appearance. Repainting must preserve these details while providing new color. This requires technique that fills and covers without eliminating the subtle variations that make beams convincing.
Tackle detailed areas before the main surfaces. Use smaller brushes oretail work to paint into crevices and around detailed textures. Allow these areas to dry partially before attempting to smooth over them—trying to brush too soon disturbs wet paint in recesses.
Clean detail areas as needed during painting to maintain crispness. Paint accumulation in recesses creates muddiness that undermines authentic appearance. A dry brush or small tool can remove excess paint from detailed areas without disturbing surrounding coverage.
Drying and Curing Requirements
Paint drying and curing represent different processes that both affect repaint success. Surface drying allows handling without smudging; full cure provides maximum durability and adhesion. Rushing either phase risks problems that may not become apparent until later.
Allow adequate drying time between coats per paint manufacturer recommendations. Environmental conditions—temperature, humidity, air circulation—all affect drying times. Cool, humid conditions extend drying times significantly; warm, dry conditions accelerate them.
Full cure typically requires several days beyond when paint feels dry to touch. During this cure period, avoid cleaning that might abrade paint surfaces and refrain from placing objects against freshly painted beams. The extra patience protects your work during the vulnerable curing phase.
Touch-Up and Correction
Minor imperfections almost always appear during repainting, regardless of technique quality. Identifying and addressing these imperfections before project completion ensures results that look professional rather than merely adequate.
Small runs or drips can often be sanded flat once cured, then touched up with thin paint application. Attempting to fix these problems while wet typically makes them worse. Patience here produces better results than immediate correction attempts.
Areas where paint coverage is thin or inconsistent benefit from additional coats after base coats have cured. Build coverage gradually rather than trying to achieve complete coverage in single applications. This approach prevents the heavy buildup that obscures beam details.
Maintaining Repainted Beams
Properly repainted polyurethane beams maintain their appearance for years with minimal care. Understanding maintenance requirements helps preserve your repaint investment over time. Regular cleaning prevents the accumulation that eventually requires repainting again.
Dust beams regularly using soft cloths, dust mops, or vacuum brush attachments. Accumulated dust creates dull appearance and can trap oils or moisture that damage paint over time. Weekly dusting maintains appearance between more thorough cleanings.
Clean spills or stains promptly using soft cloths and mild detergent. Polyurethane paint finishes resist staining better than raw wood, but prolonged exposure to liquids can cause problems regardless. Immediate attention prevents permanent staining that would require touch-up or full repainting.
When Full Repainting Isn't Needed
Not every beam refresh requires complete repainting. Minor surface discoloration, scuffs, or wear might respond to cleaning or spot treatment without full repaint. Understanding when lighter interventions suffice prevents unnecessary work.
Surface cleaning sometimes restores appearance sufficiently, particularly when the original finish remains intact beneath accumulated grime. Try cleaning before committing to repaint—you might find that your beams need less work than expected.
Spot touch-ups can address localized damage without repainting entire beams. This approach works when damage is limited and color matching proves achievable. Keep paint leftover from original repaint for future touch-ups if you have it.
Long-Term Color Durability
Paint color durability varies by product quality and environmental conditions. Direct sunlight accelerates fading; high-humidity areas may see different wear patterns than dry spaces. Understanding these factors helps set realistic expectations for repaint longevity.
Higher-quality paints with better color pigments typically maintain appearance longer than economy products. The additional cost often pays for itself through extended service life between repaints. Premium paints also tend to resist yellowing and chalking better over time.
When repainting eventually becomes necessary again, having documentation of previous work helps replicate successful results. Note paint products, colors, and techniques used—these records simplify future maintenance and ensure consistency if repairs become necessary.
Technical References
ASTM standards cited in every specification
Test Data
Lab results from internal testing program
Updated 2026
Reviewed against current product specs


