
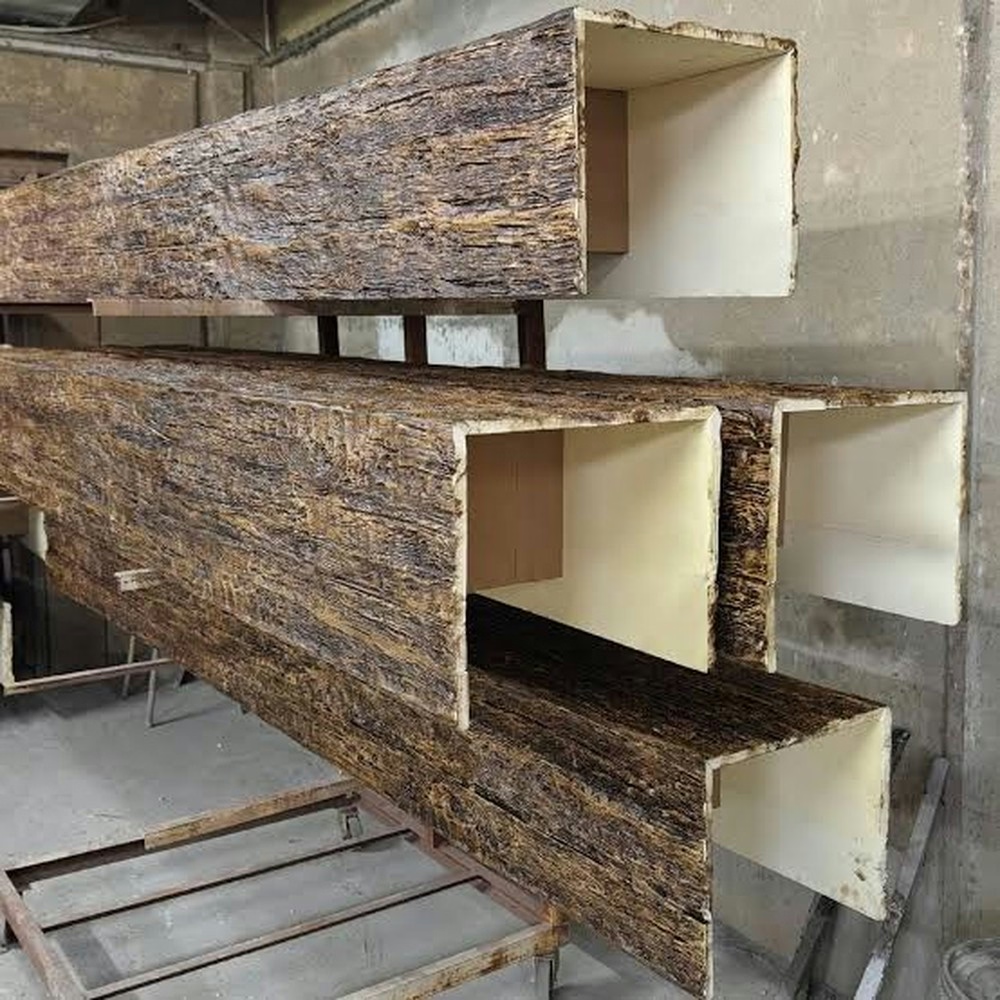
When I started installing faux wood beams professionally, I experimented with numerous mounting approaches. Mechanical fasteners seemed most reliable until I considered the reality of finished appearance—no matter how carefully I predrilled, the fastener locations showed, and touch-up painting rarely matched perfectly. Brackets and hangers solved appearance problems but created new challenges with ceiling irregularities and beam alignment. Eventually, I discovered that premium construction adhesive, properly applied, provided the strongest, cleanest, and fastest mounting solution available.
The adhesive mounting approach works because polyurethane beams are light enough for adhesive to support easily while heavy enough that mechanical fasteners alone would show or require extensive preparation. The chemistry of modern construction adhesives creates bonds stronger than the materials being joined, meaning the failure point would be the polyurethane itself rather than the adhesive joint. Understanding this chemistry—and how to work with it effectively—transforms beam installation from a two-person wrestling match into a straightforward one-person operation.
Understanding Construction Adhesive Chemistry
Construction adhesives have evolved dramatically from the solvent-based products that dominated hardware store shelves a generation ago. Modern formulations are water-based or low-VOC formulations that emit minimal odor during application and curing. Despite gentler chemistry, these newer products achieve bond strengths that early formulations couldn't approach. The polymer technology underlying these improvements allows adhesive films to flow into microscopic surface irregularities, creating mechanical interlocking bonds alongside chemical adhesion.
Polyurethane construction adhesives offer particular advantages for beam mounting applications. These products cure through moisture reaction, forming flexible yet extremely strong bonds that tolerate the slight movements that building structures experience. Temperature changes, building settling, and vibration all create stresses that rigid bonds cannot accommodate. Flexible polyurethane bonds absorb these stresses without cracking or debonding, maintaining secure attachment throughout the installation's lifetime.
Open time—the period after application when adhesive remains workable before skinning over—varies by formulation and environmental conditions. Understanding your adhesive's open time prevents wasted material and failed bonds. If you apply adhesive and then wait too long before positioning beams, the skin that forms prevents proper bonding. Learning to work efficiently within your adhesive's open time window comes quickly with practice.
Surface Preparation Requirements
Adhesive bonds depend on surface conditions more critically than mechanical fastening does. Contaminants on either surface—dust, oil, moisture, or old paint—can prevent adhesive from contacting the actual substrate, creating weak bonds that fail prematurely. Proper preparation ensures adhesive contacts clean material throughout the bonding area.
Dust removal precedes all other preparation steps. Even apparently clean surfaces accumulate dust that interferes with bonding. Wiping surfaces with a clean, slightly damp cloth removes loose particles effectively. For particularly dusty conditions or beams removed from previous installations, more thorough cleaning with appropriate solvents may be necessary. Allow surfaces to dry completely after any wet cleaning before proceeding.
Porous surfaces like bare drywall or wood require different handling than smooth sealed surfaces. These materials absorb adhesive, potentially depleting the bond film before full cure develops. Priming porous surfaces with a thinned coat of the same adhesive or manufacturer-recommended primer prevents this absorption while maintaining bond compatibility. This preparation step adds minimal time but prevents the adhesion failures that inadequate priming causes.
Application Techniques for Maximum Bond Strength
Adhesive application patterns affect bond strength more than most installers realize. Continuous bead application along beam edges and across the center creates the strongest bonds by maximizing contact area. Gaps in application leave portions of the beam unbonded, concentrating stress on remaining bonded areas and increasing failure risk.
Bead size should correspond to the gap you're filling and the load you're supporting. Larger gaps between beam and ceiling require larger beads to fill completely without voids. For standard installations with minimal gap, moderate beads approximately three-eighths inch in diameter provide adequate coverage. When ceiling irregularities create larger gaps, either correct the ceiling or use sufficient adhesive to fill the space completely.
Varying bead placement between the beam's center and edges helps distribute loads effectively. Edge beads support shear loads that try to slide the beam down the ceiling. Center beads prevent the beam from flexing or twisting under impact loads or thermal stress. This distribution pattern addresses the different stress types that beams experience during use.
Curing Time and Load Considerations
Adhesive curing follows a predictable timeline that installers must respect. Initial set occurs within minutes as surface skinning begins, allowing beams to hold position without support. Full cure develops over hours or days depending on temperature, humidity, and specific formulation. During the curing period, adhesive remains vulnerable to disturbance that could compromise bond development.
Temperature affects cure rate significantly. Warmer temperatures accelerate curing, while cool conditions slow it dramatically. Below approximately 40°F, some adhesives fail to cure properly at all. In cool conditions, warming the adhesive slightly before application or using the space's heating system helps achieve acceptable cure rates. Conversely, very hot conditions can cause adhesives to skin over too quickly, preventing proper flow and wetting of surfaces.
Supporting beams during initial cure prevents slippage that could disrupt developing bonds. While fully cured adhesive bonds exceed the load capacity of polyurethane beams themselves, developing bonds during cure are more vulnerable. Light bracing or temporary supports for the first hour after installation prevents gravity from working against bonds while they're still strengthening.

Technical References
ASTM standards cited in every specification
Test Data
Lab results from internal testing program
Updated 2026
Reviewed against current product specs


