
The coffered ceiling has symbolized architectural sophistication since ancient Rome. Those sunken geometric panels—coffers—created by crossing beams in temple ceilings and throne rooms communicated power, permanence, and refined taste. For centuries, only the wealthiest patrons could afford such detailing, requiring master craftsmen to cut and fit complex shapes from stone or timber. Modern materials and manufacturing have democratized this classical treatment, allowing contemporary builders to achieve coffered ceiling elegance at reasonable cost.
My first experience with faux coffer construction came during a high-end residential project where the homeowner wanted a coffered ceiling in a room with a modern truss roof structure. Traditional coffer construction would have required either removing trusses or building below them—a costly proposition either way. Using lightweight polyurethane beam elements, we created a coffer pattern that appeared to float below the structure, achieving the desired effect without structural modification.
Understanding Coffer Construction
A coffered ceiling consists of a grid of recessed panels created by crossing beams. The beams themselves form the visible framework while the recessed areas between create depth and shadow that gives coffers their distinctive appearance. Traditional coffers often included decorative detailing—rosettes at intersections, carved moldings along beam edges—but the essential geometry is simply a grid of raised beams surrounding recessed panels.
Beam sizing affects coffer proportions and the overall feeling of the finished ceiling. Larger beams create bolder frameworks with deeper shadows. Smaller beams create more delicate patterns suitable for smaller rooms or more subtle design approaches. The ratio between beam width and coffer opening determines whether the ceiling feels heavy or light, traditional or contemporary.
Panel depth—the distance beams project below the surrounding ceiling—creates the coffer effect. Deeper projections create stronger shadows and more dramatic visual separation. Minimal depth creates subtle effects that read as coffering only when lighting rakes across the surface. Most residential applications benefit from moderate depth that creates obvious coffering without overwhelming the space.
Planning the Coffer Layout
Successful coffer design requires careful planning that accounts for room proportions, ceiling height, and existing architectural features. The coffer grid should align with room geometry, typically running parallel to the longer walls or organized around a central focal point. Asymmetric or irregular rooms require grid designs that acknowledge rather than ignore their character.
Grid sizing depends on room dimensions and desired coffer proportions. A common approach divides the room into equal coffer bays, with partial bays handled through smaller panels at room edges. This mathematical approach creates satisfying regularity but may produce edge panels too narrow to read convincingly as coffers. Sometimes accepting slightly irregular grid divisions produces better overall appearance than strict mathematical regularity.
Ceiling height influences appropriate coffer depth and beam sizing. Low ceilings can support only shallow coffers; deep coffers in low rooms create cramped, cave-like feelings. Conversely, very high ceilings can support dramatic deep coffers and substantial beam dimensions that would overwhelm standard-height rooms. Proportioning coffer elements to ceiling height ensures the treatment enhances rather than dominates the space.
Faux Beam Solutions for Coffer Construction
Traditional coffer construction required structural beams capable of supporting ceiling loads. The grid framework served as both ceiling structure and decorative treatment. This approach limited coffer applications to spaces where substantial beams were appropriate or could be introduced without structural problems.
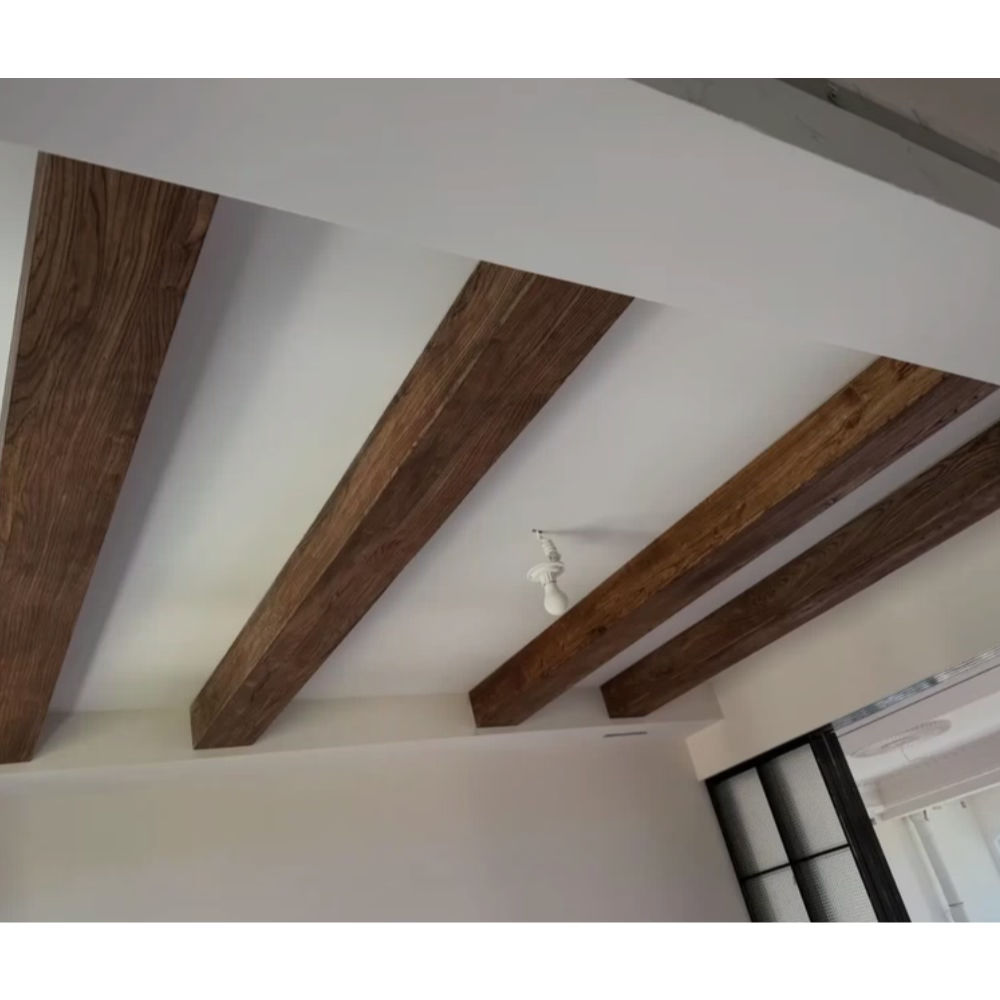
Faux beams decouple the decorative framework from structural requirements. Beams can be sized purely for aesthetic effect, with depth and width selected for visual impact rather than load capacity. The structural ceiling remains hidden behind or below the decorative beam framework. This separation expands coffer design possibilities dramatically.
Manufactured coffer kits simplify installation by providing matched components designed to work together. These kits include beams, joinery pieces, and often recessed panel backers that create the coffer shape. While custom-designed coffers offer more flexibility, kits reduce design time and ensure compatible proportions. Many manufacturers offer both standard and custom options.
Installation Sequence
Coffer installation follows a logical sequence that prevents problems and ensures alignment. Preparation includes accurate measurement, careful layout marking, and surface preparation that ensures good adhesive bonding. Rushing preparation creates alignment problems that become increasingly difficult to correct as installation progresses.
Starting from a reference line ensures grid alignment throughout the installation. A chalk line along one wall establishes the first beam position; crossing lines establish the grid framework. Taking time to get this reference perfect saves time later, since errors compound throughout the grid.
Beam installation typically proceeds from one corner outward, maintaining alignment with reference lines as the grid develops. Each new beam must align with previously installed pieces, creating continuous grid lines that cross at uniform intersections. Temporary bracing holds beams in position while adhesive cures. The process continues until the entire grid is installed.
Finishing details complete the coffer appearance. Crown moldings along beam edges soften transitions and add traditional detail. Rosettes or decorative blocks at intersections create focal points that enhance authenticity. Recessed panel backing, if not included in beam systems, must be installed and finished to complete the coffer effect.

Lighting Integration
Lighting dramatically affects coffer ceiling impact. The shadows that define coffers respond to light direction and intensity. Understanding how your lighting will interact with coffer geometry ensures the desired dramatic effect.
Recessed lighting between coffers creates pools of light that accentuate panel depth. This approach keeps beams in shadow while illuminating the recessed areas, emphasizing the coffer effect. The challenge is balancing illumination levels so coffers aren't lost in general brightness.
Coffer accent lighting highlights beam structure itself. Lights positioned to graze across beam surfaces create shadows that define texture and depth. This approach works particularly well with heavily detailed beams where surface interest deserves emphasis.
Ambient light from windows or general room lighting creates natural shadow patterns that change throughout the day. Coffer designs should anticipate these variations, ensuring the treatment looks good under various lighting conditions rather than requiring specific lighting to read correctly.

Technical References
ASTM standards cited in every specification
Test Data
Lab results from internal testing program
Updated 2026
Reviewed against current product specs


