Custom curved beams represent one of polyurethane's most significant advantages over natural wood materials. While solid timber requires steam bending or laminating thin strips—a labor-intensive process with unpredictable results—polyurethane can be molded or routed to precise radii, enabling architectural features that would otherwise remain impractical or prohibitively expensive.
Understanding Radius Capabilities
Polyurethane fabrication technology determines achievable curvature limits. Standard radius capabilities extend down to 24-inch minimum radii for most beam profiles, with special tooling enabling tighter bends for accent pieces. Understanding these limitations early in design development prevents costly late-stage changes that disrupt project schedules.
Compound curves—beams that curve simultaneously in multiple directions—present greater manufacturing challenges but remain achievable with proper tooling investment. These features work beautifully in domed ceilings, curved stair wells, and organic architectural spaces where flowing forms create memorable interior experiences. Budget considerations for compound curve fabrication typically run 30-50 percent higher than single-plane curves.
Sweep angles affect both manufacturing complexity and cost. Short-radius sweeps covering 45 to 90 degrees suit window headers and fireplace openings, while sweeping runs spanning room corners require longer fabrication times and careful shipping logistics. Design documentation should specify radius values, sweep angles, and directional changes to enable accurate pricing from fabricators.
Profile Matching Across Curved Sections
Consistent profile depth maintains visual coherence when curved beams transition to straight sections. Standard rectangular beams translate directly to curved applications, while more complex profiles—like farmhouse-style beams with added detail facades—require engineering to preserve aesthetic intent through transitions.
Radius variations within single beams complicate profile consistency. Tighter curves toward one end demand deeper cross-sections to maintain proportional appearance from normal viewing angles. Sophisticated manufacturers use profile warping techniques that preserve visual proportions while respecting structural limitations.
Cross-grain matching at joints becomes especially important for curved installations where multiple pieces meet. Scarf joints connecting beam lengths require angular cutting that maintains grain pattern continuity. Miter joints at radius changes demand precise compound angle calculations that experienced fabricators handle routinely.

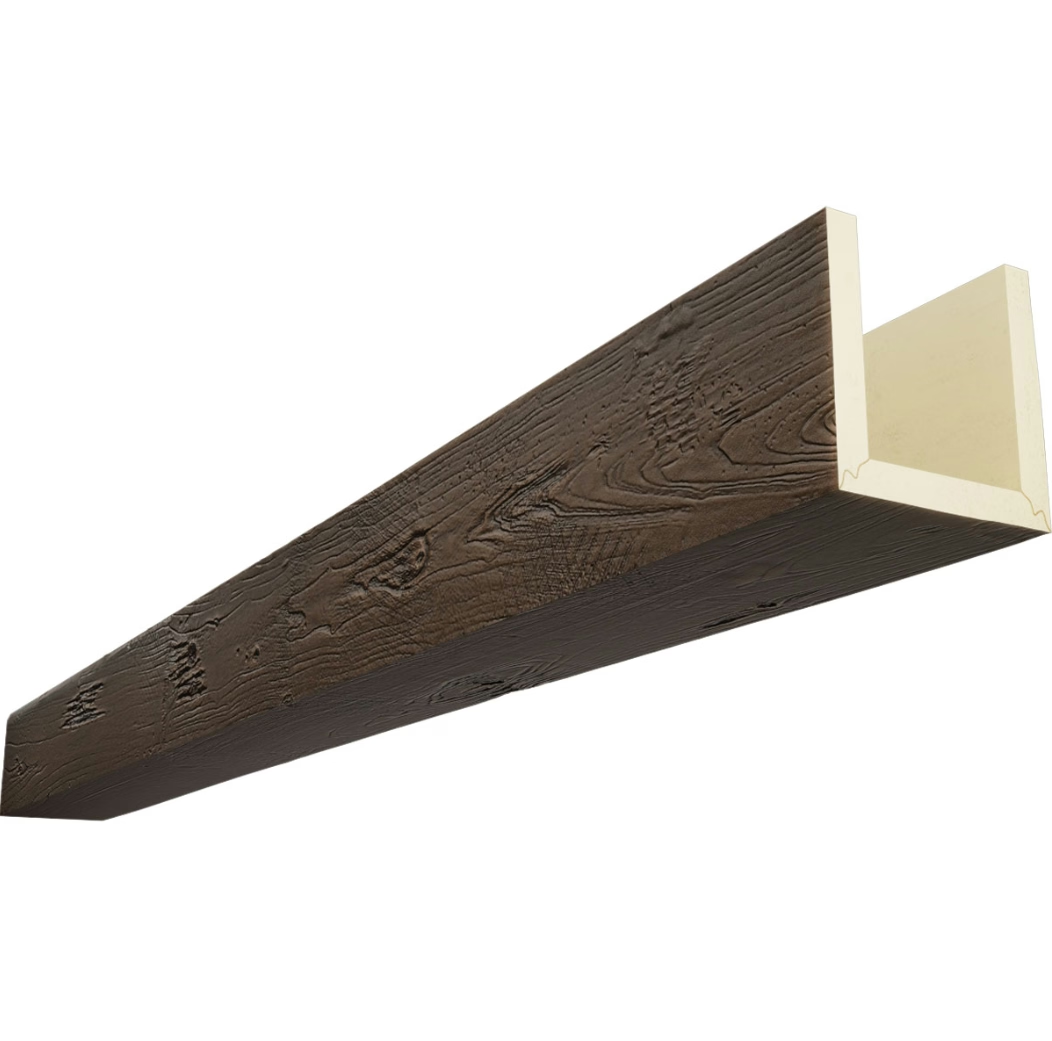
Structural Considerations for Curved Installations
Unlike natural wood that carries inherent structural integrity, polyurethane beams serve purely cosmetic purposes in virtually all installations. This distinction simplifies structural engineering requirements but introduces different installation considerations. Curved beams must follow substrate contours precisely, requiring accurate template creation before fabrication begins.
Support spacing for curved beams depends on substrate material and configuration. Wood and metal framing accommodate standard spacing of 24 to 48 inches between supports, while masonry and concrete surfaces may permit longer spans due to superior fastening options. Installation specifications should address both temporary support during adhesive cure and permanent attachment method selection.
Thermal movement affects curved beams differently than straight sections. The curved geometry provides some inherent resistance to seasonal movement, but adhesive joints still require flexibility accommodations. Quality installations incorporate appropriate gap tolerances and flexible sealant selection that prevents cracking at joints and terminations.
Template Development and Measurement Protocols
Accurate templates form the foundation of successful curved beam fabrication. Digital scanning technology captures complex curved surfaces with millimeter precision, generating data files that manufacturers translate directly into CNC machining instructions. This technology investment pays dividends through perfect fit and reduced installation time.
Manual templating using flexible materials remains viable for simpler curves. Aluminum strips, plywood strips, or specialized template board follow substrate contours, marking reference lines that define the beam's seating surface. Multiple reference measurements ensure templates capture both horizontal and vertical positioning accurately.
Template orientation matters for beams with asymmetric profiles. Determining which surface faces up, down, or toward the viewer ensures fabricated pieces arrive ready for installation without requiring field modifications. Documentation conventions—consistent notation and marking systems—prevent confusion when multiple curved pieces require assembly sequencing.
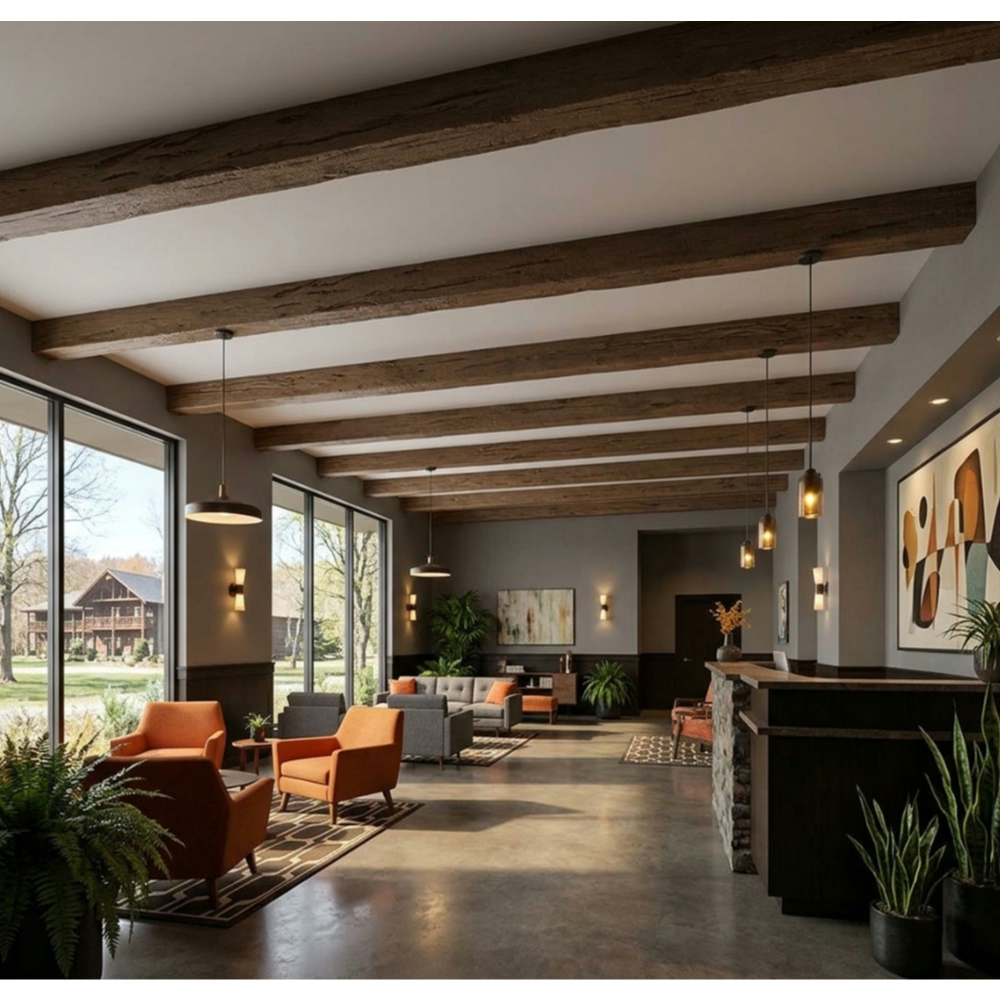
Finish Selection for Curved Applications
Color matching curved beams to existing straight sections requires careful finish planning. Polyurethane accepts stain and paint uniformly across surfaces, but achieving consistent color across different texture depths demands sample testing and adjustment. Curved surfaces reflect light differently than flat planes, sometimes appearing lighter or darker at equal color values.
Texture specification affects finish adhesion and appearance on curved surfaces. Deeply carved textures in curves catch light dramatically, creating shadow patterns that enhance three-dimensional perception. Lighter textures suit contemporary installations where subtle dimension suffices. Finish specifications should reference physical samples that demonstrate texture-color interactions.
Protective coating selection determines long-term appearance retention. UV-resistant topcoats prevent color fading in sun-exposed installations, while moisture-barrier coatings protect against humidity in kitchens and bathrooms. Commercial applications may require additional chemical resistance for spaces cleaned with aggressive products.
Installation Sequence and Technique
Curved beam installation follows different sequencing than straight beam work. Rather than installing sequentially from one end, curved pieces often require strategic starting points that enable smooth progression through complex geometries. Experienced installers mark reference lines and plan entry points before beginning adhesive application.
Adhesive selection and application technique prove especially critical for curved installations. Contact adhesives work well for broad surfaces with uniform contact, while construction adhesives provide gap-filling capability for substrates with minor irregularities. Application patterns should ensure complete coverage without excessive squeeze-out that creates cleanup challenges.
Temporary support systems for curved beams require creative adaptation. Standard bracing techniques designed for straight beams need modification to accommodate curved geometry and irregular substrate contact. Pre-positioning blocking and developing custom support brackets before beginning adhesive work prevents positioning errors that waste materials and time.
Custom curved polyurethane faux wood beams transform ordinary ceiling spaces into memorable architectural features. Successful implementation requires early collaboration between designers, fabricators, and installers, with clear communication of design intent, dimensional constraints, and performance expectations.

Technical References
ASTM standards cited in every specification
Test Data
Lab results from internal testing program
Updated 2026
Reviewed against current product specs


