When projects involve multiple faux beams in repeating patterns, the difference between efficient and frustrating installation often comes down to whether appropriate template jigs have been prepared. These simple but essential tools eliminate repetitive measurement, ensure consistent spacing, and dramatically reduce installation time for ceiling grids, parallel beam arrangements, and symmetrical configurations. Professional installers understand that time invested in jig construction pays back many times over on the first few beams alone.
Understanding When Jigs Provide Value
Template jigs offer the greatest advantage when installation involves three or more beams in repeating configurations. The break-even point depends on jig complexity and the time required for individual measurement versus jig-assisted positioning. For simple parallel beam installations with consistent spacing, even two beams may justify jig preparation if accuracy is critical and measurement errors would propagate across the run.
Ceiling applications with regular grid patterns benefit enormously from template jigs. Cathedral ceilings with parallel beams at consistent intervals, coffered ceiling systems with repeating rectangular formations, and exposed beam trusses all involve geometry that jig templates can replicate perfectly across unlimited repetitions. Each template use delivers the same accuracy as the first, eliminating the drift and cumulative error that plague measured installations.
Feature walls with regularly spaced beams present similar opportunities. Barn-style installations, accent walls with horizontal beam courses, and wainscoting-style horizontal beam arrangements all benefit from jig assistance. The vertical reference that wall mounting provides actually makes jig use more straightforward than ceiling applications, with templates primarily ensuring consistent horizontal spacing.
Jig Design Fundamentals
Effective jigs perform a single function exceptionally well: they locate beam positions accurately without requiring measurement for each placement. This function shapes jig design around three core elements: reference positioning, spacing transfer, and alignment verification. Each element must function reliably under job site conditions that differ significantly from controlled shop environments.
Reference positioning establishes the starting point from which all subsequent positions derive. Floor-to-ceiling laser levels, existing architectural references, or established grid lines provide starting references that jigs incorporate. The jig design must interface clearly with these references, with positioning methods obvious enough that any competent installer can achieve correct placement without special training.
Spacing transfer mechanisms establish the repeating dimension that defines beam centers or edges. Physical stops, adjustable arms, or marked scales provide this function depending on whether the spacing dimension remains fixed or requires adjustment between uses. Fixed-spacing jigs offer maximum simplicity and reliability, while adjustable designs accommodate variations across different project configurations.
Material Selection for Job Site Durability
Jig construction materials must withstand job site handling, temperature variations, and potential moisture exposure. Plywood provides excellent dimensional stability and ease of machining for complex profiles. Medium-density fiberboard offers smoother surfaces and cleaner edges but tolerates moisture less well. Oriented strand board delivers economy for simple jigs where appearance is irrelevant.
Aluminum extrusion systems offer precision and durability for professional installers who use jigs repeatedly. T-slot aluminum framing assembles into rigid structures that maintain accuracy over thousands of uses. Linear guides and positioners from these systems integrate seamlessly, creating jigs that approach CNC accuracy. The initial investment spreads across many projects for installers who maintain active portfolios of beam installation work.
Plastic materials including acrylic and polycarbonate offer transparency that proves valuable for alignment visualization. See-through jigs allow installers to observe substrate conditions beneath the template, identifying mounting obstacles before they cause problems. These materials machine cleanly and resist moisture damage, though they scratch more readily than wood or metal alternatives.
Simple Fence and Stop Systems
The simplest effective jigs consist of nothing more than straight fences that guide saw cuts or positions. A single straight piece of plywood screwed to a workpiece establishes a reference edge that positions subsequent cuts consistently. This approach works perfectly for beams requiring repeated cross-cuts to length, where the fence eliminates repeated measurement of the same dimension.
Stop blocks attached to fences dramatically increase consistency for end cuts. A stop block positioned against the fence face stops the saw at exactly the same position regardless of how the operator approaches the cut. Multiple stop blocks positioned along fences accommodate different beam lengths within the same setup, enabling efficient production runs that mix various required lengths.
Cross-cut sleds for table saws represent specialized jigs optimized for production cutting. A sled rides in saw table tracks while a stop fence positions workpieces for each cut. The fixed relationship between stop and saw blade ensures identical cuts across unlimited repetitions. Commercial cross-cut sleds offer excellent accuracy, though custom sleds can match their performance at lower cost.

Layout Templates for Ceiling Grids
Ceiling grid installations require templates that establish the entire pattern before any beams are mounted. Large-format templates spanning significant ceiling areas prevent measurement accumulation that would create visible misalignment across the finished installation. These templates typically construct from lightweight materials that span between wall references without sagging.
Grid templates must account for edge conditions where beams terminate at walls rather than intersecting with adjacent beams. Running a full grid pattern to walls may place beam ends at awkward positions unless the grid spacing divides evenly into the ceiling dimension. Templates can incorporate partial-spacing features at edges, or installers may accept end conditions that templates document accurately.
Centerline guides running the full length of ceiling installations prove invaluable for parallel beam layouts. These guides mount at ceiling height with laser-verified positioning, providing constant reference for each beam placement. Temporary guide wires stretched between reference points offer another approach for very long runs where dimensional stability over distance becomes a concern.
Assembly Jigs for Complex Connections
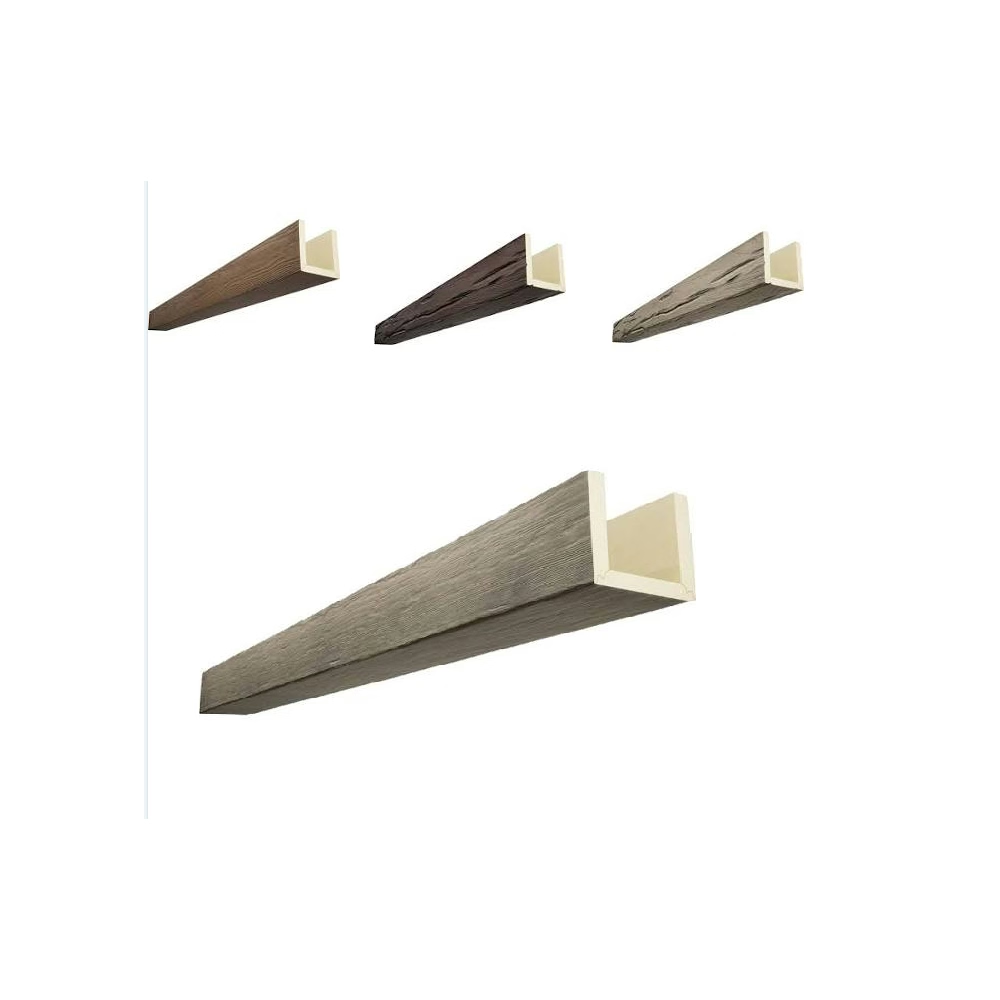
Beams requiring assembly from multiple pieces—craftsman-style box beams, U-shaped beams enclosing structural members, or built-up profiles achieving larger dimensions—benefit from assembly jigs that hold components during adhesive cure. These jigs must hold pieces under pressure while adhesives set, maintaining alignment through the entire cure cycle without causing stress or distortion.
Clamping strategies for assembly jigs balance pressure distribution with access for application and cleanup. Continuous pressure along joints requires distributed clamping rather than point loading that might distort profiles. Sacrificial backing strips spread clamping forces while protecting visible surfaces from clamp marks. Quick-release clamps enable efficient cycling through multiple assemblies.
Verification fixtures check assembled dimensions against specifications before adhesive fully cures. Square-checking devices confirm 90-degree angles at corners, while length gauges verify total assembled dimensions. Catching dimensional errors before cure allows correction; finding errors after cure typically requires scrapping the piece entirely.
Position Marking Systems
Some installers prefer template systems that mark positions rather than physically locating beams. Chalk lines snapped at ceiling reference points establish beam centerlines for entire ceiling areas. These lines remain visible throughout installation, providing constant reference without requiring template manipulation for each beam.
Masking tape applied to ceiling surfaces creates temporary reference systems that prove remarkably effective. Tape strips mark fastener locations, centerline positions, and spacing intervals. The temporary nature of tape references suits job site conditions where permanent markings would require later removal. Pattern tape applications establish repeating reference systems across large areas efficiently.
Sticky-back template materials from manufacturers enable quick application of repeating patterns to substrates. These pre-made templates match specific beam profiles and spacing configurations, accelerating setup for common installations. Custom template production services create application-specific versions for unusual configurations.
Transport and Storage Considerations
Workshop-built jigs require transport systems that protect precision features during site movement. Plywood stiffeners prevent racking during transport, while padded compartments in tool chests protect delicate components. Organized storage systems keep jig components together and readily accessible when needed, preventing time wasted searching for separated pieces.
Heavy jigs spanning large ceiling areas present particular transport challenges. Modular designs that disassemble into manageable sections solve transport problems while requiring assembly at the job site. This approach sacrifices some convenience but makes large-format jigs practical for projects beyond workshop access.
Maintenance practices keep jigs accurate throughout their service lives. Regular verification against reference standards identifies wear or damage before it causes defective work. Tightening loose joints, replacing worn reference surfaces, and adjusting degraded position markers maintains original accuracy. Professional jig care reflects the investment in original construction and extends useful service life significantly.

Jig Making Workflow Optimization
Efficient jig construction follows systematic workflows that minimize wasted material and labor. Project-specific jigs receive design attention early enough to support ordering decisions for special materials. General-purpose jigs accumulate on jig shelves, available for any project that needs them without requiring new construction.
Documentation of jig designs enables reconstruction if jigs become lost or damaged. Photographs, dimensioned sketches, and materials lists preserve design information efficiently. Computer-aided design files create permanent records for complex jigs while enabling modifications for variant applications.
The best installers maintain extensive jig libraries accumulated through years of project experience. These libraries represent accumulated knowledge about what works, refined through countless repetitions and continuous improvement. Sharing jig designs among installer networks accelerates learning and elevates industry practice overall.
Template jigs transform repetitive faux beam work from tedious measurement into efficient production. The investment in jig design and construction pays returns through improved accuracy, reduced installation time, and consistent quality across project runs. Professional installers recognize jigs as essential tools rather than optional accessories, maintaining comprehensive jig systems for every common configuration their work encounters.
Technical References
ASTM standards cited in every specification
Test Data
Lab results from internal testing program
Updated 2026
Reviewed against current product specs


