Temporary support during adhesive curing represents one of the most critical—and often overlooked—steps in decorative beam installation. Premature removal of support equipment ranks among the leading causes of adhesive failure, creating callbacks and repair work that damage reputations and erode margins. Understanding proper temporary support technique separates professional installations from amateur attempts.
Understanding Adhesive Cure Dynamics
Construction adhesives require specific time and conditions to achieve full bond strength. Initial set times—the period when handling strength develops—typically range from 15 minutes to several hours depending on formulation and environmental conditions. Full cure strength, however, may require 24 to 72 hours depending on product and conditions.
Temperature affects cure rates significantly. Warmer conditions accelerate adhesive chemistry, while cold temperatures slow reactions dramatically. Some products stop curing entirely below 40°F, then resume when temperatures rise. Understanding these dynamics informs support duration decisions that ensure adequate strength development before loading.
Humidity influences certain adhesive chemistries, with polyurethane formulations particularly affected by moisture availability. Very dry conditions may slow cure while moderate humidity accelerates reaction. Most interior spaces provide adequate humidity for reliable curing, though extreme climate conditions warrant attention.
Support Spacing and Load Calculations
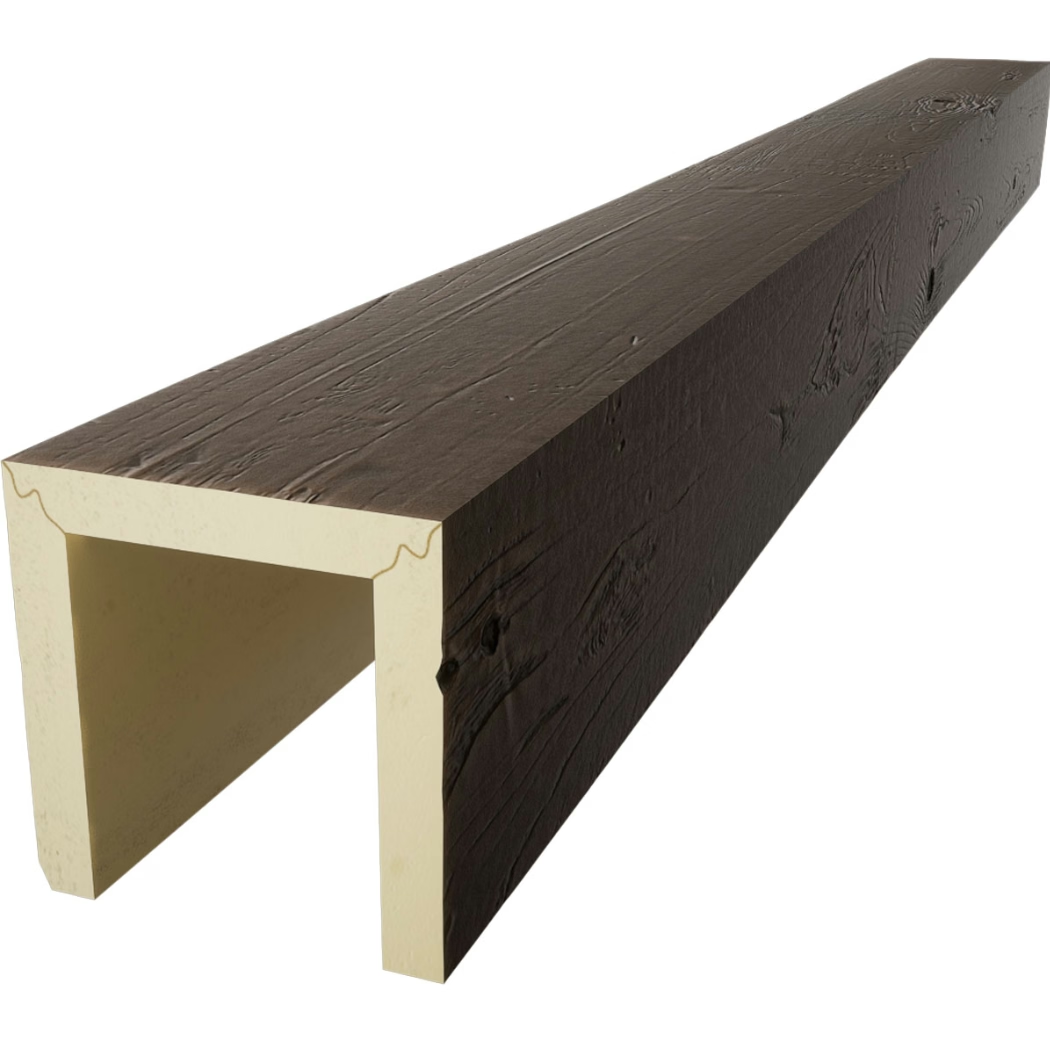
Beam weight determines the load that temporary supports must carry. Polyurethane beams typically weigh 1-3 pounds per linear foot, modest loads easily handled by properly positioned supports. Calculating total beam weight helps determine adequate support number and positioning.
Support spacing depends on beam length and adhesive open time. Longer beams require intermediate supports to prevent sagging during cure, while shorter pieces might only need end supports. Professional installers mark support positions before beginning adhesive application, enabling efficient work flow once materials are ready.
Load distribution through supports requires attention to substrate conditions. Supports must bear against structural elements capable of carrying imposed loads without deflection. Drywall alone cannot support meaningful loads without backup framing or specialty anchors rated for the loads involved.


Support Equipment Options
Adjustable jack systems provide the most versatile temporary support capability. Collapsible supports extend from floor to ceiling, with adjustable heads that accommodate various ceiling heights. Load ratings typically range from 100 to 500 pounds, far exceeding requirements for decorative beam installations while providing safety margins.
Forked support heads cradle beams securely during cure period. Round heads fit beam undersides, while flat heads accommodate square profile beams. Selecting appropriate head style prevents beam damage while providing stable support surfaces that resist lateral displacement.
Pipe supports offer lightweight alternatives for accessible locations. Schedule 40 steel pipe with threaded connections creates adjustable supports for standard ceiling heights. Though heavier than aluminum alternatives, steel pipe supports provide robust stability in tight spaces where jack positioning proves challenging.
Technique for Horizontal Beam Installation
Positioning sequence for horizontal beams begins with marking ceiling locations. Chalk lines or painter's tape create visual references for beam alignment, preventing positional errors that waste materials and time. Marking also identifies support positions where bracing will contact surfaces.
Pre-positioning temporary supports before adhesive application enables rapid beam placement once materials are ready. Installing supports with adjustment margins allows fine-tuning after beam positioning, compensating for minor measurement variations or substrate irregularities. Leaving supports slightly loose enables final positioning before tightening.
Adhesive application patterns should ensure complete coverage without excessive squeeze-out. Continuous bead application along mounting surfaces, with additional coverage over fastener locations, provides both bonding surface and mechanical interlock. Reading manufacturer instructions for specific products ensures proper application rates and patterns.
Technique for Vaulted and Angled Installation
Vaulted ceiling beam installations require support approaches adapted to slope geometry. Standard vertical supports won't work where ceilings slope, requiring angled bracing or suction devices that attach to beam surfaces. Planning support access before beginning installation prevents frustration during critical cure period.
Friction supports using padded contact surfaces prevent beam sliding during adhesive cure. Applied against beam sides rather than undersides, these supports counteract gravity's component along the slope while adhesive develops strength. Multiple friction supports spaced along beam length prevent cumulative sliding that could create misalignment.
Temporary mechanical fasteners supplement adhesive bonding for angled installations. Finishing nails or screws driven into accessible substrate provide immediate mechanical attachment that maintains position while adhesive cures. Fill holes with matching wood filler after cure completion for invisible appearance.
Support Removal and Quality Verification
Gradual support removal after adequate cure time prevents shock loading. Removing all supports simultaneously creates sudden load transfer that stressed adhesive bonds may not accommodate. Staged removal over several hours provides gradual transition to self-supporting status.
Visual inspection after support removal confirms successful installation. Listening for creaking or popping sounds indicates adhesive failure in progress, requiring immediate remedial action before conditions worsen. Physical testing with gentle pressure confirms beams remain securely bonded.
Documentation of cure times and conditions provides reference for future maintenance or repair work. Recording adhesive products used, environmental conditions during cure, and support duration helps diagnose any future problems while providing verification for warranty claims if needed.
Professional temporary support technique ensures decorative beam installations perform reliably throughout their service lives. This attention to installation fundamentals distinguishes quality work that builds reputations from hasty installations that generate callbacks.

Technical References
ASTM standards cited in every specification
Test Data
Lab results from internal testing program
Updated 2026
Reviewed against current product specs


