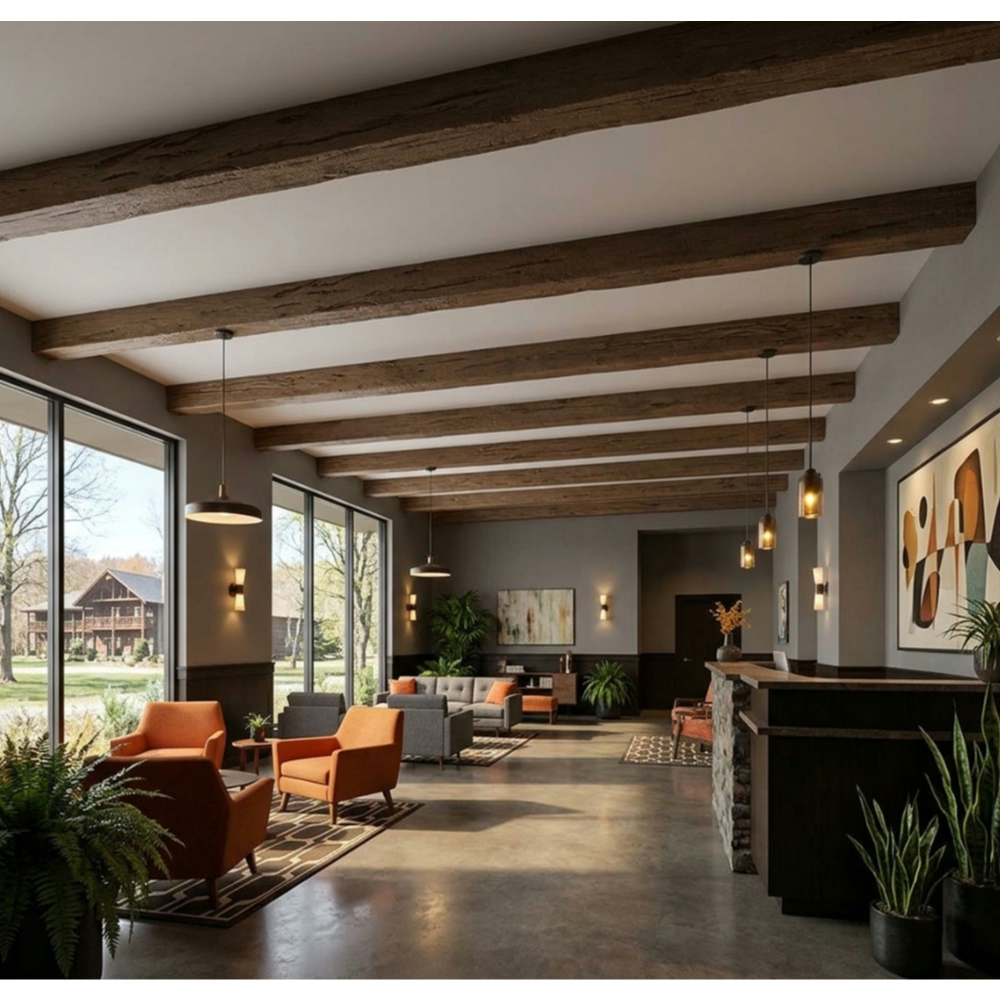
The most successful interior design projects often demonstrate restraint rather than excess, choosing where to invest visual impact and where to maintain simplicity. Partial ceiling treatments embody this philosophy perfectly—adding architectural interest exactly where it serves the design while leaving remaining ceiling areas open and unobstructed. Three-sided wrap faux wood beams enable this selective approach, treating only designated ceiling zones while preserving the benefits of open construction throughout.
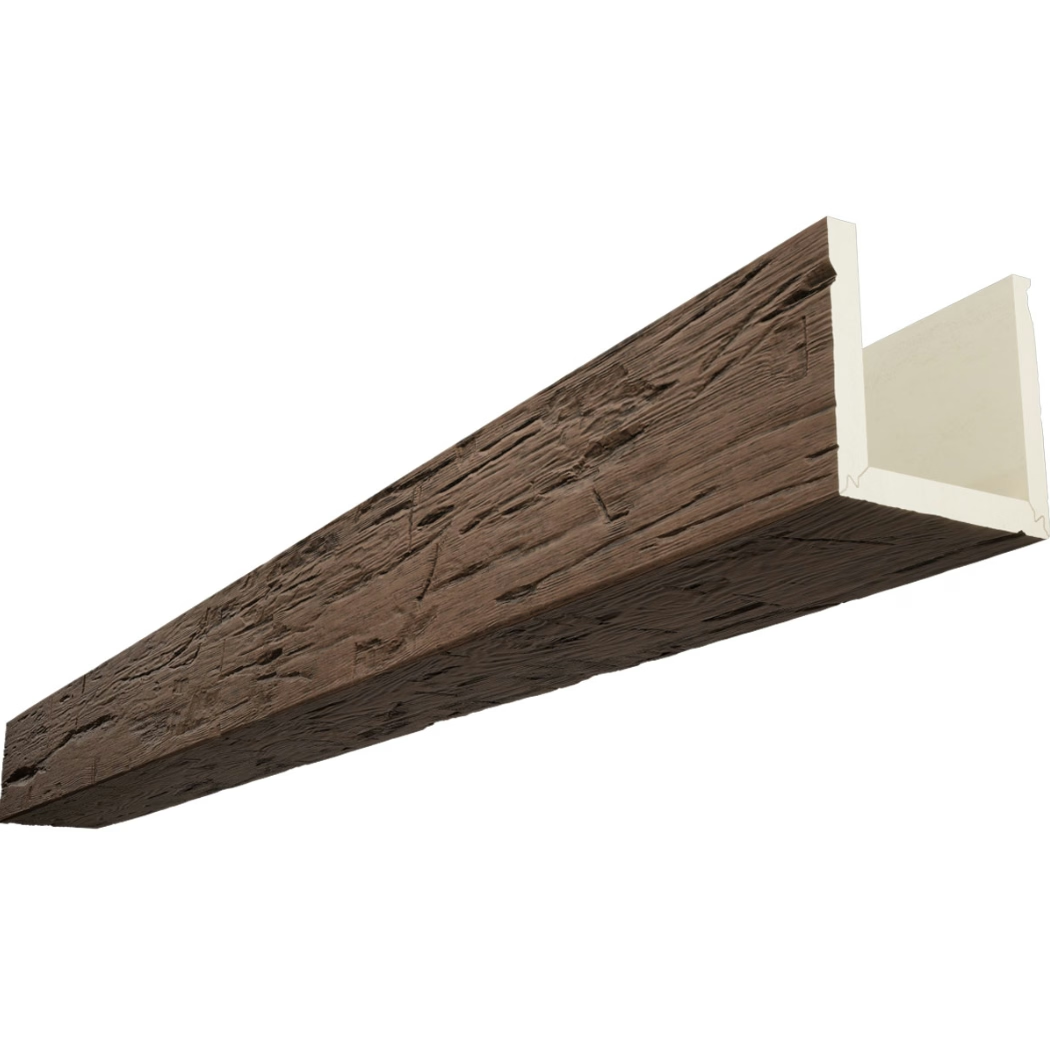
Wrapping an existing beam differs fundamentally from installing a freestanding beam. The three-sided profile acknowledges this reality, creating a product specifically engineered for covering rather than spanning. This engineering distinction translates to practical advantages: lighter weight, simpler attachment, reduced cost, and easier handling during installation. The beam wraps around existing structure rather than competing with it, creating the appearance of integrated architectural design rather than obviously installed decoration.
Design Philosophy Behind Partial Ceiling Treatments
Partial ceiling treatments work through strategic contrast and careful placement rather than comprehensive coverage. A long run of beams across a vaulted ceiling's center draws the eye upward and establishes visual rhythm without overwhelming the space. Adjacent open ceiling areas maintain the sense of height and airiness that vaulted construction provides, creating a balanced composition where decorated and undecorated areas enhance each other. The principle applies equally in standard-height rooms, where partial treatment prevents the claustrophobic heaviness that continuous beam coverage sometimes creates.
Scale relationships between decorated and undecorated zones require thoughtful consideration. Treating only one direction in a room—typically the primary sight line from the main seating area—creates a directional quality that guides circulation and focuses attention. Treating both directions in perpendicular runs creates grid-like patterns suitable for formal spaces or those wanting more architectural weight. Asymmetric treatment in non-standard directions appeals to contemporary sensibilities, adding visual interest through unexpected geometry.
The transition between treated and untreated ceiling areas deserves attention during design development. Abrupt terminations can appear awkward, while gradual transitions risk visual confusion. Designers often incorporate transitional elements—partial beams, smaller accent beams, or different treatment types—at boundaries between decorated and open zones. These transitional elements ease the visual shift while adding compositional complexity that rewards extended viewing.
Technical Advantages of Wrap-Around Design
The wrap-around geometry of three-sided beams provides installation benefits that translate to real-world project advantages. By eliminating the bottom panel that would never contact existing structure, manufacturers reduce both material costs and shipping weights. These savings pass to customers through competitive pricing while simultaneously reducing the physical challenge of installation. A twelve-foot three-sided beam might weigh fifteen pounds versus over one hundred pounds for an equivalent solid wood beam.
The open profile also simplifies connection to existing structure. Installers access all mounting surfaces from below without working through narrow gaps or awkward angles. Construction adhesive spreads evenly across inner surfaces, mechanical fasteners locate easily, and visual verification of proper contact remains straightforward throughout installation. This accessibility reduces installation time significantly compared to solid beam mounting, with corresponding reductions in labor costs for professional installations.
Thermal and acoustic properties benefit from the hollow construction as well. The air space within three-sided beams provides a buffer zone between conditioned interior spaces and unconditioned attic areas above. While not a replacement for proper insulation, this buffer reduces thermal transmission through beam elements. The hollow construction also absorbs some sound transmission, though the acoustic benefit remains modest compared to dedicated acoustic treatment.
Material Selection and Quality Considerations
Polyurethane faux beams span a wide quality range depending on manufacturer and production methods. Premium products begin with high-density polyurethane that resists impact damage and maintains dimensional stability over decades of service. Lower-quality alternatives may use less expensive formulations that dent easily, yellow with UV exposure, or develop surface crazing over time. The initial cost difference between quality tiers often proves modest compared to the long-term cost of replacement or repair.
Surface texture quality varies substantially across manufacturers. The best products capture wood grain detail with remarkable fidelity, including subtle variations that read as authentic weathering rather than manufactured repetition. Budget products often display obviously repeating patterns, perfect uniformity that no real wood possesses, or shallow texture that fails to cast meaningful shadows. Requesting samples before large orders allows verification that product quality matches expectations and project requirements.
Finish durability depends on both the polyurethane formulation and the finishing system applied. Factory-applied finishes typically outperform field-applied alternatives because manufacturers control application conditions precisely and use industrial finishing systems designed for polyurethane substrates. The finish should resist scratching, moisture, and common household chemicals without damage. Verify warranty coverage for finish durability, as this indicates manufacturer confidence in their product's long-term appearance.

Planning and Measuring for Successful Projects
Accurate measurement forms the foundation of successful partial ceiling beam installations. Begin by mapping the ceiling precisely, identifying all areas intended for treatment and those remaining open. Note the location of all ceiling fixtures, electrical boxes, vents, and any other penetrations that beams must accommodate. Photographs from multiple angles provide reference material that proves invaluable during installation and any future maintenance.
Beam length calculations must account for more than simple span measurements. Beams typically terminate at walls or at perpendicular beam intersections, requiring cut angles that affect total material requirements. A beam running at forty-five degrees to a perpendicular wall requires additional length beyond the simple diagonal measurement. Professional installers calculate these requirements carefully, accounting for both length and angle; DIY homeowners benefit from supplier consultation or professional measurement services.
Spacing between parallel beams determines the visual rhythm of completed installations. Even spacing creates formal, predictable patterns suitable for traditional interiors. Varied spacing—sometimes called "relaxed" or "casual" spacing—creates more dynamic compositions appropriate for contemporary or transitional spaces. The spacing-to-beam-width ratio affects overall visual density; tighter spacing with narrower beams creates different character than wider beams with more generous spacing. Designers often create scale drawings or digital visualizations before committing to specific spacing decisions.
Common Installation Mistakes and How to Avoid Them
The most frequent installation error involves inadequate surface preparation. Existing beams must be clean, dry, and free of anything that might compromise adhesive bonding. Dust, oil, old paint, and surface moisture all reduce bond strength and may cause premature failure. Spending extra time on preparation prevents callbacks and repairs that cost more than the original time investment.
Alignment errors compound throughout installations, making reference marks essential. A beam offset by a quarter inch at the starting point becomes increasingly apparent over a long run, potentially ending with beams visibly misaligned at the far wall. Using chalk lines or laser levels to establish reference planes prevents cumulative alignment errors. Temporary fasteners or supports maintain alignment during adhesive cure, preventing drift or settling that might otherwise occur.
Rushing adhesive cure time causes problems that often become apparent only months later. Loads applied before full cure stress the adhesive bond, potentially causing gradual separation that becomes visible later. Following manufacturer cure time recommendations—typically forty-eight hours for full strength—ensures bonds develop their rated strength. If project schedules cannot accommodate full cure, mechanical fasteners can provide temporary support until adhesive cures, but adhesive alone should never be trusted before reaching full strength.
Technical References
ASTM standards cited in every specification
Test Data
Lab results from internal testing program
Updated 2026
Reviewed against current product specs


