The weekend renovation movement has found an unlikely hero in polyurethane ceiling beams. What once required professional contractors, specialized equipment, and multi-day timelines now fits comfortably into a Saturday afternoon project. This democratization of sophisticated interior design represents a significant shift in how homeowners approach ceiling aesthetics.
Sarah Chen approached her basement renovation with understandable skepticism when her contractor suggested polyurethane beams for the exposed ceiling. Having spent weekends wrestling with heavy timber options at her parents' cabin, she expected difficult installation and disappointing results. The actual experience surprised her completely: beams that lifted with one hand, cut with her existing circular saw, and mounted using hardware she already owned.
Why Homeowners Are Choosing Faux Beams for Weekend Projects
The psychology of DIY projects significantly impacts completion rates and satisfaction. Projects that seem intimidating before starting often get abandoned halfway through, leaving homeowners with half-finished rooms and wasted materials. Polyurethane beams eliminate the intimidation factor that makes ceiling work seem daunting to non-professionals.
Physical limitations that prevent some homeowners from tackling ceiling work disappear with lightweight materials. Arm fatigue that would make handling 200-pound timber beams impossible becomes irrelevant when the same visual impact comes from a 20-pound alternative. This accessibility opens ceiling renovation possibilities to older homeowners, people with physical limitations, and anyone who values working within their comfortable physical envelope.
Storage and handling convenience matters more than many people anticipate until they experience the alternative. Authentic timber beams require delivery trucks, extended storage areas, and careful handling to prevent damage during transport. Polyurethane products arrive in manageable lengths that fit through doorways, can be carried by one person, and store without warping or moisture concerns.
The clean working environment that polyurethane installation provides appeals to homeowners who want their living spaces to remain livable during renovation. Traditional woodworking generates significant sawdust, requires ventilation for finishing fumes, and leaves behind wood chips that seem to spread throughout the entire house. Faux beam installation produces minimal waste and requires no finishing work on-site.

Essential Tools and Preparation for First-Time Installers
Successful DIY beam installation begins with accurate measurements and thoughtful planning rather than specialized equipment. A measuring tape, level, stud finder, and basic hand tools represent the complete toolkit most installations require. Homeowners with these items already in their garages can proceed without additional purchases.
Understanding ceiling construction guides mounting decisions throughout the installation process. Identifying joist locations enables secure attachment points, while recognizing electrical wiring routes prevents potential hazards. Most modern homes present straightforward ceiling environments, though older properties may require additional investigation before drilling begins.
Material calculation requires accounting for both visual coverage and structural requirements. The spacing between beams affects the overall aesthetic significantly; tighter spacing creates a more traditional look while wider gaps produce contemporary drama. Professional designers often recommend spanning the shorter dimension of a room for the most pleasing visual proportions.
Testing fit before committing to adhesive or permanent fasteners allows adjustments that improve final results. Positioning beams temporarily, stepping back to evaluate appearance from multiple angles, and making refinements before bonding ensures satisfaction with the finished installation. This iterative approach works particularly well in open-plan spaces where beams connect multiple room areas.
Step-by-Step Installation Process
The mounting process typically follows a consistent sequence regardless of specific beam style or room configuration. Initial setup involves establishing reference lines that guide accurate beam positioning throughout the installation. Laser levels have become affordable enough that most DIYers can invest in one for improved accuracy compared to traditional bubble levels.
Joist attachment points receive marking and, where necessary, pilot holes before beam positioning. This preparation prevents the frustration of misaligned fastener locations once a beam is held in position. For adhesive mounting systems, surface preparation ensures maximum bond strength: clean, dry, dust-free surfaces that will support the adhesive attachment.
Beam placement proceeds from one end of the room toward the other, maintaining consistent spacing and alignment throughout. Having a helper for this phase makes the work easier and more accurate, though strategic use of temporary supports allows determined solo installers to achieve professional results. Some homeowners use adjustable painting poles or temporary cleats to hold beams while completing the fastening process.
Decorative elements like corbels, brackets, and end caps add the finishing touches that elevate installation quality. These accessories often define the visual character of the beam installation more than the beams themselves. Careful alignment and secure attachment ensure these elements remain stable and contribute their intended aesthetic effect.
Corner treatments require particular attention in rooms where beams change direction. Mitered cuts create clean joints when beams meet at angles, while butt joints with decorative trim offer an alternative approach that some homeowners find easier to execute. Either technique produces acceptable results with patient measurement and careful cutting.
Common Challenges and How Experienced DIYers Address Them
Out-of-level ceiling surfaces create alignment challenges that can frustrate inexperienced installers. Rather than attempting to correct ceiling deficiencies, professional installers often work with the existing plane, using shims behind beam ends to maintain level appearance where necessary. This approach acknowledges that perfect ceiling surfaces are rare in existing construction.
Obstructions like ceiling lights, fans, and HVAC registers require custom cutting that tests DIY abilities. The solution involves careful template making before cutting, working from paper patterns rather than attempting precise measurements directly on the beam material. Template methods allow refinement before committing to cuts that cannot be reversed.
Paint matching between beams and existing woodwork occasionally presents challenges despite manufacturer color consistency. Homeowners should purchase all required beams from the same production batch when possible, accepting the slight variation between batches that affects even factory-finished products. Minor touch-ups with artist's brushes and carefully matched paint handle most visible transitions.
Gaps between beams and ceiling surfaces that develop after installation usually indicate settling rather than installation errors. Small gaps under 1/8 inch typically accept caulking without further intervention, while larger separations may indicate mounting points requiring reinforcement. Most gap issues become less noticeable over time as homeowners' eyes adjust to the new ceiling environment.
Achieving Professional-Quality Results
The difference between amateur and professional installations usually lies in details rather than fundamental techniques. Consistent spacing demonstrates careful planning and measurement. Clean joints and transitions reflect patient attention to cutting accuracy. Secure attachment throughout ensures that beams remain stable regardless of normal household activities.
Lighting evaluation significantly impacts how installations are perceived. Beams cast shadows differently depending on light source positions, and shadows that seem dramatic in afternoon light may appear flat under overhead fixtures. Professional designers photograph their installations under multiple lighting conditions to evaluate visual impact comprehensively.
Photographic documentation also serves a practical function during warranty periods. Clear images showing installation quality, attachment method, and product identification simplify any future warranty claims or replacement ordering. Homeowners who document their installations thoroughly find subsequent purchases and support interactions much smoother.
The sense of accomplishment that comes from completing a professional-quality installation yourself represents an often-overlooked benefit of the DIY approach. Walking through a room you transformed over a weekend, knowing every fastener location and technique applied, creates satisfaction that hiring professionals simply cannot match.
Maintaining Your Finished Installation
Polyurethane beams require minimal maintenance compared to natural wood alternatives. The material resists moisture absorption, preventing the biological degradation that affects authentic timber in humid environments. Bathrooms and kitchens where natural wood would require vigilant moisture management remain benign environments for polyurethane products.
Surface cleaning involves nothing more than routine dusting and occasional wiping with a damp cloth. Harsh chemical cleaners are unnecessary and potentially harmful; mild soap solutions handle most cleaning requirements effectively. The smooth surface of factory-finished polyurethane repels dust and resists staining better than textured natural wood.
Impact damage, while possible, rarely produces the catastrophic results associated with natural wood. Polyurethane's slightly yielding character absorbs moderate impacts without cracking or splitting. Any surface scratches that do occur can be refinished with fine sandpaper and touch-up coating, restoring appearance without professional intervention.
Long-term appearance retention represents one of polyurethane's most significant advantages over natural wood. UV-stable formulations resist the yellowing and surface degradation that affect painted wood beams. The consistent color throughout the material depth means that any damage penetrating the surface layer reveals the same appearance as the original surface, unlike wood where damage exposes contrasting inner material.

Planning Your Own Ceiling Renovation Project
Successful DIY ceiling renovations begin with honest assessment of your skills, available time, and project complexity. Simple straight-run installations in single rooms present manageable challenges for first-time DIYers. Complex multi-room configurations with corners, transitions, and custom cutouts may benefit from professional consultation even if you ultimately complete the work yourself.
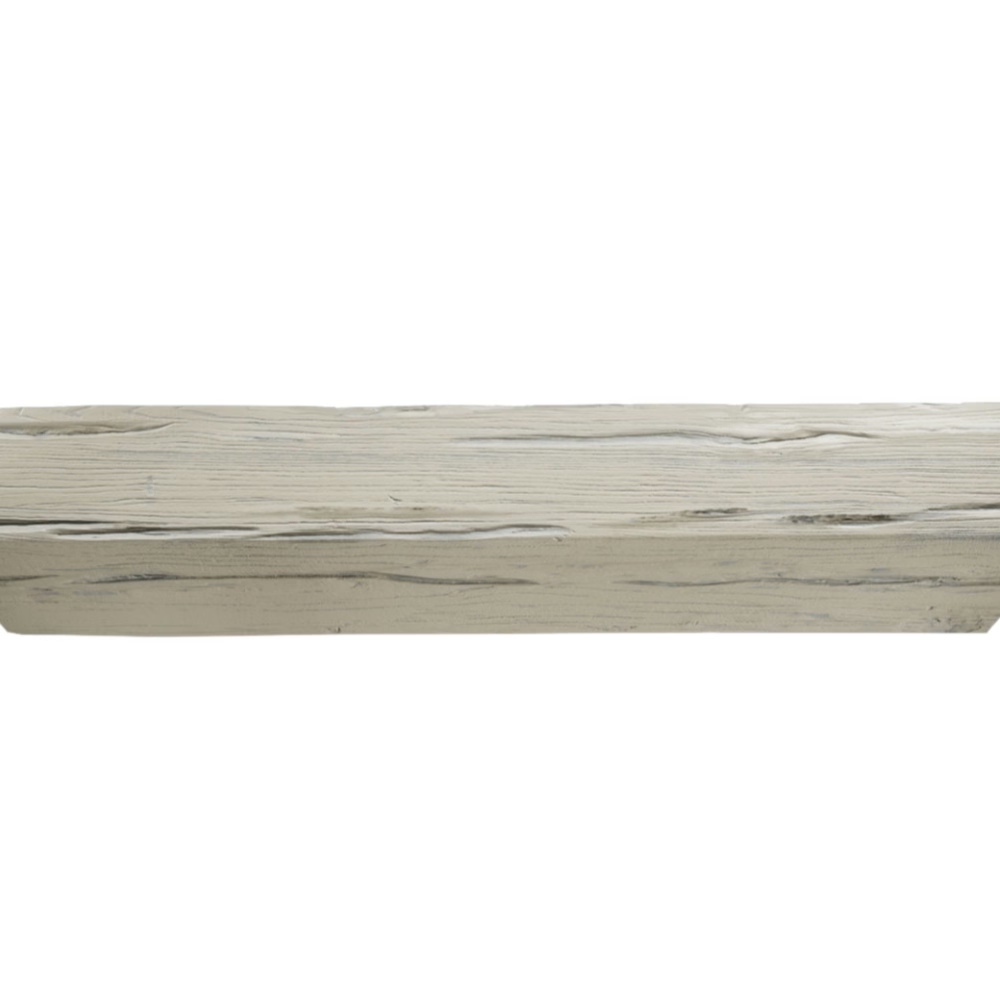
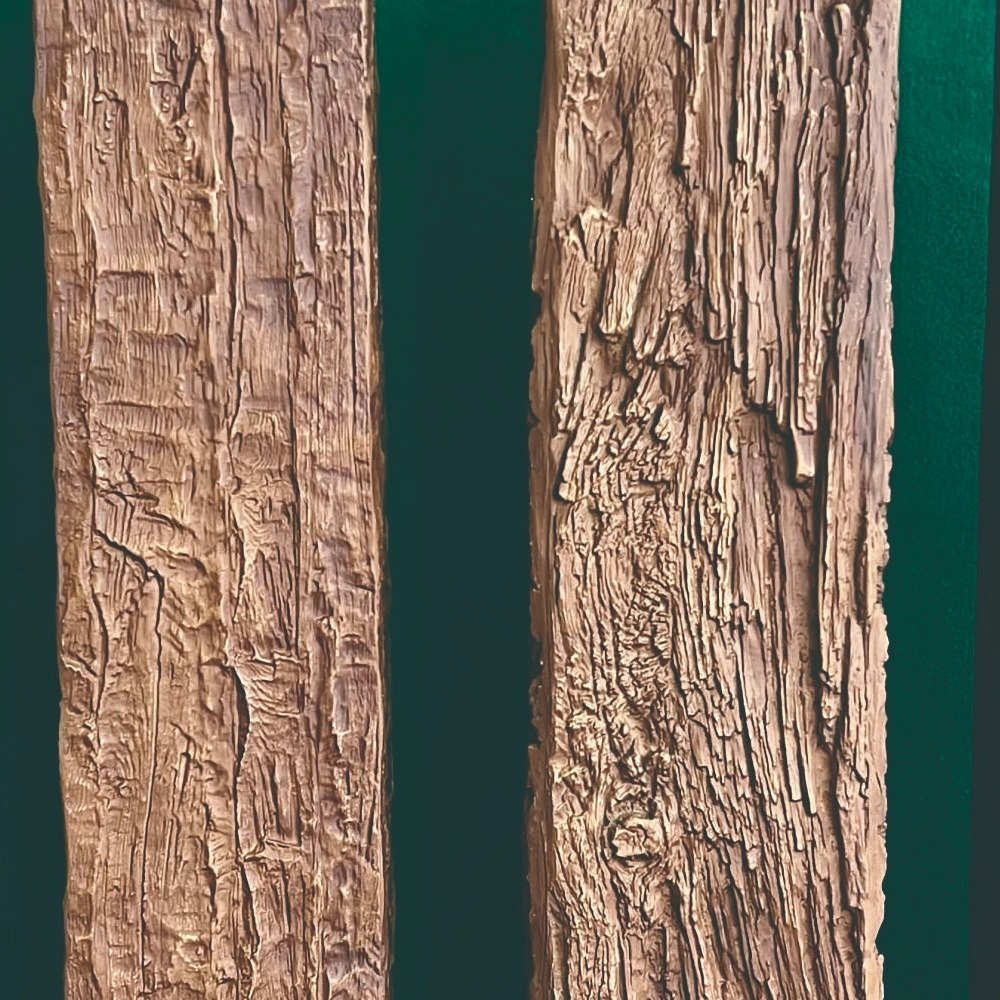
Material selection deserves careful attention before purchase. The range of available polyurethane beam styles spans rustic reclaimed wood replicas through sleek contemporary profiles. Walking showrooms and viewing installed examples in person provides valuable insight that photographs cannot convey, revealing texture quality, color subtlety, and dimensional accuracy that influence final satisfaction.
Budget planning should account for the complete project scope including mounting hardware, adhesive where applicable, finishing materials, and any tools that might require purchase. The total project cost frequently differs from material-only estimates, though polyurethane installations still typically cost a fraction of professional authentic wood installations.
Timeline estimation helps manage expectations and reduces the frustration that arises from unrealistic scheduling. While individual beam installation takes only minutes, the complete project including planning, preparation, installation, and finishing touches may span multiple weekends. Building buffer time into your schedule accommodates unexpected discoveries, weather-related delays for any exterior work, and the learning curve that affects every DIY project.
The polyurethane beam industry has matured to support the DIY market specifically. Manufacturer technical support, online installation videos, and detailed instructions accommodate homeowners tackling their first ceiling renovation. This support infrastructure, combined with genuinely user-friendly products, has made sophisticated ceiling design accessible to anyone willing to invest a weekend transforming their space.
Technical References
ASTM standards cited in every specification
Test Data
Lab results from internal testing program
Updated 2026
Reviewed against current product specs


