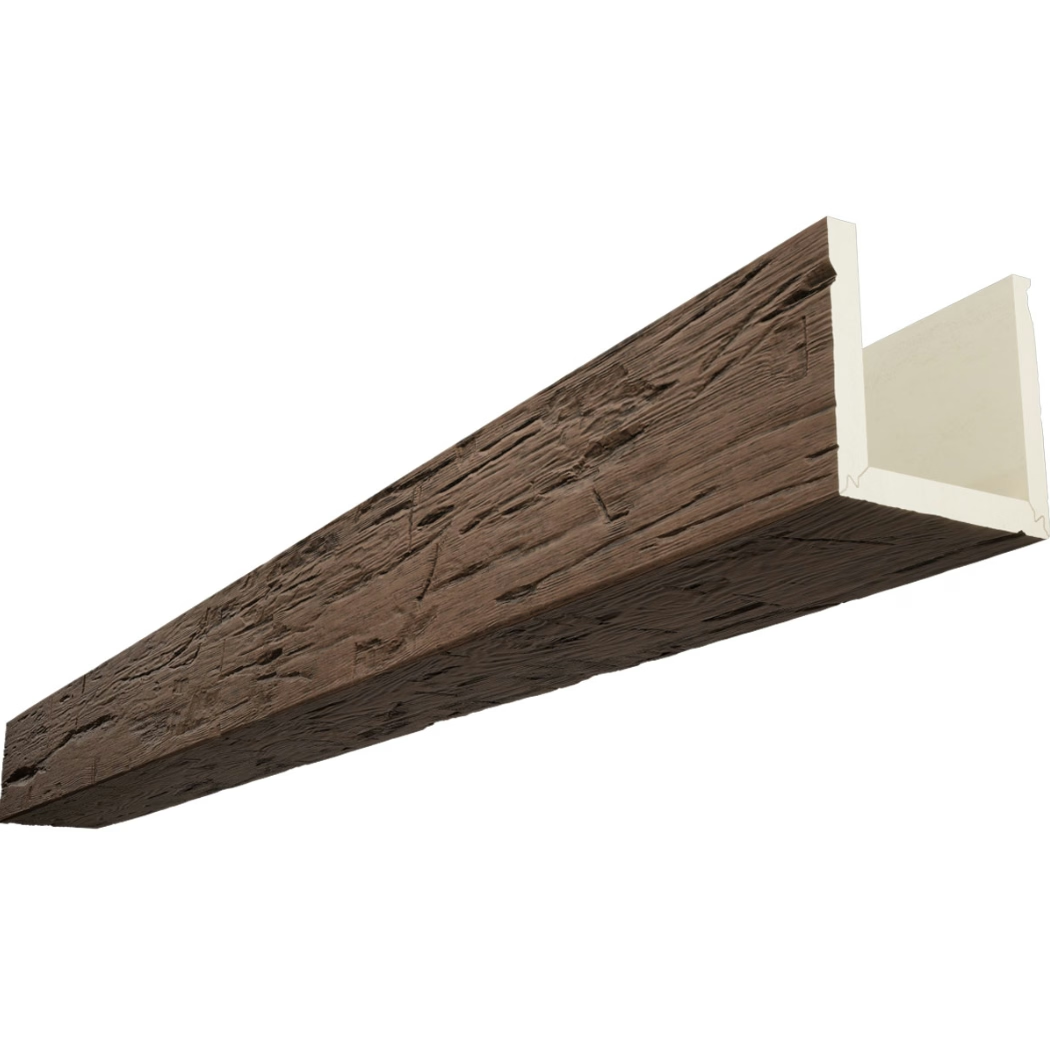
The desire to personalize living spaces drives enormous activity in home improvement markets. Homeowners invest significant effort and expense creating environments that reflect their individual tastes rather than accepting whatever builders or previous owners provided. Ceiling beams offer substantial opportunity for personalization, yet most finished products constrain options to whatever manufacturers have chosen to offer. Unfinished blank PU faux beams eliminate these constraints, providing pristine surfaces that accept paint, stain, and other finishes to create truly one-of-a-kind installations.
The Appeal of Unfinished Surfaces
Most manufactured products present buyers with finished options—specific colors, textures, and appearances determined by production decisions made before the product reaches the customer. While these finishes often achieve high quality and suit many applications, they inherently limit creative expression to what exists in available inventory. Unfinished blank products reverse this equation, putting finish decisions entirely in the hands of the ultimate user.
The blank surface itself represents a carefully engineered product despite its unfinished designation. Surface texture must be appropriate for the finishing methods intended—smooth enough for paint applications, yet capable of accepting stain penetration if that approach is preferred. Density and hardness must support sanding, filling, and other preparation activities without compromising the structural integrity that makes these products practical for ceiling installation.
Physical dimensions of blank products must accommodate the material removal that finishing processes typically involve. Sanding removes surface material; each coat of finish adds thickness that might affect fit in installed applications. Quality manufacturers account for these factors in theirblank product designs, providing surfaces with adequate material for normal finishing activities without creating pieces so thick that installation becomes complicated.
Preparation Before Painting or Staining
Proper preparation determines the quality of finished results more than the finish materials themselves or the techniques applied. Taking time to prepare blank surfaces thoroughly always produces better outcomes than rushing this phase, regardless of how skilled the application technique might be.
Initial inspection identifies any surface imperfections that require attention before finishing begins. Small voids, mold marks, or surface irregularities that might be acceptable in textured finished products become problematic when smooth paint finishes will be applied. These imperfections can typically be filled with appropriate patching compounds, sanded smooth once cured, and made invisible in the final finish.
Cleaning removes any contaminants that might interfere with finish adhesion. Dust from sanding, handling oils, and any residual release agents from manufacturing all require removal. A tack cloth or similar product picks up fine particles effectively. For some products, a light solvent wipe may be appropriate to ensure complete contamination removal, though this should be done in well-ventilated conditions with appropriate precautions.
Sanding creates the surface profile that promotes mechanical bonding of finishes. Even products described as ready-to-finish typically benefit from light sanding to ensure optimal adhesion. Fine-grit sandpaper—220 grit or finer—sands smoothly without creating scratches visible in the final finish. The goal is dulling any shiny surfaces to create profile without damaging the underlying material.

Painting Techniques for Blank Faux Beams
Paint application on polyurethane differs somewhat from painting wood despite the similar appearance. The non-porous surface doesn't absorb paint the way wood does, which affects how finishes lay down and cure. Understanding these differences helps achieve results that look professionally applied rather thanDIY attempts that didn't account for material characteristics.
Priming serves more important functions with polyurethane than with wood. On wood, primer primarily provides color uniformity and additional adhesion. On polyurethane, primer also creates the surface profile that subsequent paint coats grip effectively. Quality primers formulated for use on plastics and synthetics perform better than general-purpose primers in this application. Testing primers on scraps or inconspicuous areas before committing to visible surfaces identifies any adhesion or compatibility issues.
Paint selection affects both application characteristics and long-term performance. Latex paints work adequately but may require more coats than on absorbent surfaces. Oil-based paints adhere well but require longer cure times and more ventilation during application. Spray application often produces the smoothest results on complex beam profiles, though this requires appropriate equipment and technique or access to suitable workspace for application.
Staining Approaches and Challenges
Staining polyurethane presents greater challenges than painting because stain works by penetrating into surfaces—a characteristic that non-porous polyurethane lacks. However, several techniques can produce convincing wood-stain appearances on blank faux beam surfaces for those who prefer this aesthetic.
Gel stains have proven effective on polyurethane because their thick consistency allows color buildup on the surface rather than requiring penetration. Multiple coats build depth and richness that approaches the appearance of traditional stain on wood. The application technique resembles paint application more than conventional staining, with wiping or brushing distributing the gel evenly before it dries.
Another approach involves applying stain over a base coat of primer or paint tinted to complement the stain color. This technique creates visual depth similar to stain penetration while relying on the underlying color layer for richness. Building up multiple thin layers creates convincing results, though this approach requires more time and effort than single-coat staining.
Surface texturing before staining can enhance authenticity. Light distressing, simulated weathering, or deliberate texturing creates visual interest that helps the finished surface appear genuinely aged rather than artificially colored. These techniques work equally well with paint or stain finishes.

Protecting and Sealing Finished Beams
Whatever finish approach is selected, appropriate sealing protects the completed work from the environmental challenges that ceiling installations inevitably face. Dust accumulation, occasional cleaning, and environmental humidity all can affect unfinished surfaces; sealing creates a protective barrier that maintains appearance over time.
Polyurethane sealers designed for use over painted or stained surfaces provide appropriate protection. Water-based options offer easier cleanup and lower odor while providing adequate protection for most residential applications. Oil-based sealers may provide superior durability for challenging environments but require more careful application and ventilation.
The application process follows the same principles as finish application—thin, even coats applied with appropriate technique. Building up multiple thin coats provides better protection than single heavy coats, which may sag, run, or fail to cure properly. Following manufacturer recommendations regarding recoat times ensures that each coat bonds properly to previous layers.
Allowing adequate cure time before installation prevents damage to fresh finishes. The chemicals in finishes continue reacting and hardening for days or weeks after application appears complete. Handling or installing beams before full cure risks marking or damaging surfaces that cannot be easily repaired once installed in ceiling positions.
Technical References
ASTM standards cited in every specification
Test Data
Lab results from internal testing program
Updated 2026
Reviewed against current product specs


