
Ceilings quietly accumulate problems that undermine interior aesthetics without receiving the attention that walls and floors routinely demand. Water stains from past leaks, discoloration from smoking or cooking, texture failures that create uneven surfaces, and plain-jane flatness that contributes nothing to room character—these issues persist year after year simply because addressing them seems prohibitively difficult or expensive.
Faux wood beam installations offer a different approach to ceiling problems. Rather than treating symptoms through cleaning, repainting, or texture repair, beam installations transform the ceiling entirely by overlaying problems with architectural interest. The existing surface disappears behind beams that create visual depth, texture, and character that no amount of conventional ceiling treatment could achieve.
Diagnosing Ceiling Conditions
Effective beam installation planning requires understanding the ceiling condition you're addressing. Different problems suggest different beam approaches, and diagnosis before specification ensures appropriate solutions.
Popcorn ceilings represent one of the most common ceiling problems that beams solve. This dated texture, popular in construction from the 1960s through the 1980s, accumulates dust and cobwebs while resisting cleaning efforts. Painting over popcorn creates its own challenges, as the texture requires enormous amounts of paint to achieve even coverage. Beams install directly over popcorn surfaces, eliminating the need for removal while providing fresh aesthetic appeal.
Water damage creates staining and potential texture degradation that beam installation conceals beautifully. The hollow construction of many beam profiles accommodates minor surface irregularities without requiring repair. For more significant damage, targeted repairs in areas hidden by beam installation address structural concerns while concealing cosmetic issues entirely.
Dropped ceilings—those featuring suspended tile systems common in offices and some homes—present opportunities for dramatic transformation. Removing the grid and tiles typically proves easier than concealing them, after which beam installation creates the architectural ceiling that the original construction should have provided. This transformation frequently accompanies basement finishing and room conversion projects.
Beam Selection for Ceiling Applications
Ceiling height significantly influences appropriate beam selection. Standard eight-foot ceilings accommodate beams sized between four and six inches without overwhelming the space. Higher ceilings permit larger beams—eight inches or greater—that create dramatic focal points. Lower ceilings require careful sizing to avoid claustrophobic effects, potentially limiting beam sizes to three or four inches.
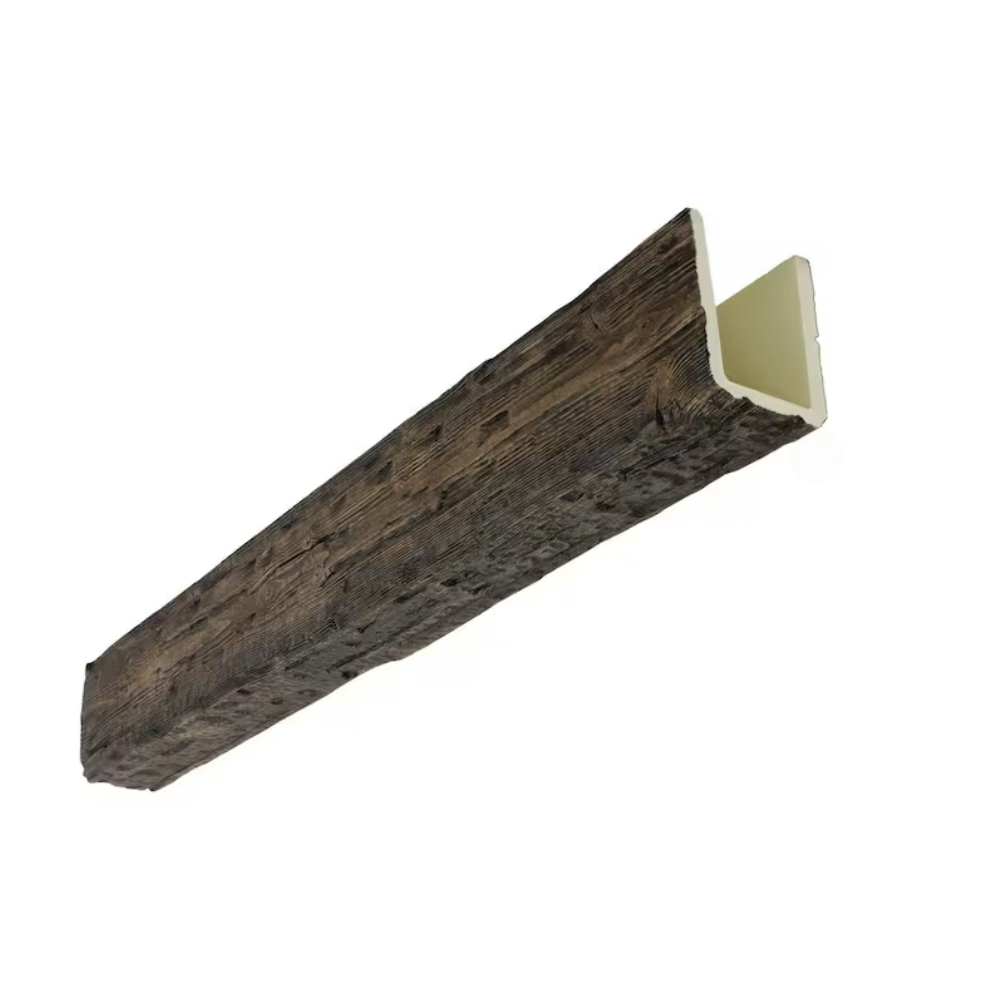
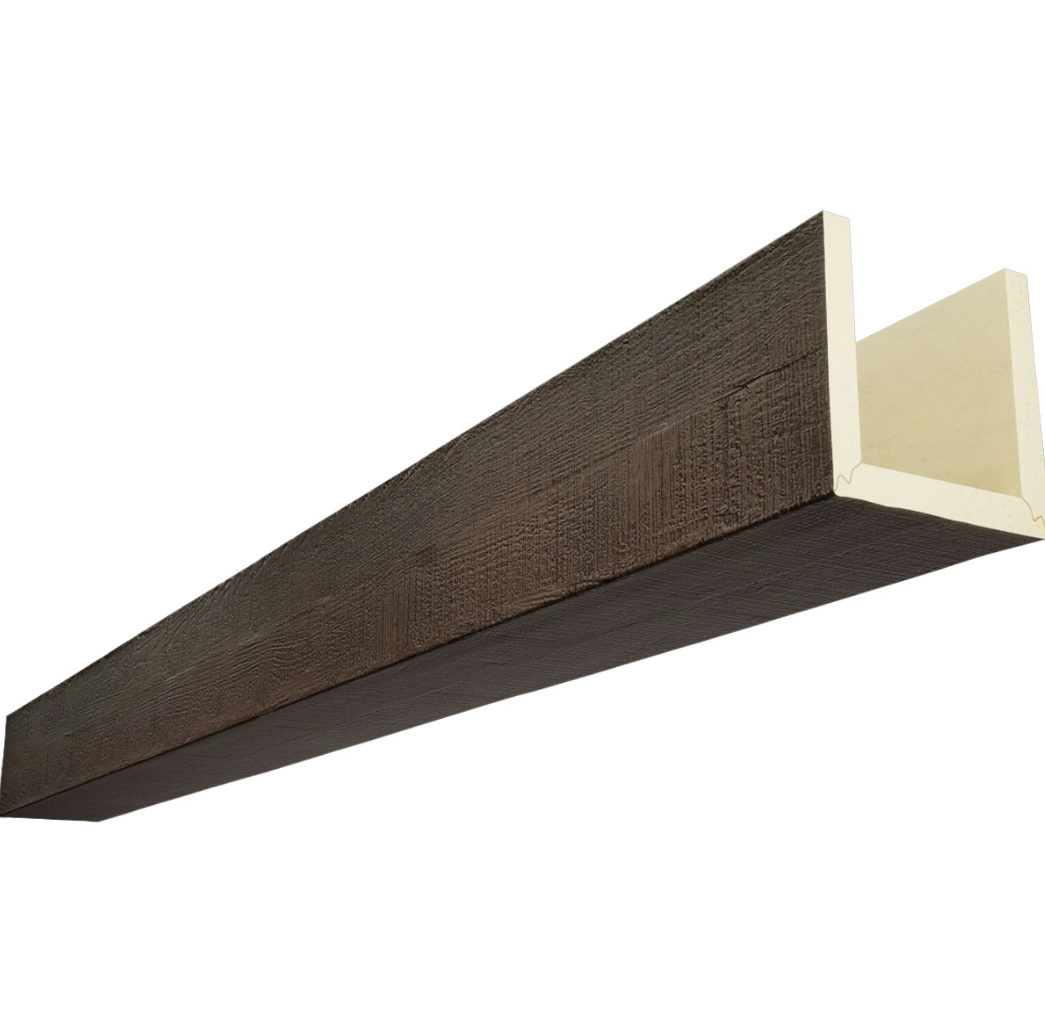
The beam profile influences both visual character and installation approach. C-shape profiles require existing structural beams to wrap, while U-shell profiles create beam appearance on flat surfaces. Solid profiles work in either context but consume more material and require more substantial mounting systems. Understanding these trade-offs helps specification align with project requirements.
Finish selection should consider existing ceiling and wall finishes to ensure harmonious integration. Beams that match existing woodwork create continuity, while contrasting beams establish distinct focal points. Color temperature consistency between beams and adjacent materials affects overall room perception, with warm-toned beams softening cool spaces and vice versa.
Installation Sequencing
Proper installation sequencing protects both the beams and surrounding construction throughout the process. Preparing the ceiling surface before beam arrival ensures installation proceeds without interruption. Cleaning, minor repair, and marking of joist locations all complete before beams are delivered to the site.
Beams should be stored flat in climate-controlled conditions until installation. Polyurethane tolerates temperature variation better than wood, but extreme conditions during storage can affect adhesive performance and finish integrity. Our installation guidelines specify appropriate storage conditions and inspection procedures before installation begins.
Mounting hardware installation follows ceiling preparation, with clips and brackets positioned according to specifications that account for beam dimensions, spacing, and any anticipated loads. Electrical fixtures requiring relocation should complete before beam mounting, as repositioning after installation proves inconvenient.
The actual beam installation proceeds systematically, typically starting with reference beams that establish alignment and working outward to complete the installation. Junction points with walls, corners, and other beams require careful attention to achieve clean transitions that appear intentional rather than accidental.

Integration with Lighting Systems
Ceiling renovation frequently accompanies lighting upgrades, and beam installation creates opportunities for creative lighting integration. Recessed fixtures installed between beams provide general illumination without interrupting beam aesthetics. Directional fixtures aimed at beams create dramatic uplighting effects that emphasize texture and depth.
Pendant fixtures suspended through beams add task and accent lighting while incorporating the beams into the lighting design. The beam becomes a functional element supporting fixture mounting rather than purely decorative treatment. This integration requires coordination during planning to ensure proper support reinforcement and appropriate positioning.
Dimming systems enhance beam aesthetics after dark by enabling lighting adjustments that emphasize shadows and textures. Low-voltage LED strips installed within beam hollows create ambient glow effects that transform ceiling perception at night. These integrated lighting approaches achieve results impossible with conventional ceiling treatment.
Maintenance and Long-Term Care
Polyurethane beams require minimal maintenance compared to real timber alternatives. No periodic refinishing maintains appearance, no insect monitoring addresses pest concerns, and no moisture management prevents deterioration. Occasional dusting or wiping with damp cloth maintains appearance indefinitely.
The finish resists common cleaning chemicals, allowing spot cleaning of marks or stains without damage. For stubborn deposits, mild detergent solutions typically prove effective without requiring aggressive scrubbing that might affect finish integrity.
Long-term appearance maintenance focuses on periodic inspection of attachment points and junction conditions. While polyurethane doesn't deteriorate like wood, settlement or structural movement occasionally affects beam positioning. Periodic inspection identifies issues while they're easily corrected rather than allowing problems to compound.
Our warranty coverage protects against manufacturing defects affecting appearance or structural integrity. Discuss your specific ceiling renovation requirements with our technical team to receive recommendations addressing your project's particular conditions.
Technical References
ASTM standards cited in every specification
Test Data
Lab results from internal testing program
Updated 2026
Reviewed against current product specs


