
The transformation videos are impossible to ignore: creators start with bare ceilings or uninspired rooms, work through a single day's labor with upbeat music, and finish with jaw-dropping reveals that leave millions of viewers wondering how they achieved such dramatic results. Faux wood beams appear in the most successful of these transformations, providing the single element that elevates entire room aesthetics.
What's striking about these TikTok renovations is their accessibility. The creators aren't professional contractors with specialized equipment—they're homeowners, renters, and enthusiasts who discovered that faux wood beams offer one of the highest-impact DIY improvements available. The learning curve is gentle, the tools are basic, and the results are consistently impressive.
Why Beams Dominate TikTok Renovation Content
The before-and-after format that TikTok rewards aligns perfectly with beam installation. The starting point—typically a plain, unfinished ceiling—is relatable to millions of viewers who live with similar blank canvas spaces. The endpoint—dramatic architectural enhancement—is aspirational without being unattainable. The journey from one to the other, compressed into engaging video, demonstrates achievable transformation.
Beams photograph and film exceptionally well, with their textured surfaces catching light in ways that create visual interest on screen. The vertical dimension adds drama that flat walls cannot provide. Viewers can immediately understand the scale of change without needing explanation or context.
The cost-to-impact ratio exceeds virtually every other renovation element. A few hundred dollars in materials and a day of labor creates transformation that rivals projects costing thousands. This value proposition resonates with audiences facing budget constraints, making beams an accessible luxury.
Planning Your DIY Beam Project
Successful TikTok-style transformations begin with thorough planning before any materials arrive. Accurate measurements form the foundation: measure the full length of each planned beam location, note any obstructions like light fixtures or HVAC vents, and account for corners or angles that might require special cuts.
Material calculation requires adding contingency for cutting mistakes and unusual situations. Most DIYers should order approximately 10% more beam length than calculations suggest. The additional cost is minimal compared to the frustration of running short on a project that's already underway.
Budget allocation matters more than total spending. High-quality beams make the difference between finished installations that look professional and those that reveal their budget origins. Saving money by purchasing inferior products typically produces regret when the finished project doesn't meet expectations.

Essential Tools and Materials
Basic carpentry tools handle most beam installations. Circular saws or miter saws for cutting beams to length, drills for pilot holes and fasteners, levels for alignment, and measuring tape for accuracy form the essential toolkit. Stud finders help locate ceiling framing for secure mounting. Safety equipment—eye protection, dust masks, hearing protection—should accompany any power tool use.
Mounting hardware depends on ceiling construction and beam weight. Newer construction with exposed joists offers direct mounting opportunities; finished ceilings require different approaches. Toggle bolts provide substantial holding power in hollow construction; masonry anchors work in concrete or brick. Understanding your ceiling structure guides hardware selection.
Adhesive serves as both structural reinforcement and gap filler. Construction adhesive applied between beam backs and ceiling surfaces creates solid connections while accommodating slight irregularities. The combination of adhesive and mechanical fasteners provides redundancy that ensures long-term security.
Step-by-Step Installation Process
Begin with layout marks on the ceiling indicating beam locations. Use chalk lines for straight runs and templates for curved or angled sections. This preparation ensures accurate positioning before any permanent fastening begins. Double-checking layout before committing prevents懊悔补救 situations where beams end up misaligned.
Pre-fit all beams before applying adhesive or permanent fasteners. This dry run identifies any clearance issues, confirms cuts are accurate, and allows you to step back and evaluate visual effect before making changes difficult. Some installers photograph the pre-fit arrangement for reference during final installation.
Apply adhesive to beam backs using a serpentine pattern that covers substantial surface area without excess squeeze-out. Position the beam according to layout marks, press firmly, and secure with temporary bracing or screws driven through the beam into ceiling structure. Allow adhesive to cure according to manufacturer recommendations before removing temporary supports.
Finishing details transform good installations into great ones. Concealed screws can be filled with color-matched wood filler. Joint gaps receive similar treatment. Caulking along beam edges creates clean transitions to adjacent surfaces. These details require minimal additional time while dramatically affecting perceived quality.
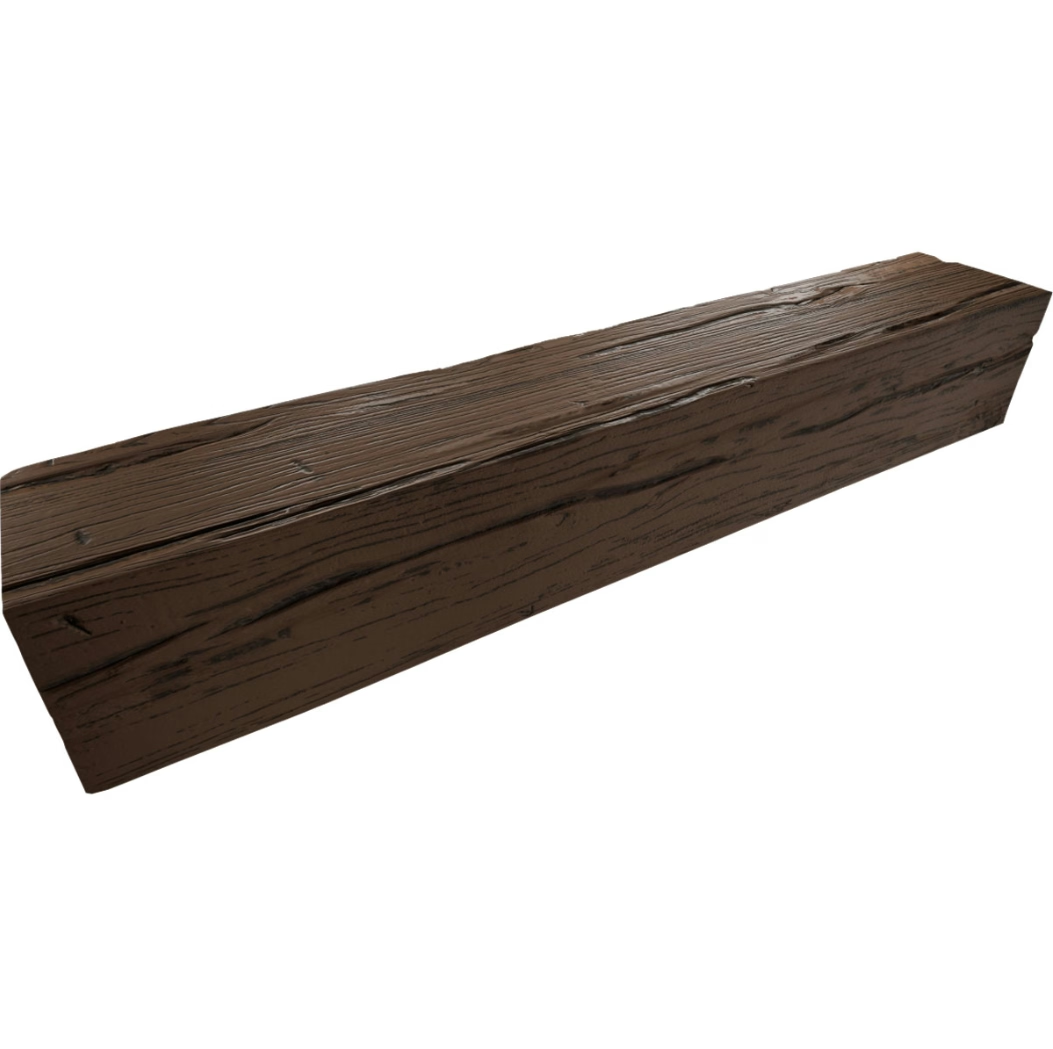
Documentation for Social Sharing
The most successful TikTok beam content documents the process as thoroughly as the results. Audiences want to see the work, not just the finish. Footage of measuring, cutting, fitting, and installing provides value that complements the reveal, giving viewers both inspiration and practical guidance.
Lighting matters for video quality. Shooting during daylight hours with windows providing soft fill produces the bright, inviting footage that performs well. Evening installations require supplemental lighting that approximates natural conditions. Harsh shadows or dark footage underwhelms compared to properly lit alternatives.
Sound design enhances viewer engagement. The rhythm of sawing, the satisfaction of hammering, the atmosphere of upbeat renovation music—these audio elements add dimension that static images cannot provide. Many successful renovation TikToks feature ASMR-style sound that viewers find satisfying.
Common Mistakes and How to Avoid Them
Measurement errors account for most installation problems. Always measure multiple times, measure at both ends of proposed beam locations, and account for walls that might not be perfectly straight. The cheapest mistake is ordering beams too short; the most frustrating is cutting them too long.
Alignment failures become obvious once installation is complete. Using a laser level for long runs prevents the gradual drift that can make parallel beams appear progressively misaligned. Checking alignment at each step rather than after multiple beams are in place allows early correction.
Rushed adhesive curing produces sagging or movement. Following manufacturer recommendations for cure time prevents most structural issues. Some installers use supplemental bracing overnight to ensure complete curing before subjecting beams to normal stress.
Sharing Your Transformation
TikTok's algorithm favors content that generates early engagement. Posting during active hours for your audience, responding quickly to comments, and encouraging shares through calls-to-action all improve performance. The first hour after posting significantly affects whether content gets broader distribution.
Hashtag selection balances discoverability with relevance. Trending renovation hashtags bring volume; specific hashtags like beam brand names or style descriptors bring engaged audiences. Testing different hashtag combinations helps identify optimal strategies over time.
Engagement with viewers builds community and improves algorithmic performance. Responding to questions, acknowledging compliments, and engaging with criticism professionally all signal activity that platforms reward. Building relationships with viewers creates loyal followers who engage with future content.

Beyond TikTok: Cross-Platform Distribution
YouTube Shorts accepts TikTok-style content, reaching audiences who prefer that platform. Repurposing content across short-form video platforms maximizes production investment. Minor adjustments for platform-specific preferences—different aspect ratios, adjusted music choices—optimize performance on each.
Instagram Reels and Stories provide additional distribution channels. Step-by-step carousels work well for process documentation; Reels capture the transformation energy. Pinterest pins drive long-term discovery traffic, with installation guides continuing to generate saves months after posting.
Blog posts expand on video content with detailed written guidance. Search-optimized articles capture audiences searching for specific installation information, driving traffic that social posts alone cannot reach. The written content also supports customers who prefer textual guidance over video format.
Technical References
ASTM standards cited in every specification
Test Data
Lab results from internal testing program
Updated 2026
Reviewed against current product specs


