The most carefully selected faux beams and adhesives cannot compensate for inadequate structural support behind wall surfaces. Wall blocking—additional framing members installed between studs to provide solid mounting surfaces—provides the essential connection point between decorative beams and the building's structural system. Proper blocking installation during construction or renovation enables the secure mounting that makes beam installations reliable for decades.
Understanding Blocking Function
Wall studs provide vertical structural support in wood-frame construction, but they offer only narrow mounting surfaces at their faces. Faux beams, which may span across spaces between studs or require mounting at points between stud locations, need wider solid backing that only blocking provides. Blocking members run horizontally between studs, creating mounting surfaces that extend across multiple stud intervals.
Beams mounted without adequate blocking create point loads on wall surfaces that cannot safely transfer to the structure. Drywall and plaster lack structural capacity to support beam weight or resist the pulling forces that gravity and building movement create. Even with adhesive mounting, beams need mechanical connection to solid backing that prevents fall risk if adhesives ever fail.
Building codes address blocking requirements for various applications, though specific faux beam blocking requirements may not be explicitly stated. General requirements for structural attachments apply, requiring connections capable of resisting anticipated loads. Professional installers verify adequate blocking exists before proceeding with beam installation, protecting both their work and client safety.
Blocking Installation During New Construction
New construction offers the ideal opportunity for blocking installation before walls close. Framing plans should identify beam locations and specify blocking requirements that installers follow during framing. This proactive approach costs nothing beyond lumber and labor during framing while eliminating retrofit challenges later.
Horizontal blocking typically installs between studs at the elevation where beam mounting will occur. The blocking member should extend at least one stud bay beyond beam endpoints to provide support for beam ends and connection hardware. For beams that run perpendicular to studs, blocking perpendicular to the main framing direction creates mounting surfaces where beams cross stud lines.
Blocking should be secured to adjacent studs with appropriate fasteners. Standard practice uses screws or nails through blocking into studs at each intersection. Metal tie plates at blocking-studd connections provide additional strength for heavy loads or seismic conditions. Blocking should be level within acceptable tolerances, as any deviation translates directly into beam misalignment.
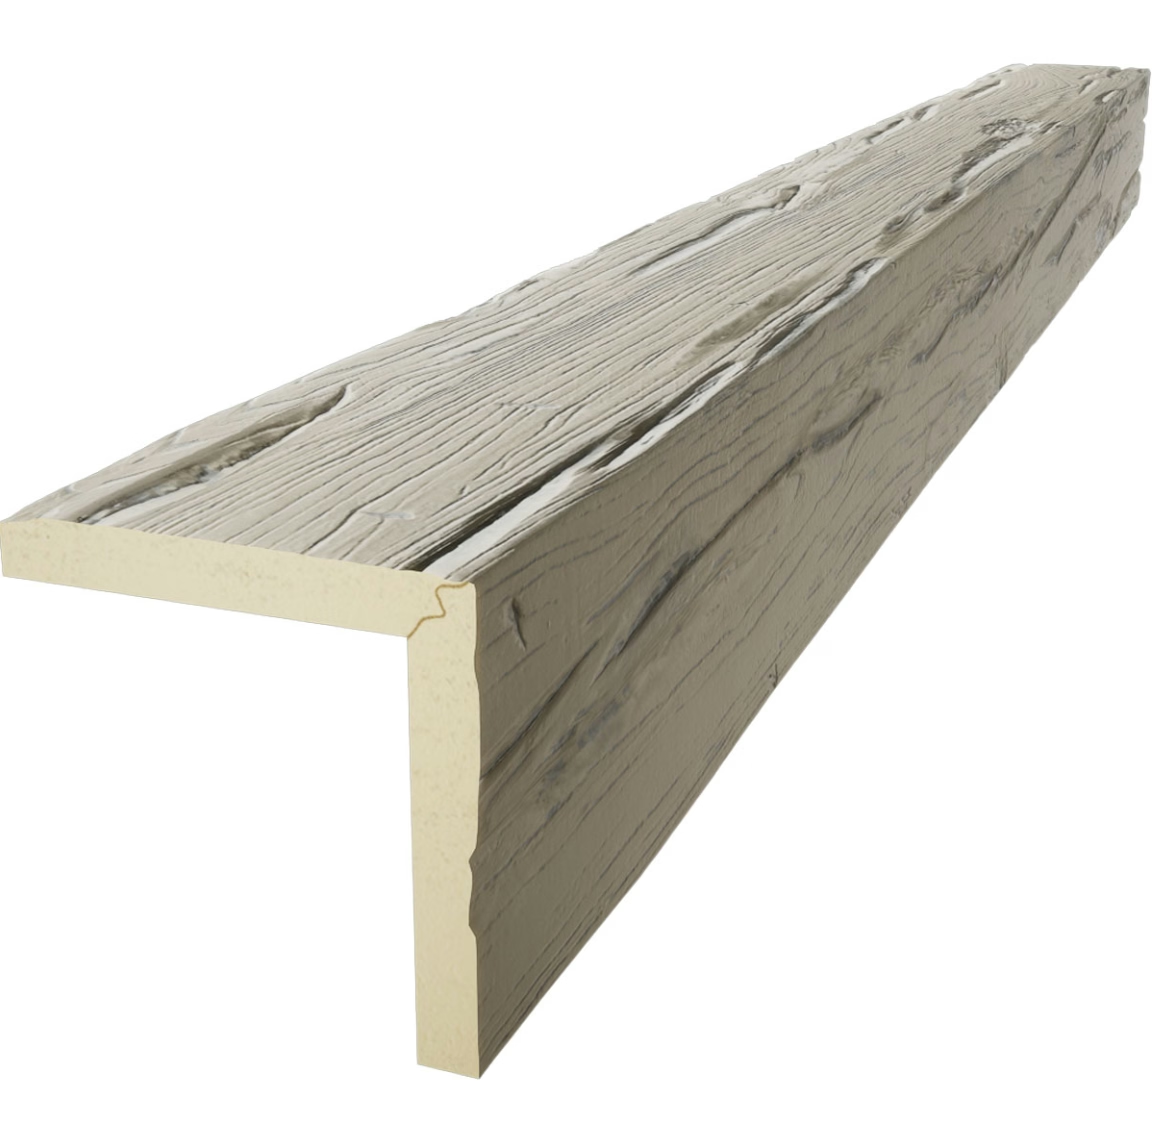
Retrofit Blocking Installation
Existing construction may lack blocking where beam installation is desired, requiring retrofit approaches that add backing without completely opening walls. Several techniques address this challenge depending on wall construction type and available access.
Through-fastening from room interiors accesses wall cavities and installs blocking without exterior access or extensive wall opening. This technique requires removing base trim and drilling holes in drywall to access the wall cavity. Blocking members slide horizontally between studs, with screw attachment through drywall at blocking ends. The technique works best where base trim will cover access openings anyway.
Exterior access through siding removal enables blocking installation from outside the wall. This approach works well for wood sidings that can be removed and reinstalled without damage. Stud cavities become accessible for blocking placement and secure attachment. This method may be impractical for brick, stucco, or other difficult-to-remove sidings.
Demolition access removes wall covering entirely to expose studs for blocking installation. While disruptive, this approach enables complete access for blocking placement in optimal locations. After blocking installation, new wall covering replaces the removed material. This method may be appropriate when renovation plans include wall covering replacement anyway.

Blocking for Different Beam Configurations
Beam installations vary in their blocking requirements based on beam orientation, span, and connection method. Understanding specific requirements enables appropriate blocking specification for each installation type.
Wall-mounted beams running horizontally require blocking continuous across the span of the installation. Blocking should extend beyond beam ends by at least 16 inches on each side to support end connections and trim pieces. Mounting points at 16-24 inch intervals along the beam require blocking at matching intervals across the wall.
Ceiling beams perpendicular to ceiling joists require blocking between joists where beams will mount. This blocking, installed perpendicular to ceiling joists, creates mounting surfaces at the desired locations. Blocking should be nailed or screwed to each joist it crosses, with ends supported by adjacent joists or cross-blocking.
beams running parallel to ceiling joists need blocking installed perpendicular to joist direction. This blocking attaches to joist sides and provides mounting surfaces at specified intervals. Blocking spacing should match beam mounting point requirements, typically 24 inches on center for standard loads.
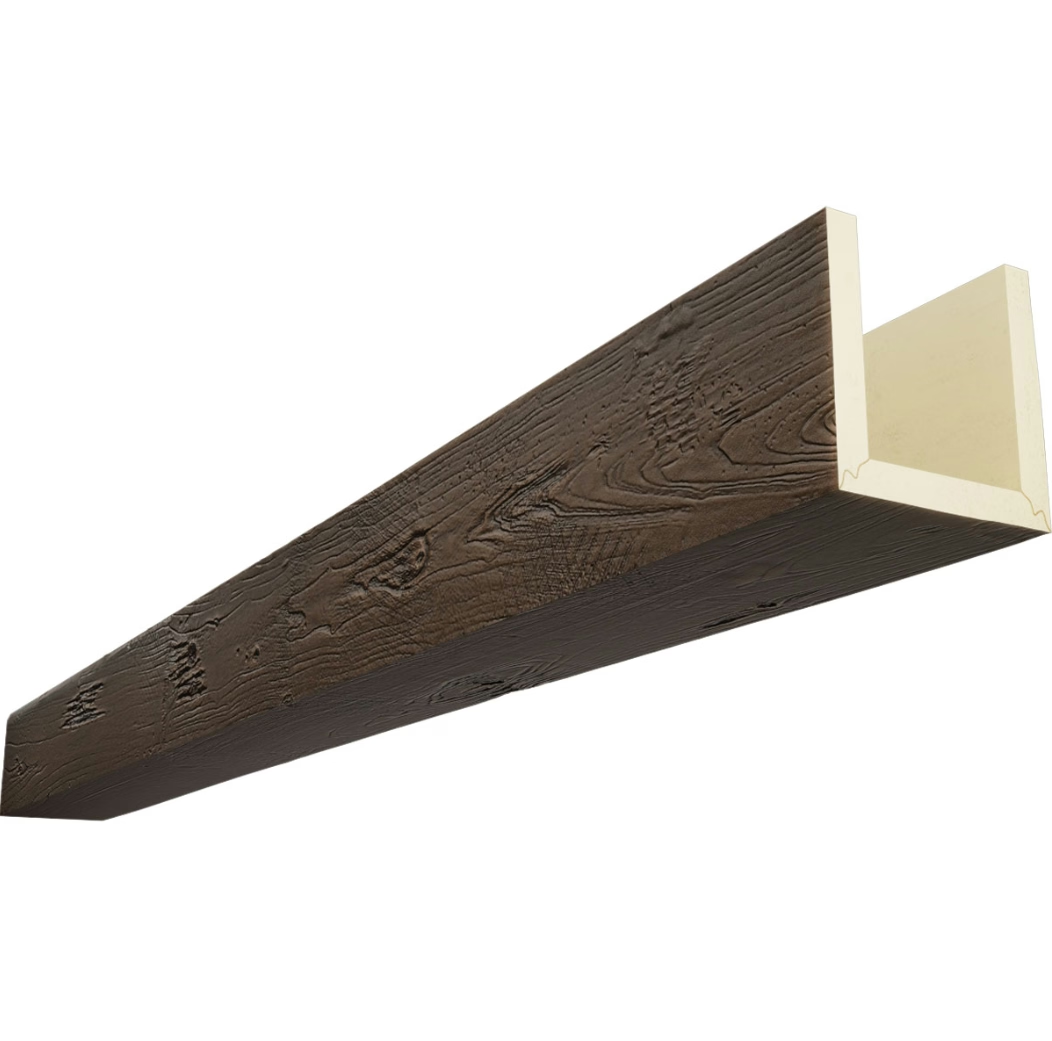
Blocking Spacing and Sizing
Blocking member sizing should match or exceed surrounding framing. Using 2x blocking in 2x6 walls maintains equivalent structural capacity; using 1x blocking creates a weaker connection point that may not provide adequate support. For heavy beams or concentrated loads, increasing blocking size provides additional bearing area and fastener capacity.
Blocking spacing along beam runs depends on beam weight and mounting method. Standard practice spaces blocking at 16-24 inches on center, matching typical stud spacing. Heavier beams or adhesive-only mounting may justify closer spacing for distributed support. Manufacturer recommendations, when available, should guide spacing decisions.
End blocking for beams requires particular attention as these points experience the highest loads. Solid blocking extending at least 16 inches beyond beam ends provides adequate bearing and fastener capacity for end connections. This extended blocking also supports trim pieces and coping details that finish beam terminations.
Verification and Inspection
Before beam installation begins, verify blocking installation thoroughly. Visual inspection through wall openings, probe checking with small drill bits, or stud finder devices with deep-scanning capability confirm blocking presence. Magnetic stud finders detect screws or nails in blocking, providing indirect verification.
Load testing verifies blocking capacity by applying temporary load and observing deflection. This testing identifies blocking that may appear solid but deflects under load. Excessive deflection indicates inadequate blocking that should be corrected before proceeding.
Documentation of blocking locations enables future work that may need to penetrate walls. Marking blocking locations on adjacent surfaces provides guidance for future work. Photographs showing blocking positions relative to finished surfaces preserve this information for maintenance and renovation work.
Special Conditions
Exterior walls present additional considerations for blocking installation. Insulation gaps that blocking creates may require backer installation to prevent thermal bridging. Vapor barrier continuity should be maintained where wall cavity is accessed. Exterior sheathing provides reference for blocking depth placement to avoid penetrating weather-resistant barrier.
Fire-rated wall assemblies may restrict blocking modifications. Some fire-rated assemblies depend on specific construction details that blocking installation might compromise. Consultation with building officials or fire protection engineers may be required before modifying fire-rated walls.
Acoustic-rated assemblies similarly depend on construction details that blocking might affect. Staggered stud walls and double-stud walls create acoustic isolation that openings may compromise. Careful technique that minimizes opening size and proper sealing after blocking installation preserves acoustic performance.

Coordination with Other Trades
Mechanical and electrical work in wall cavities should be coordinated with blocking installation. Cables, pipes, and ducts that blocking might obstruct should be rerouted or protected. Communication between framing, mechanical, and electrical trades prevents conflicts that would require rework.
Insulation work follows blocking installation but precedes wall closing. Batt insulation should fill cavities completely around blocking without compression that reduces thermal performance. Spray foam insulation accommodates blocking geometry without gaps if applied after blocking is complete.
Plumbing and electrical rough-in should be finalized before final blocking inspection. Any work requiring access through walls should be completed and tested before walls close behind blocking. Rework after wall closing requires reopening finished walls, creating additional repair work.
Professional wall blocking installation provides the structural foundation that makes faux beam mounting reliable. Investment in proper blocking during construction or appropriate retrofit techniques during renovation enables beam installations that perform safely throughout their service lives. This behind-the-scenes work may be invisible in completed installations, but it enables all the visible craftsmanship that makes faux beam projects successful.
Technical References
ASTM standards cited in every specification
Test Data
Lab results from internal testing program
Updated 2026
Reviewed against current product specs


