
Installing faux wood beams on walls presents different challenges than ceiling installation. While ceilings typically offer smooth drywall or plaster surfaces, walls frequently feature wallpaper, textured finishes, paneling, or other treatments that complicate mounting. Understanding how to work with these surfaces ensures secure installations that last.
Wallpaper presents particular challenges because the paper surface can fail under load if mounting hardware doesn't penetrate sufficiently into the underlying structure. Textured surfaces create uneven contact planes that affect both appearance and structural connection. Both challenges have proven solutions that experienced installers have developed through countless successful installations.
Assessing Your Wall Surface
Before purchasing mounting hardware or beginning installation, evaluate your wall surface thoroughly. Wallpaper type matters significantly: vinyl-coated papers provide relatively stable surfaces, while unpainted paper or fabric-backed papers may require different approaches. Run your hand across the surface to identify any loose areas, bubbling, or lifting edges.
Texture depth and pattern affect mounting approach. Light orange-peel textures accept adhesive attachment readily; heavy skip-trowel or popcorn textures create voids between beam and wall that affect appearance. Understanding texture characteristics guides preparation decisions that determine installation success.
Identify what's behind the wallpaper through careful probing. A small nail hole or pushpin allows you to feel resistance levels that indicate substrate material. Solid wood backing, drywall, and plaster all accept fasteners differently, requiring different mounting approaches.
Wallpaper Surface Preparation
Clean the wallpaper surface thoroughly before any installation work. Dust, grease, and residues compromise adhesive bond; a clean surface ensures maximum adhesion whether using construction adhesive or mechanical fasteners. Use a mild cleaner appropriate for your wallpaper type, and allow complete drying before proceeding.
Test any adhesive on a small, inconspicuous area before full application. Some adhesives can interact with wallpaper finishes, potentially discoloring or softening the surface. A small test confirms compatibility before commitment.
For vinyl-coated wallpapers, scuffing the surface with fine sandpaper improves adhesive bond significantly. This light abrasion removes the glossy surface coating that prevents good adhesion while remaining invisible once the beam covers the treated area.

Textured Wall Preparation
Light textures require minimal preparation beyond cleaning. The slight irregularity doesn't significantly affect beam appearance or structural connection. Adhesive application fills minor voids, creating solid contact without special treatment.
Medium textures like orange peel or light knockdown benefit from a skim-coating approach. Apply lightweight spackle or joint compound with a flexible putty knife, filling texture valleys to create a flatter mounting surface. Once dry, sand lightly to create smooth, even plane for beam attachment.
Heavy textures—skip-trowel, popcorn, or heavy knockdown—require more substantial preparation. In some cases, texture removal before beam installation provides the best foundation. Discuss specific situations with our technical support team; some heavy textures can be adequately prepared while others might require removal.
Mounting Methods for Wallpaper
Mechanical fasteners penetrating through wallpaper into solid structure provide the most reliable attachment. Locate wall studs using a stud finder, and plan beam mounting to maximize stud penetration. Where studs don't align with desired beam position, use appropriate wall anchors for the substrate type behind the wallpaper.
Pilot holes for screws should be smaller than fastener diameter, allowing threads to create solid grip. Drill through wallpaper without pulling or tearing by using a sharp bit and light pressure. A small pilot hole in wallpaper is easily hidden by the beam and creates cleaner results than forcing screws through paper.
Adhesive provides supplementary attachment and gap-filling contact. Apply construction adhesive in serpentine patterns across the beam back, pressing firmly against the wall after placement. The combination of adhesive contact and mechanical fasteners provides redundancy that ensures long-term security.
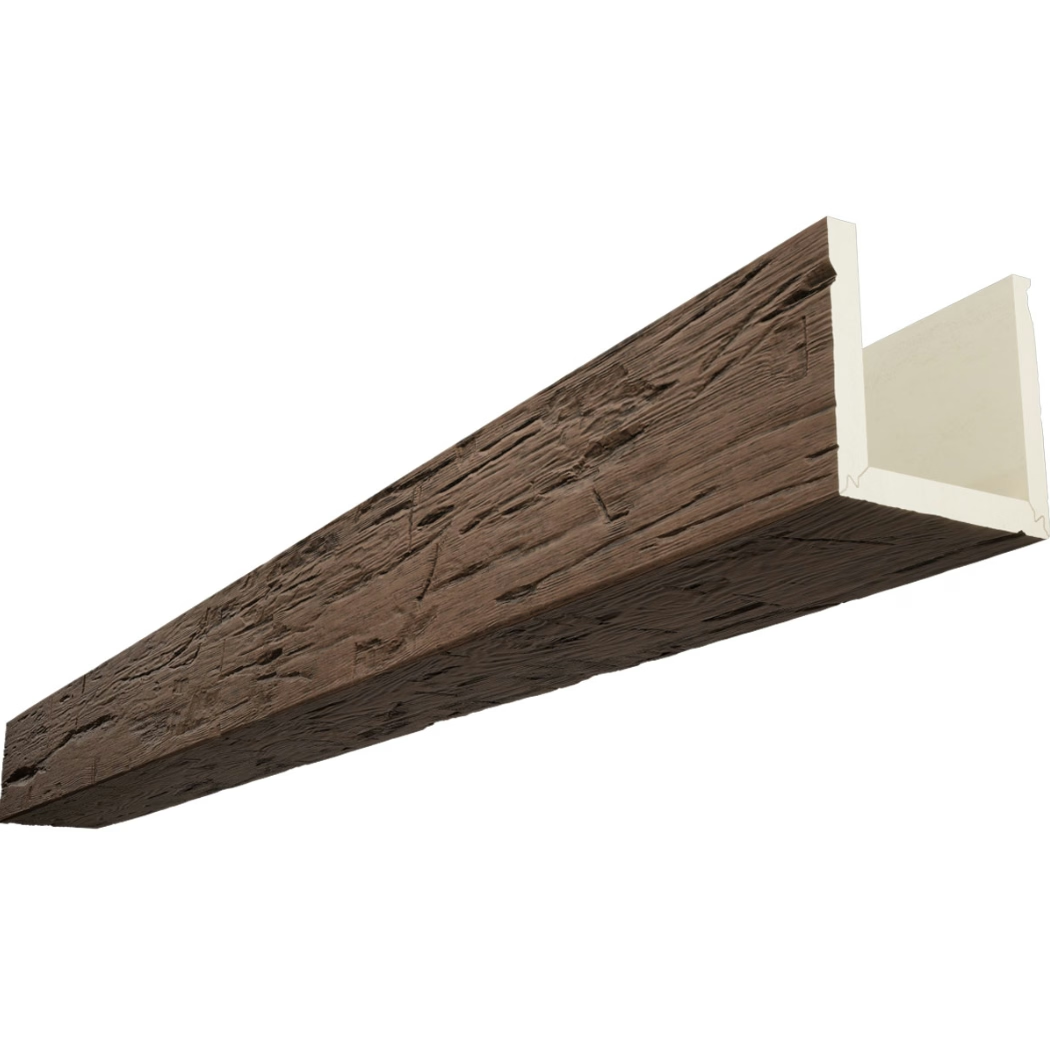
Mounting Methods for Textured Walls
Adhesive attachment works well on properly prepared textured surfaces. Skim-coated textures provide flat mounting surfaces that accept adhesive bonding fully. Apply adhesive generously to ensure complete contact, pressing the beam firmly and holding or bracing until initial set occurs.
When mechanical fastening to textured walls, ensure fasteners penetrate through any surface preparation into solid substrate. The texture material itself doesn't provide meaningful fastener grip; connections must extend into studs or appropriate anchors beyond the texture layer.
Combination mounting—adhesive plus mechanical fasteners—provides the most secure attachment on any textured surface. The adhesive creates continuous contact and gap-filling; the fasteners provide immediate holding power while adhesive cures and permanent structural connection.
Beam Positioning on Walls
Horizontal beams create wide, stable visual presence on walls. This orientation works well above furniture groupings, as wainscoting alternatives, or as architectural trim defining wall zones. Horizontal placement emphasizes width, making rooms feel broader.
Vertical beams add height emphasis, drawing the eye upward and creating the impression of taller walls. This orientation works well flanking tall furniture, framing doorways, or creating accent panels. Vertical placement can make ceilings seem higher and rooms more grand.
Diagonal placement creates dynamic energy that prevents static feeling. This orientation works well in contemporary spaces or as accent elements that break from conventional horizontal/vertical expectations. Diagonal placement requires careful layout and potentially custom angles at beam ends.
Supporting Beam Weight on Walls
Wall-mounted beams experience different stress than ceiling installations. Gravity pulls downward on wall beams, creating tension on upper fasteners and potential sagging over time. Adequate support at the top edge prevents this stress from causing problems.
French cleat mounting distributes weight across the full beam height, preventing localized stress concentration. The interlocking cleat system—one piece mounted to the wall, complementary piece mounted to the beam—creates strong connection that's easier to install than it appears.
Corrosion-resistant hardware matters on walls that might encounter moisture. Bathrooms, kitchens, and exterior applications require stainless steel or coated fasteners that resist rust. Standard zinc-plated hardware can stain wallpaper or textured finishes if corrosion occurs.
Achieving Professional Appearance
Gaps between beams and walls betray amateur installation. Careful preparation, precise cutting, and adequate adhesive application prevent gaps that catch attention. Caulking any visible gaps with color-matched caulk creates finished appearance.
Joint treatment at beam ends requires attention similar to beam-to-beam joints. Miters, butt joints, and returns all need consistent finish treatment. Wood filler or spackling, sanded smooth and touched up with finish, creates the impression of solid, continuous wood.
Alignment checking throughout installation prevents cumulative errors. Step back regularly to assess alignment from typical viewing distances. Minor adjustments during installation are much easier than corrections after adhesive cures.
Special Considerations by Room
Bathroom installations require moisture-resistant mounting. The humidity fluctuations in bathrooms can affect some adhesive types; use products formulated for bathroom conditions. Ensure adequate ventilation during adhesive curing.
Kitchens present grease and cooking residue challenges. Mount beams away from direct cooking exposure when possible. If beams must be near cooking areas, consider smoother finishes that clean more readily than deeply textured options.
Bedrooms and living areas offer more forgiving conditions. Standard mounting approaches work well without special accommodation. Focus on aesthetic positioning and finish matching rather than environmental concerns.

Common Problems and Solutions
Loose wallpaper detected during installation indicates adhesion failure that requires attention before proceeding. Repair the wallpaper adhesion, allow complete curing, then continue with beam installation. Proceeding with beams over unstable wallpaper guarantees future problems.
Visible gaps after installation suggest inadequate surface preparation or insufficient adhesive. Small gaps can be filled with caulk; large gaps may require removal, re-preparation, and reinstallation. Prevention through proper preparation is far easier than remediation.
Beam movement after installation indicates inadequate mechanical fastening. Add fasteners where possible, ensuring penetration into solid substrate. Adhesive alone isn't sufficient for wall mounting; mechanical connection is essential.
When to Hire Professionals
Complex installations involving multiple beams, unusual geometries, or significant weight may warrant professional installation. Installers experienced with faux beams understand nuances that DIYers might miss, potentially justifying professional costs through quality results and reduced timeline.
Electrical or plumbing considerations behind walls require professional assessment. Beams shouldn't cover junction boxes or blocking without proper access; professionals identify and address these concerns appropriately.
Historic homes or spaces with special considerations benefit from professional evaluation. Older wall materials, unusual construction methods, or preservation requirements may have specific installation protocols that professionals understand.
Maintenance of Wall-Mounted Beams
Inspect fastener connections periodically, especially in the first year after installation. Settling and environmental conditions can loosen fasteners; tightening maintains secure attachment.
Clean textured beams with soft brushes rather than wet methods that might damage adhesive or finish. The textured surface accumulates dust; regular dusting maintains appearance without risking moisture damage.
Touch-up finishing addresses any minor damage that occurs over time. Factory-finish repair kits are available for common damage types. Significant damage may require professional refinishing or part replacement.
Technical References
ASTM standards cited in every specification
Test Data
Lab results from internal testing program
Updated 2026
Reviewed against current product specs


