The first time you stand in your own home and decide to add a beam, the project can feel bigger than it really is. Maybe you watched a few videos. Maybe you browsed some product pages. Maybe you talked to a contractor who quoted a number that made you set the phone down. The truth is that for most homeowners, a polyurethane faux wood beam is one of the most forgiving first projects in self-renovation. The material is light, the cuts are clean, the joints are forgiving, and a single beam can transform a room without needing a helper with twenty years of finish-carpentry experience.
That does not mean the first beam is free of decisions. It just means the decisions are smaller than they look. This guide is for homeowners who have never held a miter saw, who do not know what a scarf joint is, and who want to make the first project a good one.
Why PU Faux Wood Is the Right Starting Point
There are a few reasons beginners land on PU faux wood beams and stay there.
Light Enough to Handle Alone
A solid oak beam can weigh 30 pounds per running foot. A PU faux beam of the same dimension weighs closer to two. For a first-time renovator working on a ladder, that difference is the difference between a one-person project and a project that requires a crew. The light weight also makes mistakes recoverable: if you have to take the beam down and reposition it, you can do so without scraping the ceiling.
Forgiving on Cuts
Polyurethane cuts cleanly with standard woodworking tools. There is no grain to fight, no knots to work around, no risk of splitting. A miter saw with a fine-tooth blade leaves an edge that needs almost no cleanup. A first-time cutter who has never mitered anything can get a clean joint on a PU beam within two or three practice cuts.
Stable After Install
Real wood moves with humidity. It expands, contracts, twists, and cracks. A homeowner who has lived through a few seasons with real wood trim knows that gaps open in winter and close in summer. PU faux beams do not move that way. Once the beam is up, it stays where you put it. For a beginner, that stability means the install you finished on Sunday is the install you see in five years.
Where to Start as a First-Time Renovator
The biggest mistake beginners make is starting with the biggest beam in the biggest room. The instinct is reasonable: get the biggest visual impact for the work. But starting big also means working at height, working with long sections, and working with joints. Each of those adds complexity that a first-time installer has not yet built the muscle memory for.
Start With a Short Wall Beam
A short faux beam mounted to a wall, used as a fireplace mantel, a range hood surround, or a decorative shelf, gives you almost all of the experience of a full ceiling install with none of the overhead work. You are still cutting to length, still fastening to a substrate, still caulking joints, still touching up the finish. You are just doing it at chest height rather than on a ladder.
Add a Ceiling Accent Next
Once the wall beam looks right, try a single ceiling beam across a small room. A powder room, a small bedroom, a hallway. Choose a beam length you can carry comfortably, pick a profile with a manageable width, and treat it as a learning project. The room you pick should be one where the result matters but where you can live with a small mistake.
Save the Big Room for Beam Three
The big living room, the open-plan kitchen, the multi-beam ceiling over an island: those projects go much better once you have already done two smaller ones. By the time you get to the high-visibility room, you know how the brackets feel, how the caulk behaves, how the joints need to land. That knowledge is hard to fake, and the only way to build it is to do the smaller projects first.

Tools a Beginner Actually Needs
You do not need a workshop full of tools to install a PU beam. You need a small, well-chosen kit. Buying the right tools at the start is cheaper than buying the wrong tools twice.
The Core Four
A cordless drill with a clutch, a miter saw (a 10-inch is plenty for most beams), a 4-foot level, and a tape measure. Those four tools handle the structural part of almost any single-beam project. Most beginners already own a drill and a tape measure. The miter saw is the big buy, and a decent homeowner-grade saw can be had for the cost of a couple of restaurant meals.
The Helpful Extras
A stud finder. A pencil. A chalk line. A caulk gun. A step ladder. A putty knife. A utility knife. Painter's tape. Color-matched caulk and filler, which you buy from the beam manufacturer or supplier at the time you order the beam.
What You Do Not Need Yet
A table saw. A planer. A jointer. A biscuit cutter. A pocket hole jig. Any of those tools might join your collection over time, but for the first beam they stay in the box.
Choosing Your First Beam
The catalog of available PU faux beam profiles is larger than it needs to be for a first project. Here is how to narrow it down.
Pick a Profile That Matches Your Ceiling Height
A rough rule of thumb is to choose a beam width that is roughly one inch for every foot of ceiling height. A 9-foot ceiling likes a 9-inch-wide beam. A 12-foot ceiling likes a 12-inch beam. Going much larger overwhelms the room. Going much smaller makes the beam look like a stick on the ceiling.
Pick a Color That Already Exists in the Room
The easiest first beam is one that matches the floor, the cabinets, or the trim. A beam that picks up the tone of something already in the room reads as intentional, not as an addition. If your room has no clear wood tone to anchor against, a neutral warm walnut or oak tone is the safest starting point.
Pick a Length That Fits Without a Joint
Most residential beams come in stock lengths up to about 20 feet. If your room is shorter than that, pick a length that requires no joint at all. A single-piece beam is faster, easier, and a better first project. You can learn scarfed joints on beam two.
Common First-Timer Mistakes
These are the mistakes that show up over and over again in first-time installs. None of them are catastrophic. All of them are easier to avoid than to fix.
Skipping the Layout Step
Measuring once and cutting is a great way to cut a beam short. Dry fit before you commit to a cut. Hold the beam up to the ceiling, mark it with a pencil, then put it back on the saw. The five extra minutes prevent a wasted piece of material.
Mounting Into Drywall Alone
Drywall does not hold screws. A beam screwed only into drywall will eventually sag, creak, or pull free. Find the joists or install blocking. A stud finder is a $20 tool that prevents a $300 mistake.
Tight Joints Caulked White
A polyurethane beam needs a flexible, paintable caulk at the ceiling line and the joints. Standard silicone does not paint and pulls away from foam over time. Use a quality latex or acrylic caulk that matches the beam color. The right caulk disappears into the joint. The wrong caulk stands out for years.
Fastening Through the Wrong Face
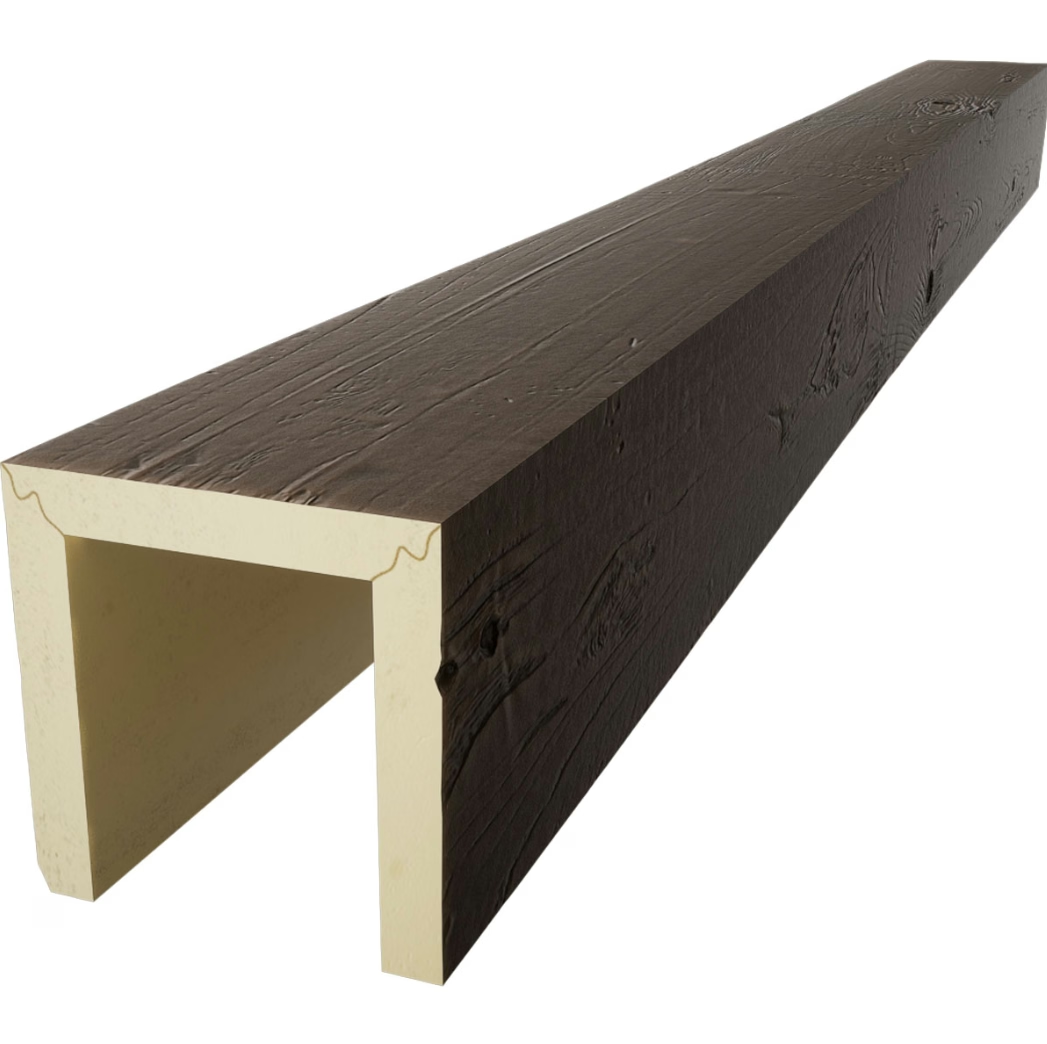
The visible faces of a PU beam are usually three: the bottom and the two long sides. Mounting screws should not pass through any of them. They go through the top, where they are hidden by the ceiling, or through the inside of the beam where they are hidden by geometry. A screw head on the visible face is hard to hide convincingly.
Forgetting to Sight the Beam
A beam that is level on one end and slightly off on the other looks fine from below if you do not look for it. The same beam looks dramatically off if you walk into it from the side. Step back. Sight along the length. Catch the misalignment before you tighten the last screw.
Building Skill That Transfers to the Next Project
A first beam is not just a decor upgrade. It is training for the next project. Every skill you pick up transfers.
Measure Twice Becomes Habit
After the second beam, you stop needing the reminder. Dry fitting before cutting is just what you do. That habit alone pays off across every home renovation project you will ever tackle.
Reading a Ceiling Becomes Natural
After a few projects, you can look at a ceiling and see the joists without a stud finder. You understand what is behind the drywall because you have drilled into it enough times. This is a superpower in any future renovation.
Joint Confidence Carries Forward
Scarf joints, return ends, miters around corners: these are skills you will reuse on trim, on built-ins, on any number of projects. The beam is a low-stakes way to learn them. The mistakes are easy to sand and start over.
When a Beginner Should Call for Help
A first beam is a great project to do alone. The second and third beams get easier. There are still a few situations where calling in help makes sense even for someone who has done the smaller projects.
High Ceilings or Long Beams
Anything over 12 feet off the floor is hard to do safely on a ladder. Anything over 16 feet long is hard to do safely with one helper. Rent scaffolding or hire a handyman for the lift. The install itself stays in your hands. The dangerous part does not.
Complex Framing or Old Wiring
Older homes can have surprises behind the ceiling. If you have not already mapped the wiring and the plumbing, an electrician or plumber for an hour of consultation is well worth it. They can tell you where not to drill.
Multi-Beam Layouts With Pattern Matching
If your project is several beams spaced evenly across a ceiling, the layout has to be precise. Each beam has to land at the same height, the same spacing, and the same alignment. A contractor with a laser and a helper can do this faster than a beginner can. The savings in time are often more than the cost of the labor.
The Payoff of Starting Small
The whole point of starting with a small PU faux beam project is that the result shows up in your home immediately. You see it every day. You learn to live with it, to maintain it, to appreciate it. By the time you do the bigger project, you already know what the beam is going to look like in five years. You know how it handles dust, how it handles light, how it handles the room you put it in.

That kind of low-stakes learning is rare in home renovation. Most projects either succeed at full scale or fail at full scale. A faux wood beam lets you climb the learning curve at a size that fits your confidence. Start small, take the time to do it right, and let the room show you what the next project should look like.
Technical References
ASTM standards cited in every specification
Test Data
Lab results from internal testing program
Updated 2026
Reviewed against current product specs