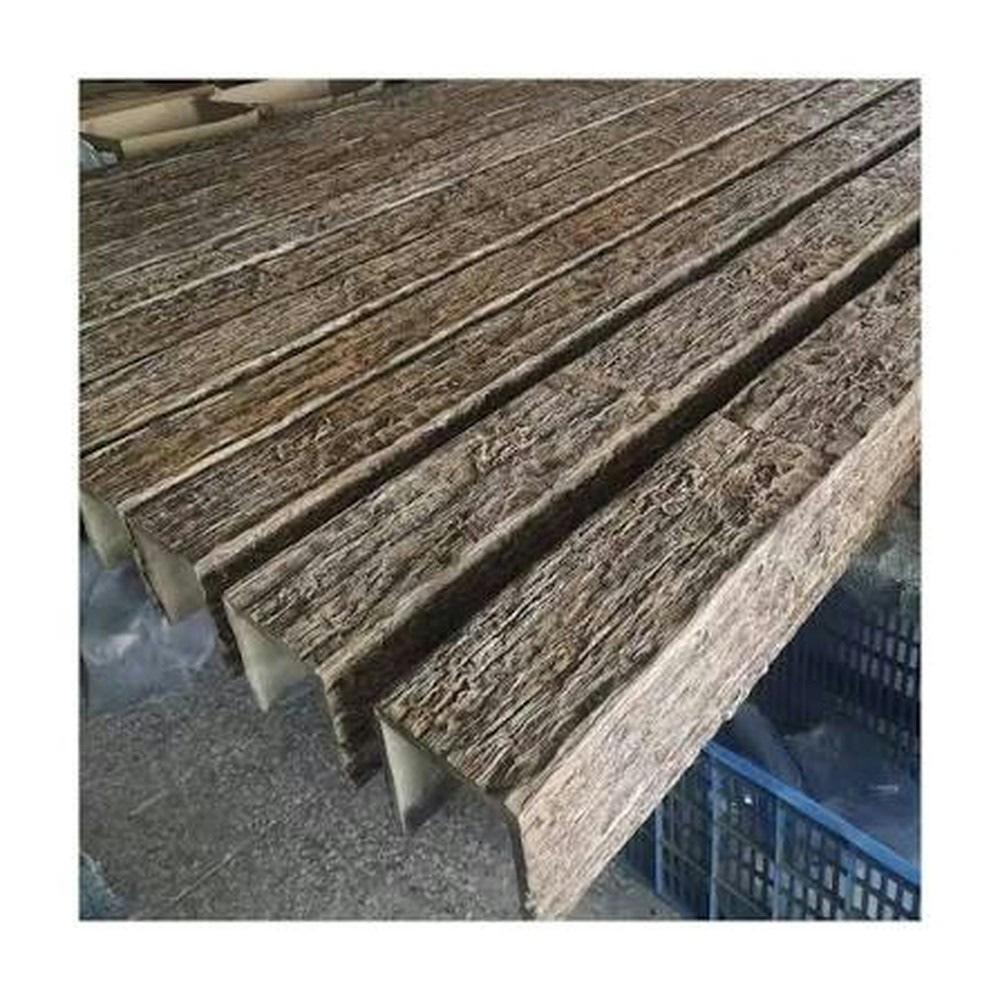
Scratches happen. A child with a toy, a piece of furniture being moved, a ladder that shifts at the wrong moment — any of these can leave a mark on a ceiling beam. The good news is that repairing minor scratches on PU faux wood beams is one of the easiest home maintenance tasks, and the results are nearly invisible when the repair is done correctly.
The factory-applied finish on PU beams makes scratch repair different from solid wood repair. Standard wood fillers can be too rigid and may not bond properly with the foam substrate. Standard wood stains penetrate the surface in ways that do not match the layered coloring of faux beams. The repair requires the right products and the right technique, but neither is difficult to master.
This guide covers how to assess scratches, what materials to use, and how to apply them for results that blend with the surrounding beam surface.
Assessing the Damage
Before reaching for any repair materials, it is worth spending a moment understanding the scratch. The depth, length, and location of the damage all affect the repair approach and the materials needed.
Surface scratches that affect only the protective coating are the easiest to repair. These scratches appear as light lines that do not catch a fingernail when run across them. They are typically caused by minor contact with soft objects and often disappear with a simple application of matching sealant.
Deeper scratches that penetrate the color layer below the coating require more substantial repair. These scratches show a different color underneath — usually a lighter tone where the surface pigment has been removed. The scratch may catch a fingernail or feel slightly rough.
Gouges that reach the foam core are the most serious but still repairable in most cases. These scratches show the underlying foam color and may have compression damage to the surrounding area. They require filling before any color repair can be effective.
When a Scratch Is Not Just a Scratch
Occasionally, what appears to be a scratch is actually damage that extends beyond the visible mark. A sharp impact can crack the foam substrate even when the surface color looks intact. A long-term pressure point can compress the foam and cause a permanent indentation.
Before repairing, run a finger along the scratch and feel for any soft spots, raised edges, or uneven areas. If the substrate feels compromised, additional repair steps are needed to restore the beam's structural integrity before the cosmetic repair.
For most minor scratches from typical household activities, the damage is limited to the surface layers and the repair is straightforward. The assessment step simply confirms what kind of repair is needed.
Materials for Scratch Repair
The materials needed for a basic scratch repair are available from most PU beam manufacturers and from home improvement stores. The specific items include matching touch-up stain, water-based acrylic sealant, fine-grit sandpaper, and clean microfiber cloths.
Some homeowners also use wood filler or two-part epoxy for deeper scratches, but these are optional. For very shallow scratches, the touch-up stain alone is usually sufficient.
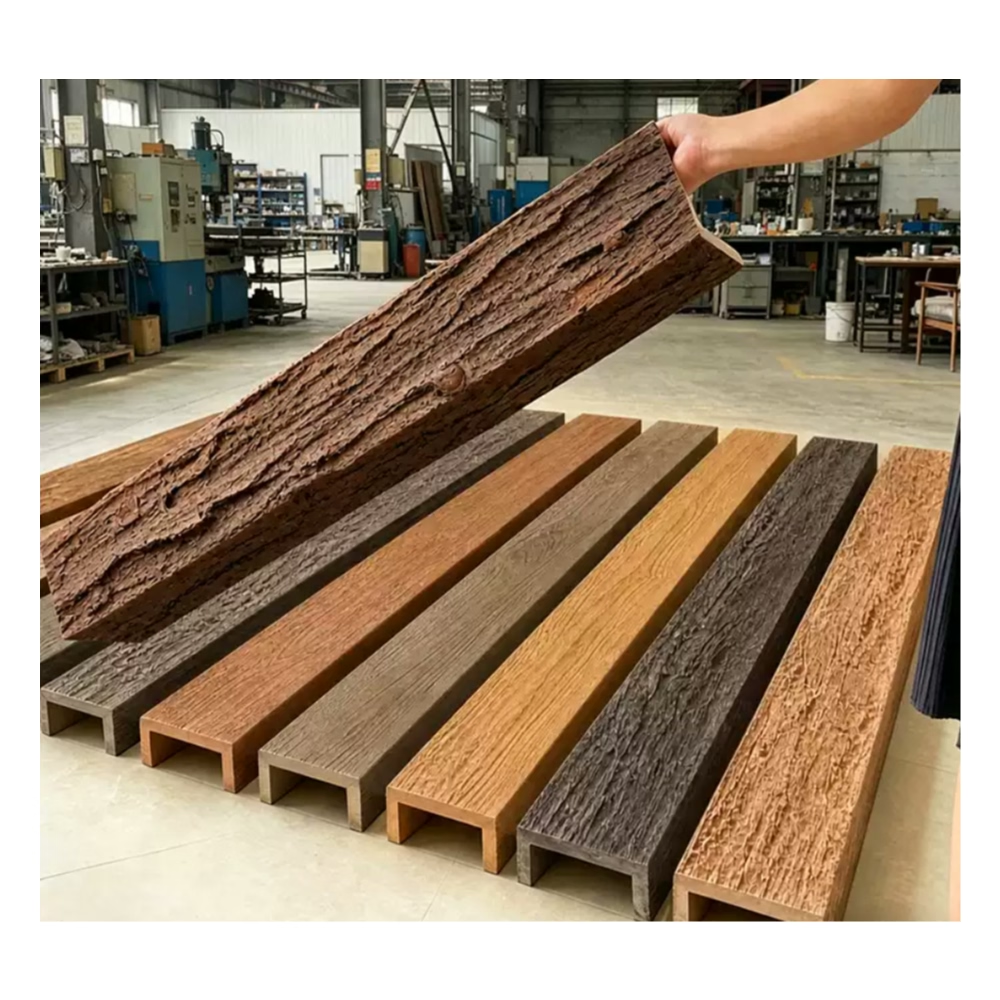
The touch-up stain should match the beam's base color rather than trying to match every variation in the grain pattern. The repair process involves layering colors to recreate the appearance of natural variation, which requires a base color plus optional secondary tones for highlighting.
Most manufacturers offer repair kits that include the base stain, accent colors, sealant, and applicator materials. These kits cost far less than professional repair services and produce results that match factory finishes.
Choosing the Right Color
Color matching is the most challenging part of scratch repair. The human eye is very sensitive to color differences on flat surfaces, and even a slight mismatch becomes visible on a ceiling that catches light from windows and fixtures.
The best approach is to test the color in an inconspicuous spot before applying it to the visible scratch. An area near a wall or behind a fixture provides a testing location that is hidden in normal viewing conditions.
For beams with multiple colors in the grain pattern, the test area helps determine how the layered colors interact when applied to the actual surface. Some homeowners find that mixing two or three colors creates a better match than relying on a single base color.
Repair Techniques for Different Scratch Types
Surface scratches respond to a simple application of water-based acrylic sealant. The sealant fills the scratch with a clear material that matches the surrounding gloss level. After drying, the scratch becomes nearly invisible.
The application uses a small brush or a cotton swab dipped in the sealant. A thin coat fills the scratch without raising the surface. Multiple thin coats produce better results than a single thick coat, which can run or sag during drying.
Deeper scratches require a layered approach. The first step is to fill the scratch with a small amount of matching touch-up stain applied with a fine-tipped applicator. The stain absorbs into the exposed foam and provides the base color.
Once the base stain dries, a second layer of accent color recreates the grain pattern if needed. Many faux beams have multiple colors blended into the surface, and the repair should attempt to recreate this layering.
For very deep scratches that reach the foam substrate, a two-part filler is sometimes needed. The filler is applied with a small putty knife or a plastic applicator, allowed to dry, and then sanded flush with the surrounding surface before the color application begins.
Blending the Repair
The key to invisible repair is blending the touched-up area with the surrounding beam surface. This blending involves feathering the edges of the repair so there is no visible boundary between the original surface and the repair.
Feathering is done by applying the repair materials in thin layers, with each layer extending slightly beyond the previous one. This creates a gradual transition rather than a hard edge. The final color layer should extend just past the visible scratch to ensure no boundary line remains.
After the color layers dry, the area is sealed with a light coat of acrylic sealant applied with a soft cloth. The cloth buffs the sealant into the surrounding surface, blending the gloss level across the repair.
Common Mistakes in DIY Scratch Repair
The most common mistake is applying too much material at once. Thick applications of stain or filler are difficult to control and often produce visible ridges or color buildup. Thin, multiple coats consistently produce better results.
Another mistake is skipping the surface preparation. The area around the scratch should be cleaned with a slightly damp cloth before any repair materials are applied. Dust and debris on the surface interfere with the bonding of the repair materials and create visible imperfections.
A third mistake is using the wrong type of stain. Oil-based stains behave differently on foam substrates than on solid wood. The repair should use the stain recommended by the beam manufacturer, which is typically water-based or alcohol-based for compatibility with the polyurethane foam.
Patience Pays Off
The repair process rewards patience. Each layer needs time to dry before the next layer is applied. Rushing the process by applying wet layers over dry ones creates muddy colors and visible ridges. A repair that takes thirty minutes across two days produces better results than one completed in a single hurried session.
For homeowners who have limited time, breaking the repair into short sessions over several days is a reasonable approach. Each session addresses one layer of the repair, and the results build on each other.
Preventing Future Scratches
Once a repair is complete, it makes sense to think about prevention. A few simple precautions reduce the likelihood of new scratches and keep beams looking good for years.
In homes with children, keeping toys with sharp edges away from the area beneath ceiling beams is the most effective prevention. Most ceiling beam scratches occur during play or during cleanup after play, when toys are thrown upward or moved quickly.
For furniture placement, allowing a few inches of clearance between tall pieces and the nearest beam reduces the chance of contact during moves or rearrangements. Furniture pads on the tops of tall pieces provide additional protection.
For ladders and step stools used near beams, having a helper steady the ladder during use prevents the kind of slips that cause scratches. The few minutes of coordination are worth the protection they provide.
When to Accept Imperfection
Finally, it is worth noting that minor surface variations are part of the character of any architectural material. Solid wood beams develop dents and checks over time that contribute to their aged appearance. PU faux beams, while more resistant to wear, will develop their own subtle character over decades.
A scratch that is barely visible from standing height is not necessarily worth repairing obsessively. The goal of repair is to restore appearance, not to achieve factory-new perfection in a beam that may already have years of service. Most homeowners find that a well-executed repair is satisfying enough to move on from, and that the beam continues to look good for many years after.
Technical References
ASTM standards cited in every specification
Test Data
Lab results from internal testing program
Updated 2026
Reviewed against current product specs