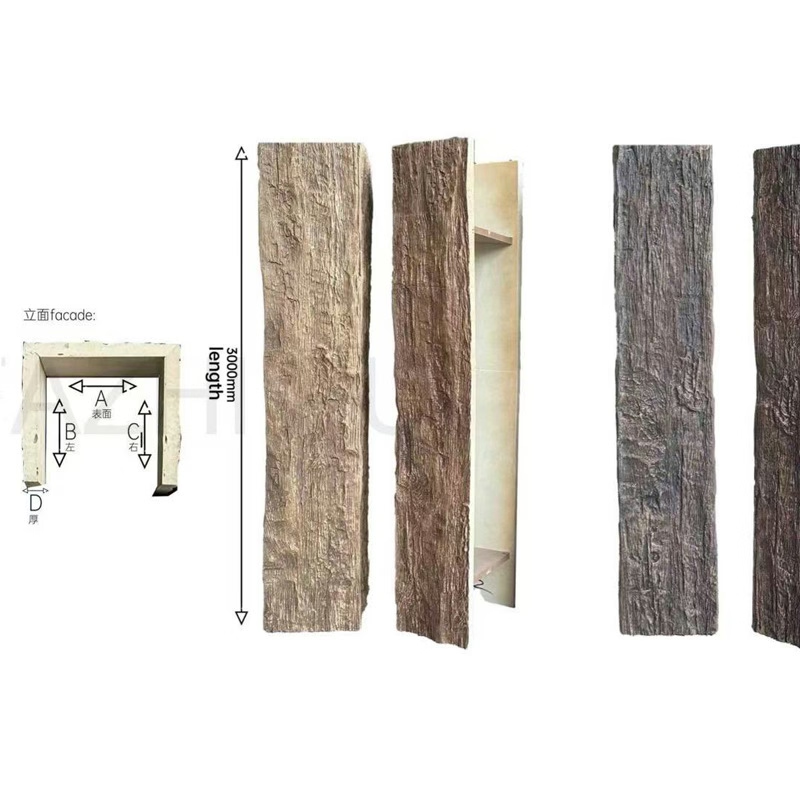
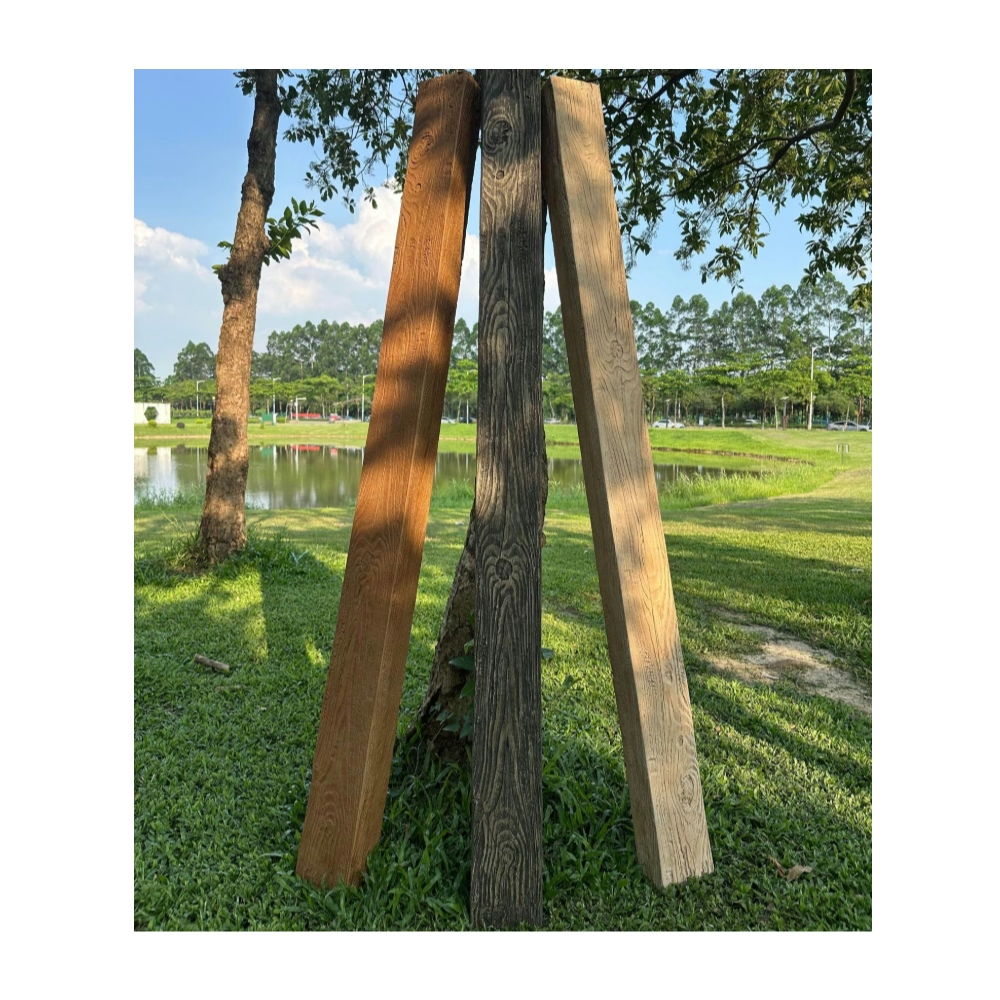
Sometimes the beam you want to look at is already there, and the goal is simply to make it look like something else. Slip-on hollow PU faux beam covers exist for exactly this purpose. They are U-shaped shells, open at the bottom or along one long edge, that slide up and over an existing structural member and lock into place to give the appearance of a solid decorative beam.
The structural member underneath might be a steel I-beam left exposed after an industrial renovation, a chunky HVAC duct that crosses the room, or a row of plumbing pipes that drops below the ceiling line. In each case, the beam cover does not need to carry any load. It just needs to look right and stay put.
Why Hollow Covers Are Different From Solid Beams
A solid PU faux beam is a closed box with no internal cavity. A hollow beam cover is more like a long trough. The wall thickness is usually five to eight millimeters, which is plenty for a decorative shell but not enough for the beam to support anything. The thinner walls also make the cover lighter, which matters when you are lifting sections up a ladder.
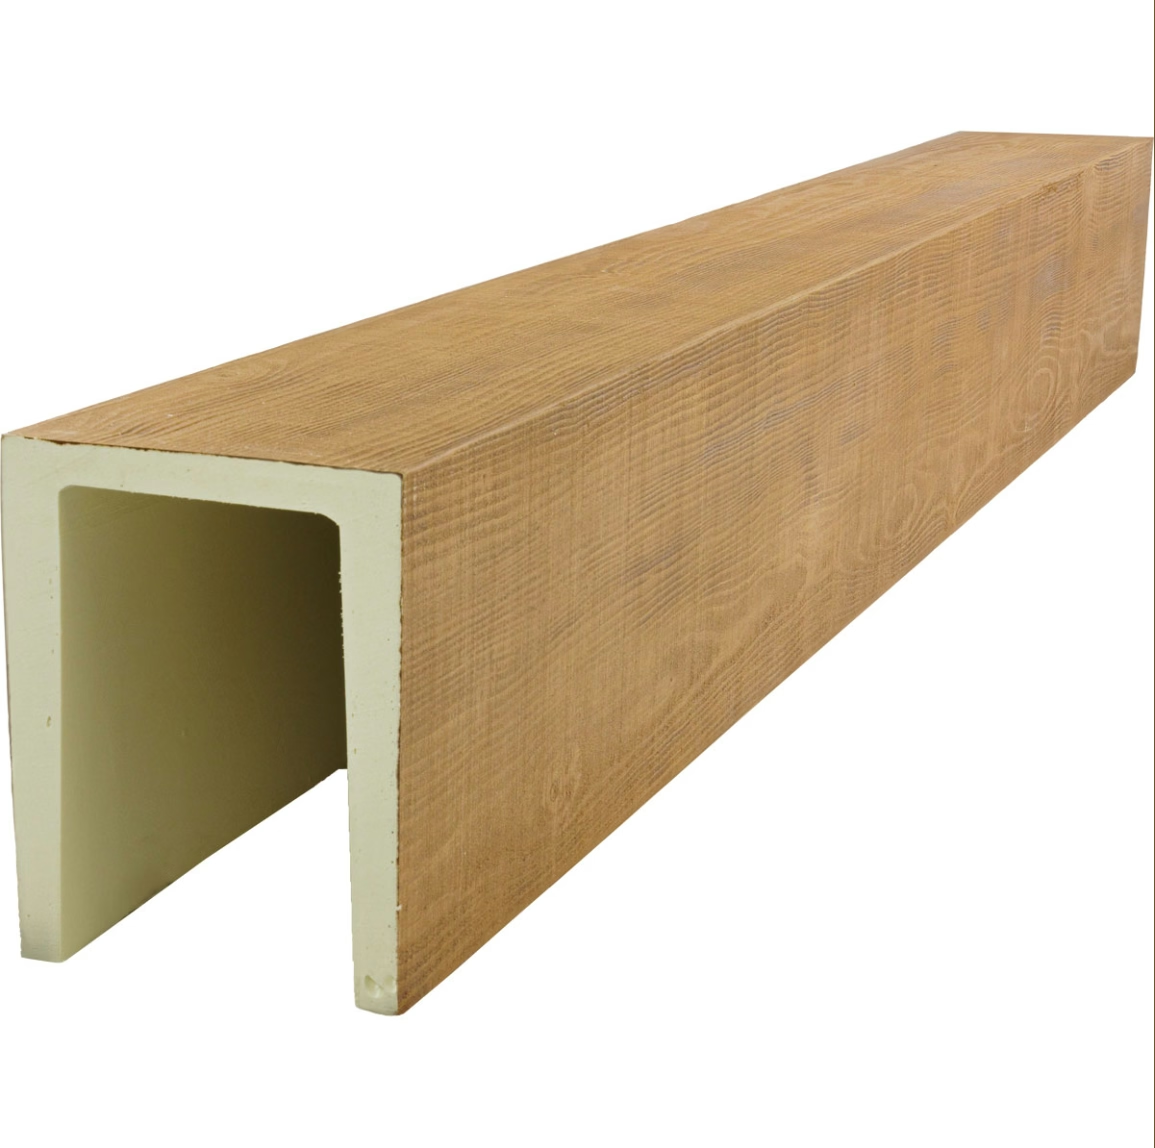
The open side of the cover is usually along the bottom of the beam, which means the cover drops down over the existing member and the seam closes underneath where it is hidden from view. Some designs instead open along one of the vertical sides, which makes them useful for wrapping beams that sit very close to a wall.
Measuring the Existing Beam
The single most important step is measuring the existing beam accurately. You need the height, the width, and the length of every run. Heights and widths should be measured at several points along the run because structural members are not always perfectly straight, and what looks like a uniform beam from the floor may vary by a centimeter or two between the joists.
Take the largest measurement you find and add five millimeters of clearance on each side. That gap gives you room to slide the cover on without forcing it, and you can close the gap with a small trim piece or caulk once the cover is in position. For length, add at least 50 millimeters to each end so the cover extends slightly past the existing member and hides any uneven edges.
If the run is longer than a single cover length, plan for a joint. Joints are usually staggered so they do not all land at the same joist location, and they are typically hidden inside the cover with a small splice plate or by setting one cover inside the next by a few centimeters.
Choosing the Right Profile
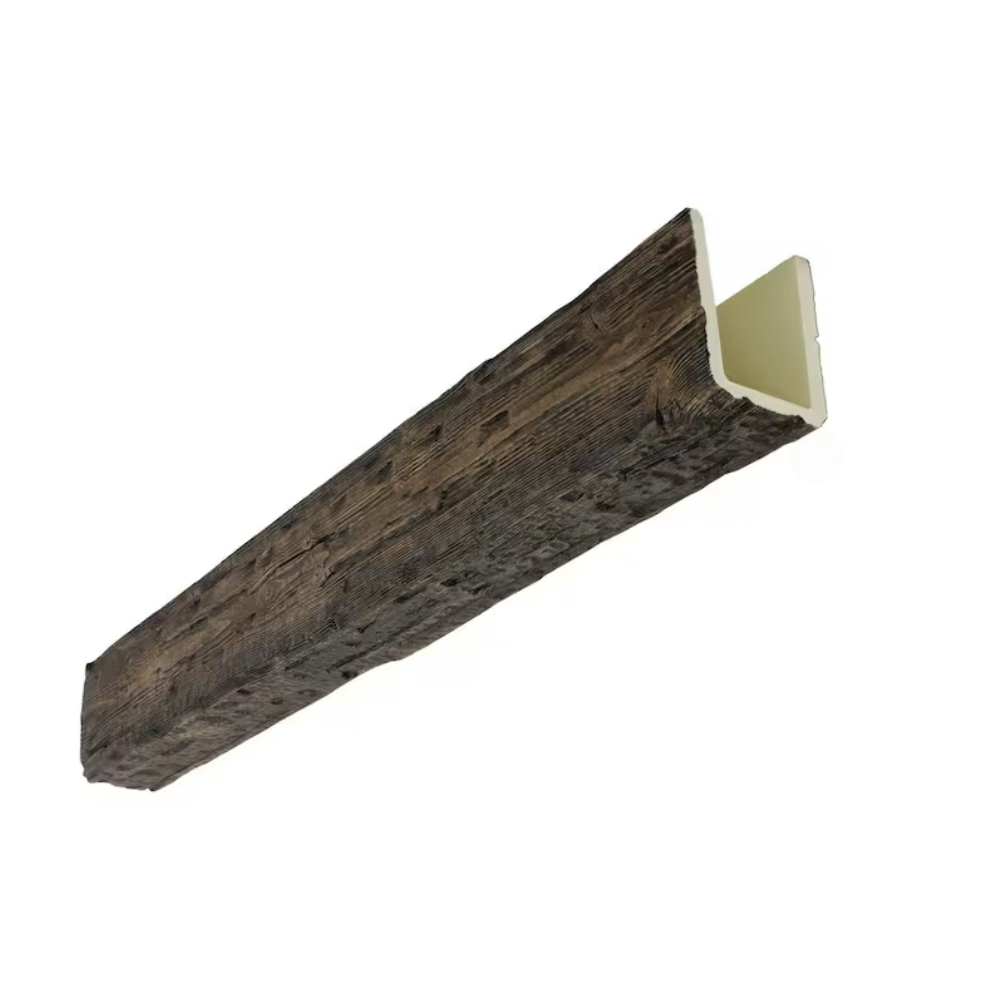
Beam covers come in the same general profiles as solid faux beams. Flat-faced, hand-hewn, rough-sawn, and reclaimed-wood looks are all available. The choice usually comes down to the style of the room rather than the structural beam you are covering.
For modern interiors, a flat-faced beam with a smooth finish gives a clean architectural line. For rustic or farmhouse spaces, a hand-hewn or rough-sawn cover carries the texture that matches the rest of the room. For industrial renovations, a distressed or weathered finish on the cover can hide the fact that you are looking at a hollow shell rather than a solid beam.
The other profile consideration is depth. A shallow cover may not have enough interior space to fit over a chunky steel beam, while a deep cover on a small plumbing pipe run will leave empty space inside that has to be filled or accepted. Some manufacturers offer adjustable-depth covers that telescope to fit a range of existing member sizes, which is worth asking about if your situation is unusual.
Installation Sequence
Start by preparing the existing beam. Wipe it down to remove dust and any oily residue, and check that nothing is loose. If there are pipes or wires that you need to access in the future, mark their positions on the inside of the cover before you install it so you know where to drill if you ever need access.
Most hollow beam covers come in two L-shaped halves that fit together around the existing member, or as a single U-shape that drops down from above. The two-piece design is much easier to install on a long run because each half is lighter and easier to handle on a ladder. The single-piece design is faster once it is in position but can be tricky to maneuver on a long span.
For a two-piece cover, lift the first half up and rest it on a temporary support, like a stack of lumber or a beam saddle, with the open side facing the existing member. Slide it horizontally until it is in the right position, then tilt it up against the existing beam. Have a helper hold it while you lift the second half into place on the opposite side. The two halves should meet cleanly along their long edges. A few screws or clips fasten them together, and the seam disappears once the cover is in place.
For a single-piece cover, lift it over the existing member from one end and slide it along the run. This works well for shorter runs where you can carry the cover by yourself, and for runs where the existing member is straight enough that the cover does not bind as it slides.
Hiding the Joints
Beam covers rarely fit a room in a single length, so the joints between sections deserve attention. A butt joint where two cover ends meet directly is the simplest but also the most visible, especially if the cover profile includes a noticeable change in texture at the end. A scarf joint, where each end is cut at 45 degrees, makes the seam much harder to spot.
Once the joint is made, run a small bead of color-matched caulk along the seam and smooth it with a damp finger. Wipe away excess caulk immediately with a clean cloth, because cured caulk is very difficult to remove from a textured PU surface without damaging the printed grain.
Dealing with Obstructions
Existing beams often carry surprises. Junction boxes, sprinkler heads, light fixtures, and access panels can all sit in the path of a beam cover. Plan for these in advance rather than discovering them halfway through installation.
For junction boxes, code usually requires that they remain accessible. A beam cover can be notched around the box and finished with a small access panel, or the cover can end just before the box and a shorter section can be installed on the other side. For sprinkler heads, check with the local fire marshal about clearance requirements. Most jurisdictions require a minimum clearance between a sprinkler head and any obstruction, and a beam cover that hugs the existing member too tightly may violate that clearance.
Light fixtures are usually easier. A beam cover can be notched to accept the fixture canopy, with the cover painted or stained to match the rest of the beam. The result looks like a beam that has always had a light fixture mounted to it.
Why Slip-On Covers Beat Other Options
The alternative to a slip-on beam cover usually involves framing out a soffit around the existing member with drywall, then finishing it to look like a beam. That approach takes more time, more materials, and a skilled finisher to make the corners look right. A PU cover arrives pre-finished with the grain pattern, color, and texture already applied, and the installation can usually be finished in a single afternoon for a typical residential room.
For commercial spaces with exposed services that need to remain accessible, the slip-on cover is even more compelling. The cover can be removed and replaced as needed without damaging the surrounding ceiling, which makes it a favorite of building managers who have to deal with regular maintenance work above the ceiling line.
Technical References
ASTM standards cited in every specification
Test Data
Lab results from internal testing program
Updated 2026
Reviewed against current product specs